One of our students is spending the summer building a real, playable arcade game entirely
from scratch using a Raspberry Pi. We’re documenting the whole process here —
the hardware, the code, the wrong turns, and everything in between. Follow along as it goes
from parts on a table to something you can actually play.
June 14, 2026
Let's get it started!
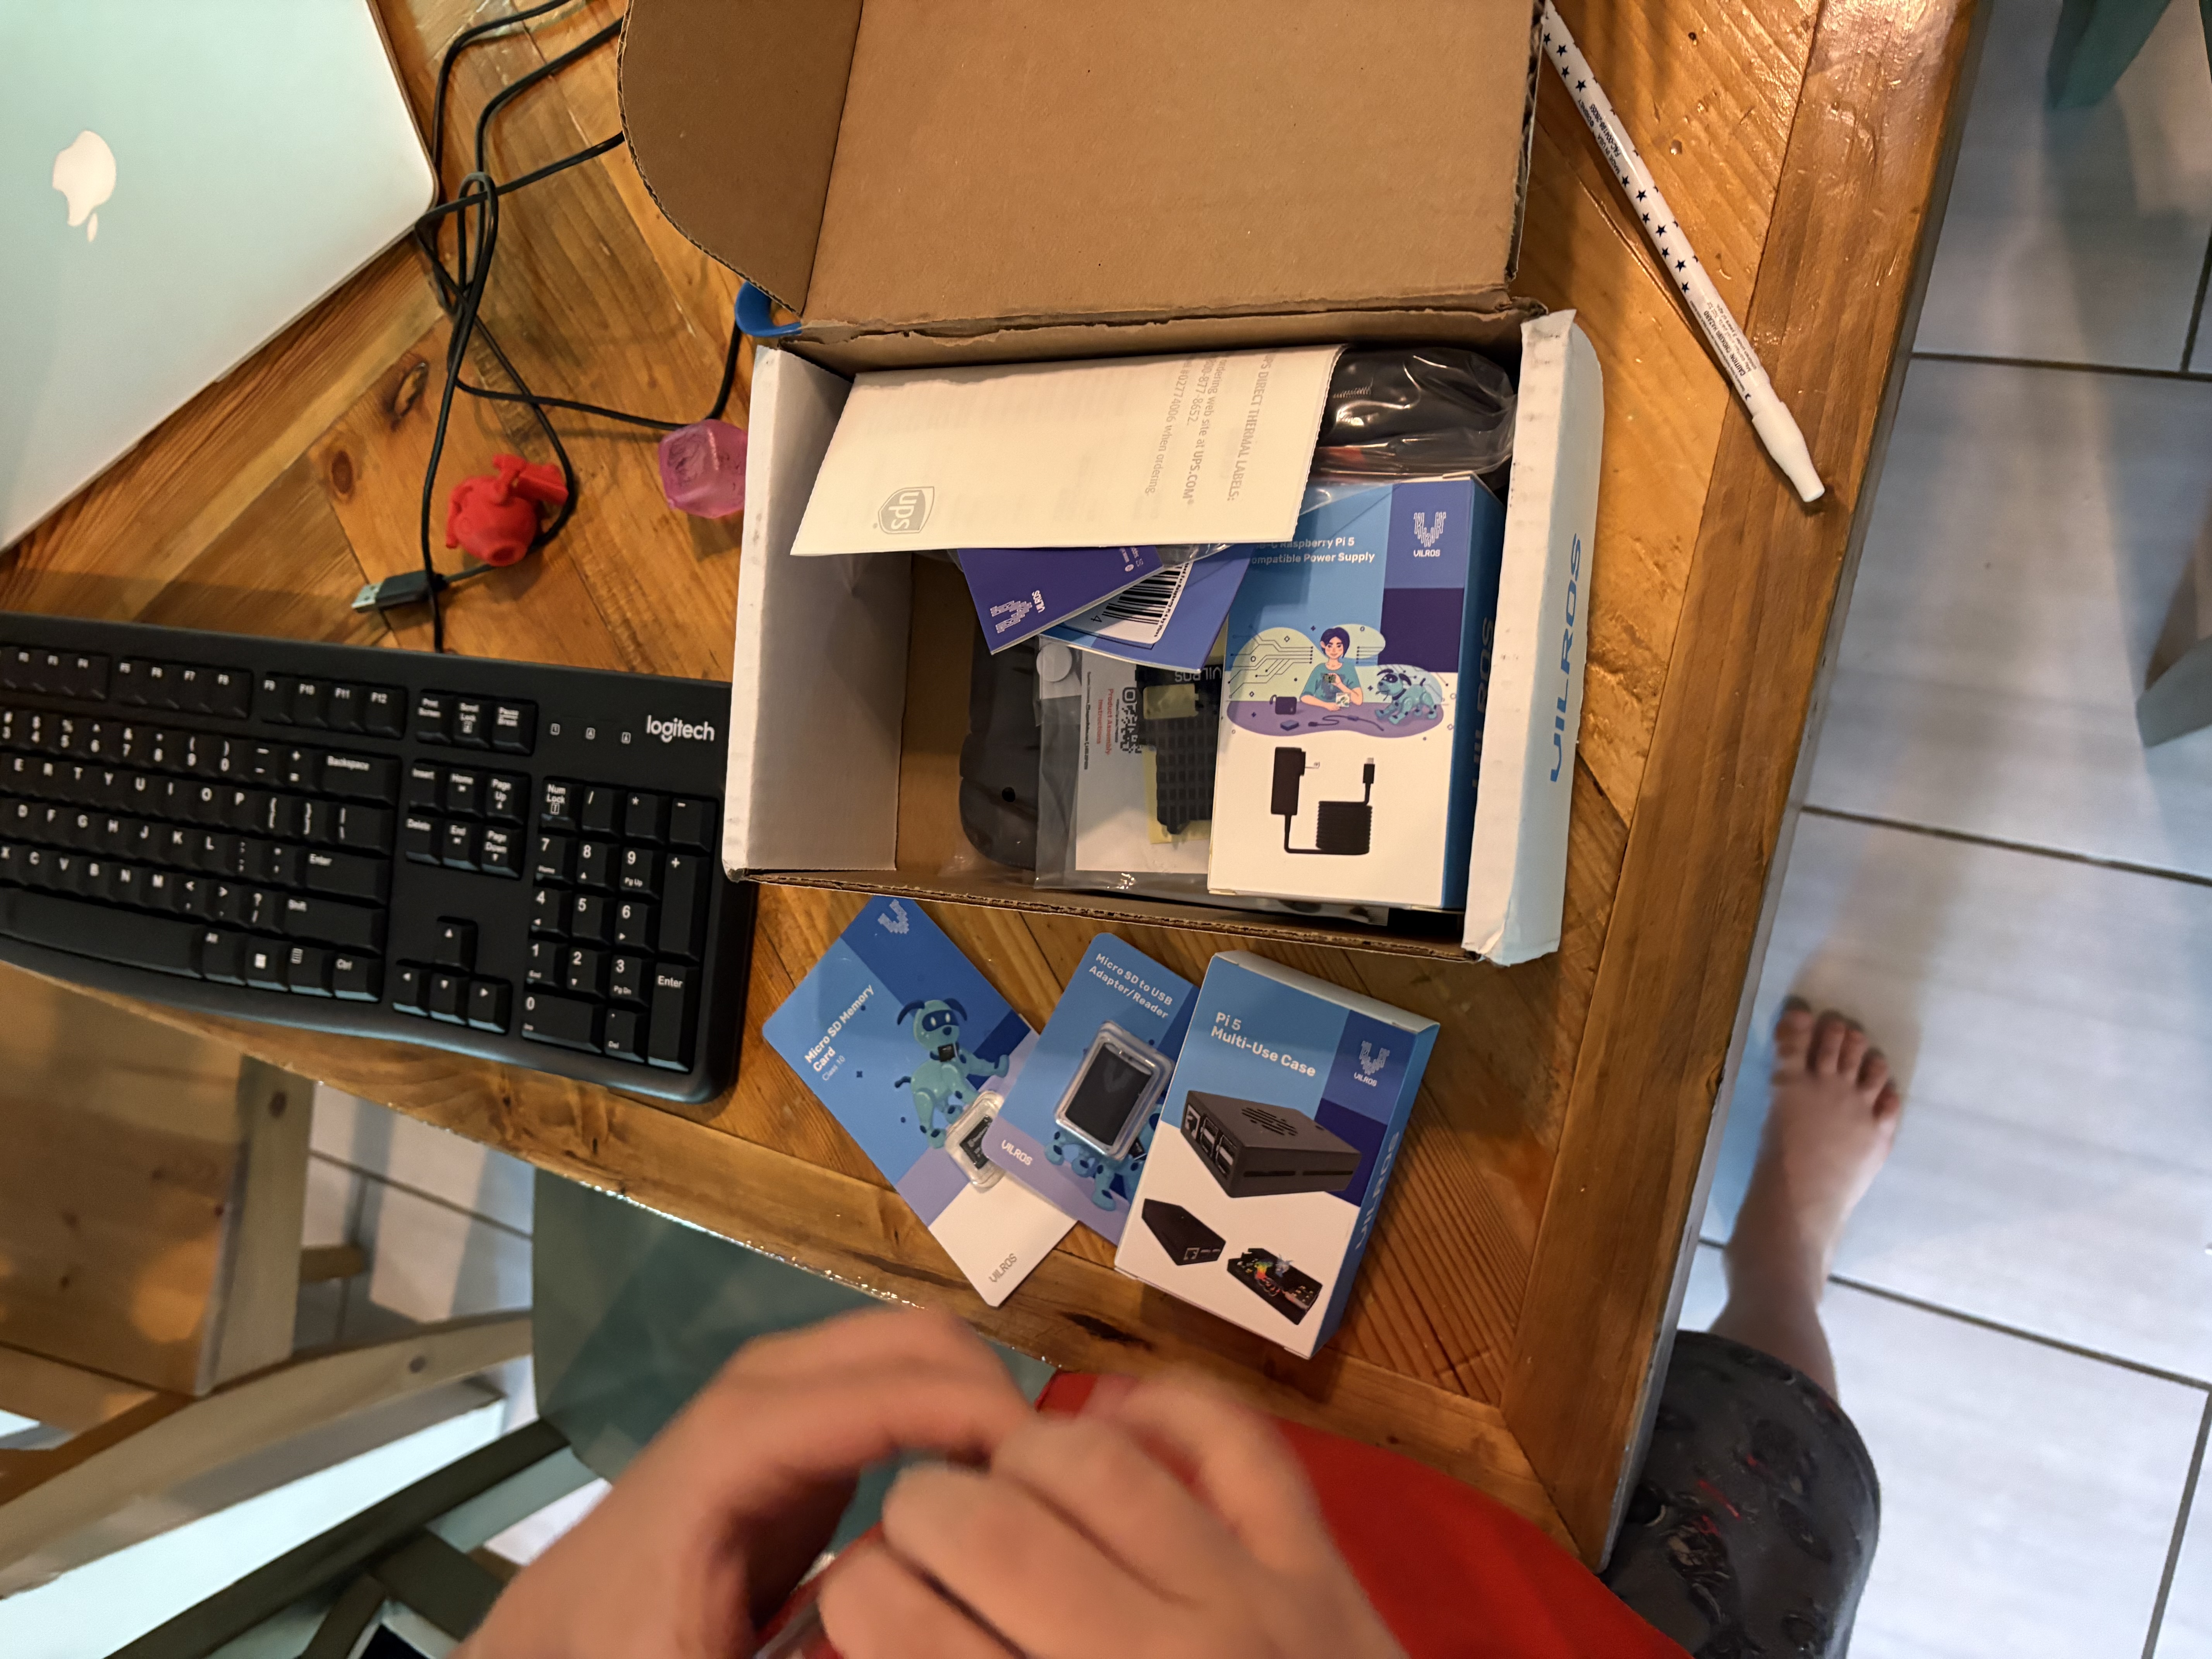
The arcade is going to be run on a Raspberry Pi. Day 1 was all about the unboxing and getting a feel for what we're dealing with.
June 14, 2026
Finding a working home
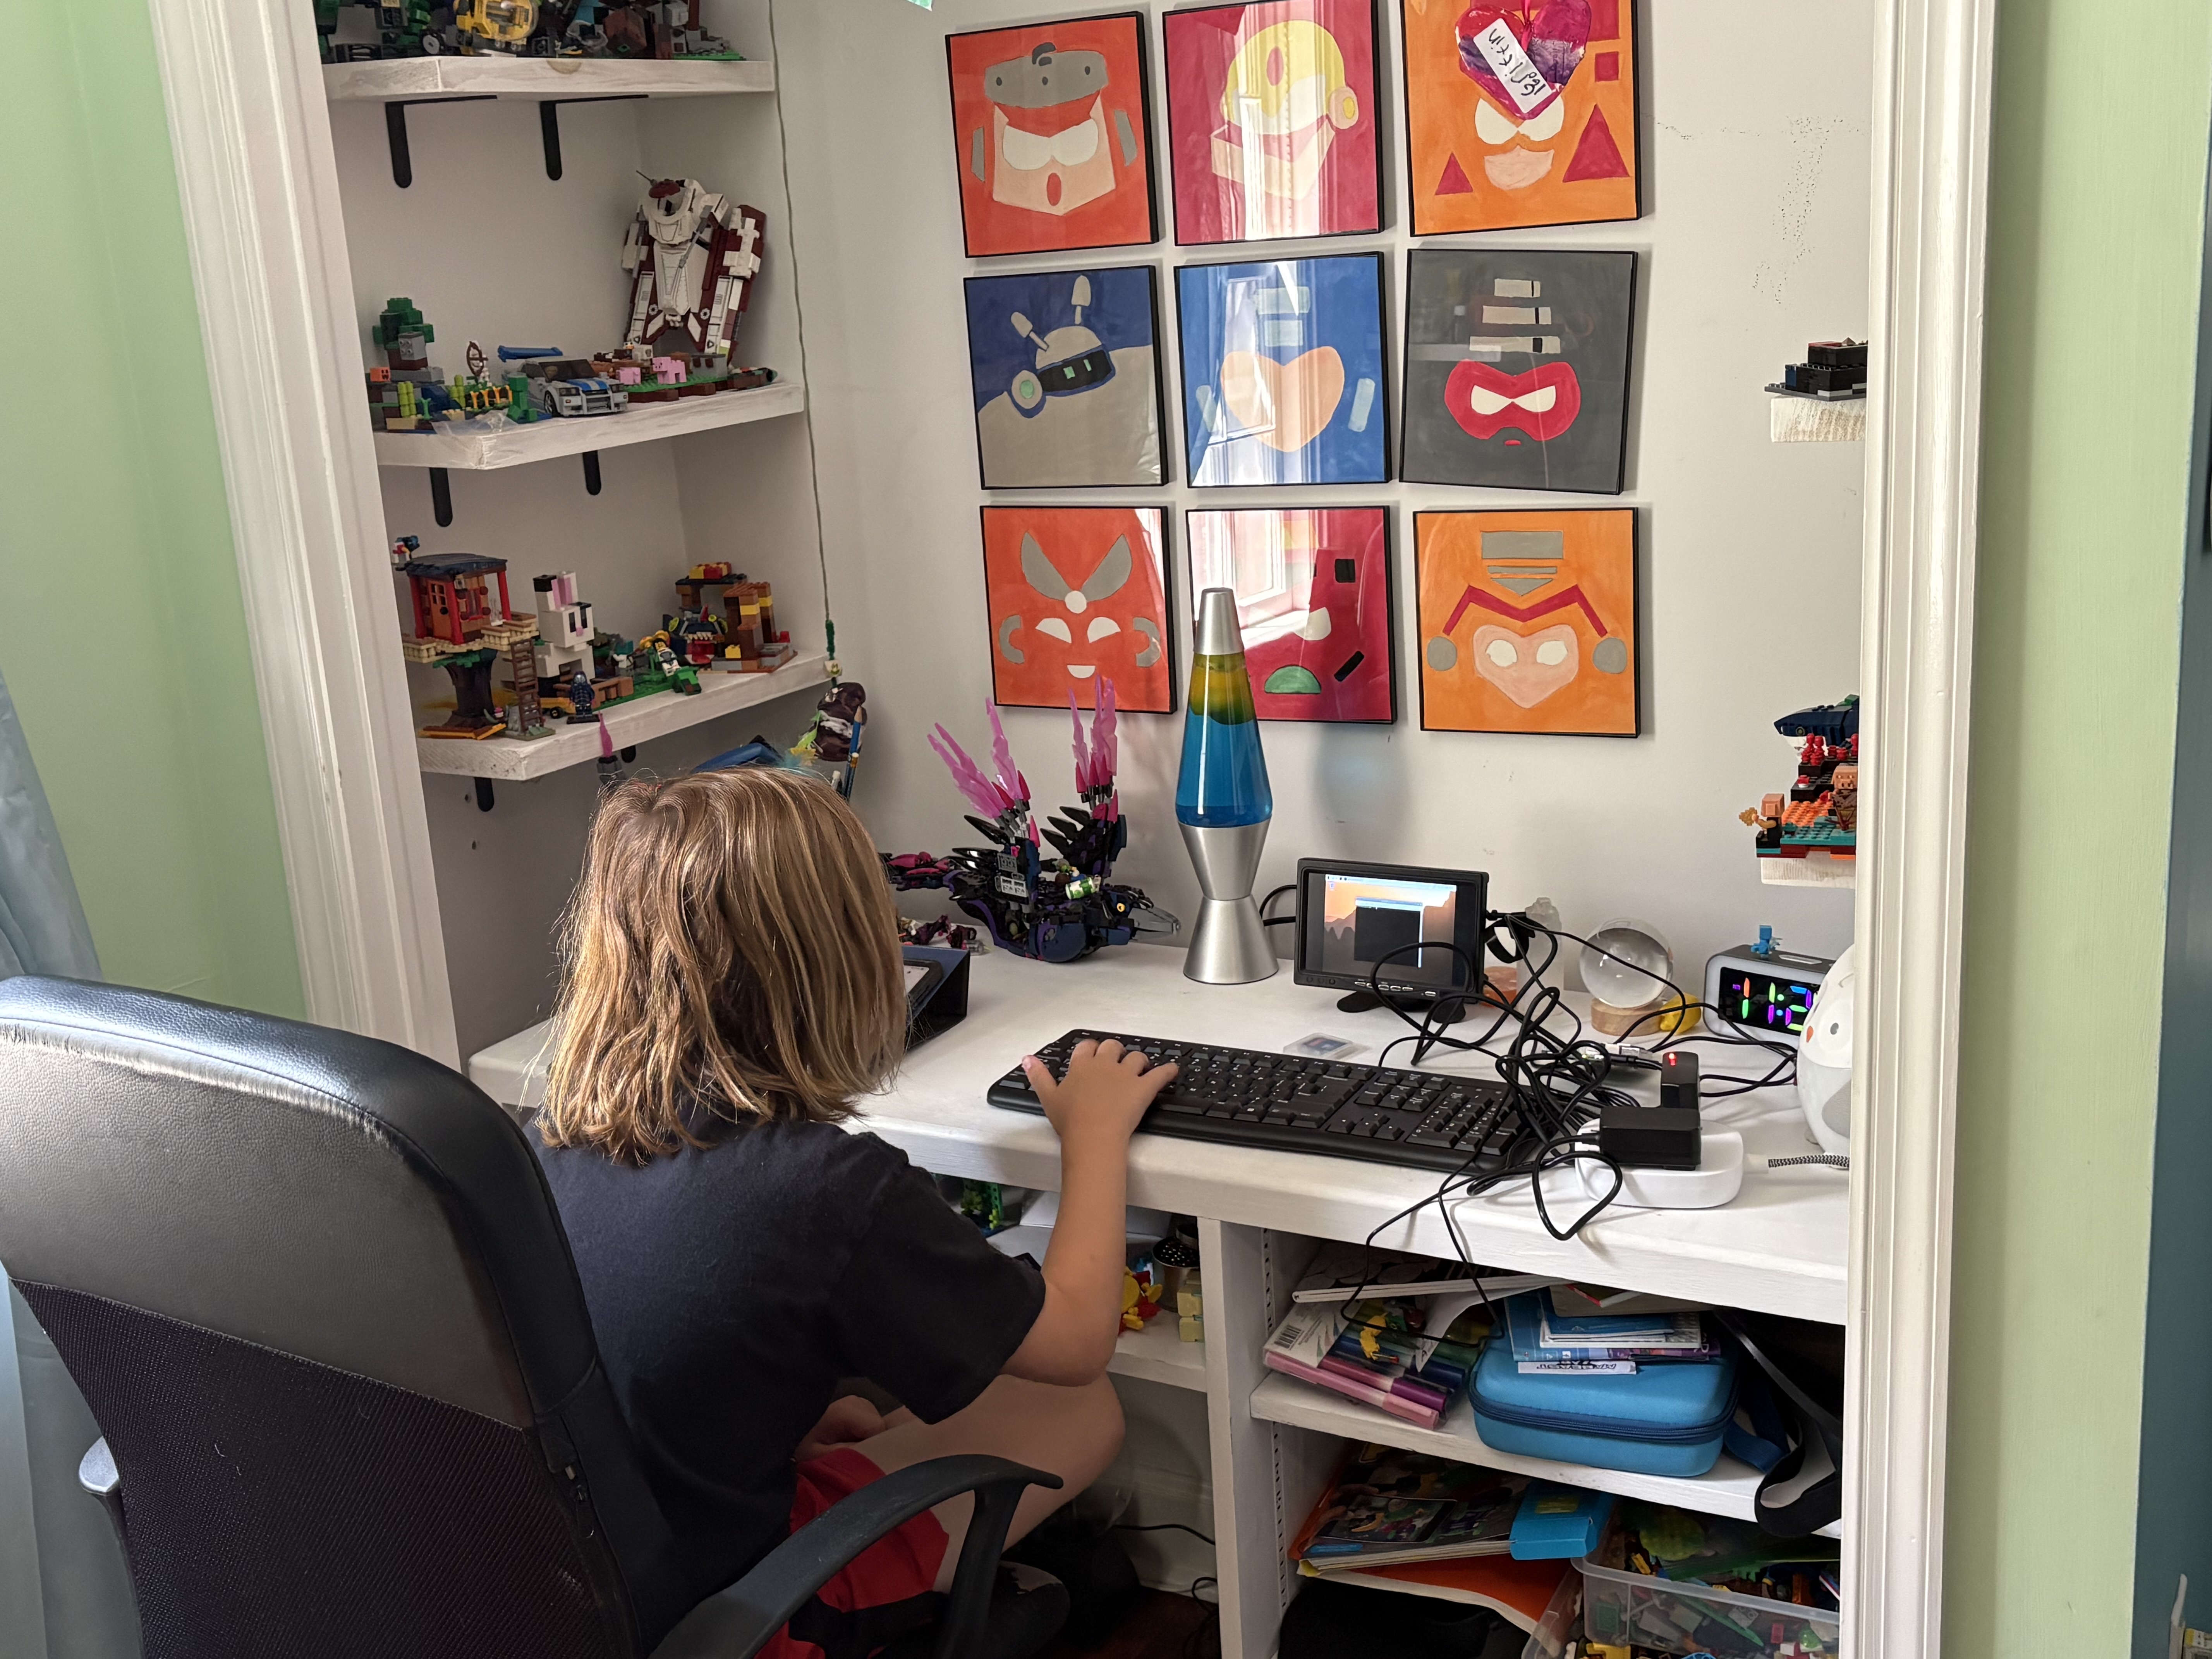
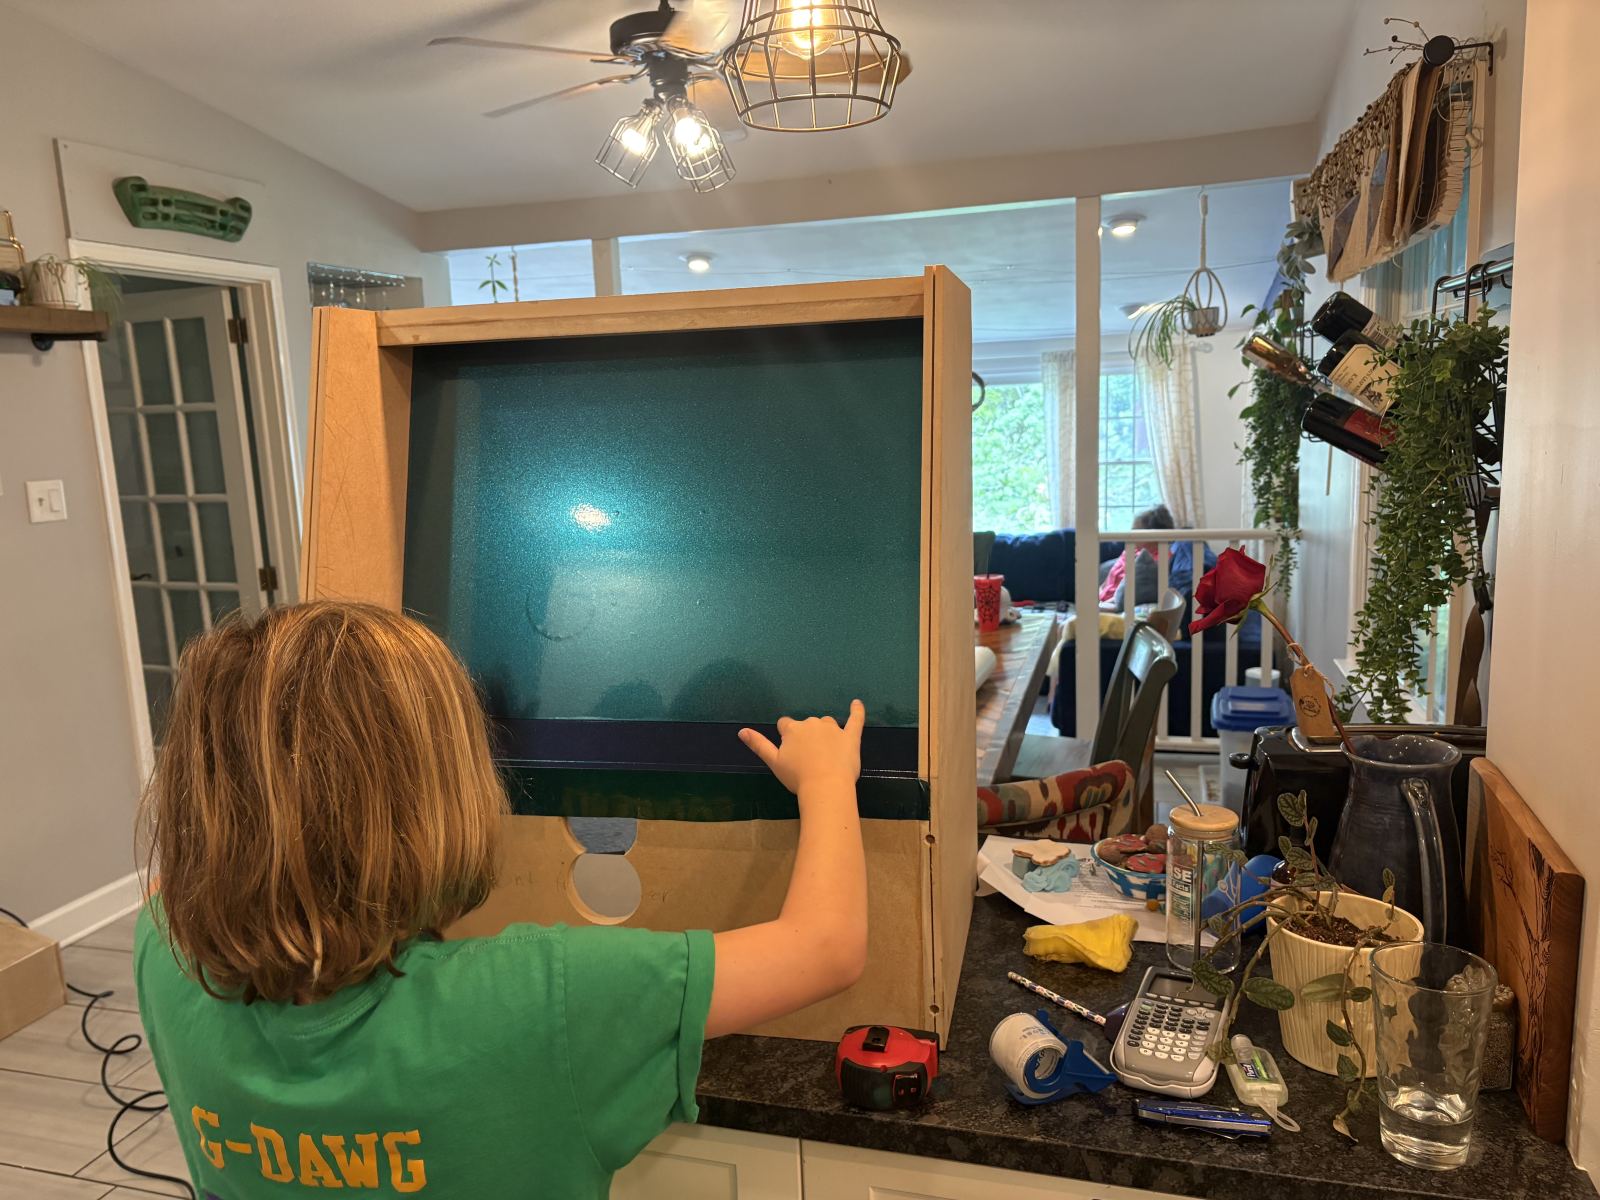
We found an old monitor that we could use for now, so we set up a workspace to call home.
June 16, 2026
Let's get coding!
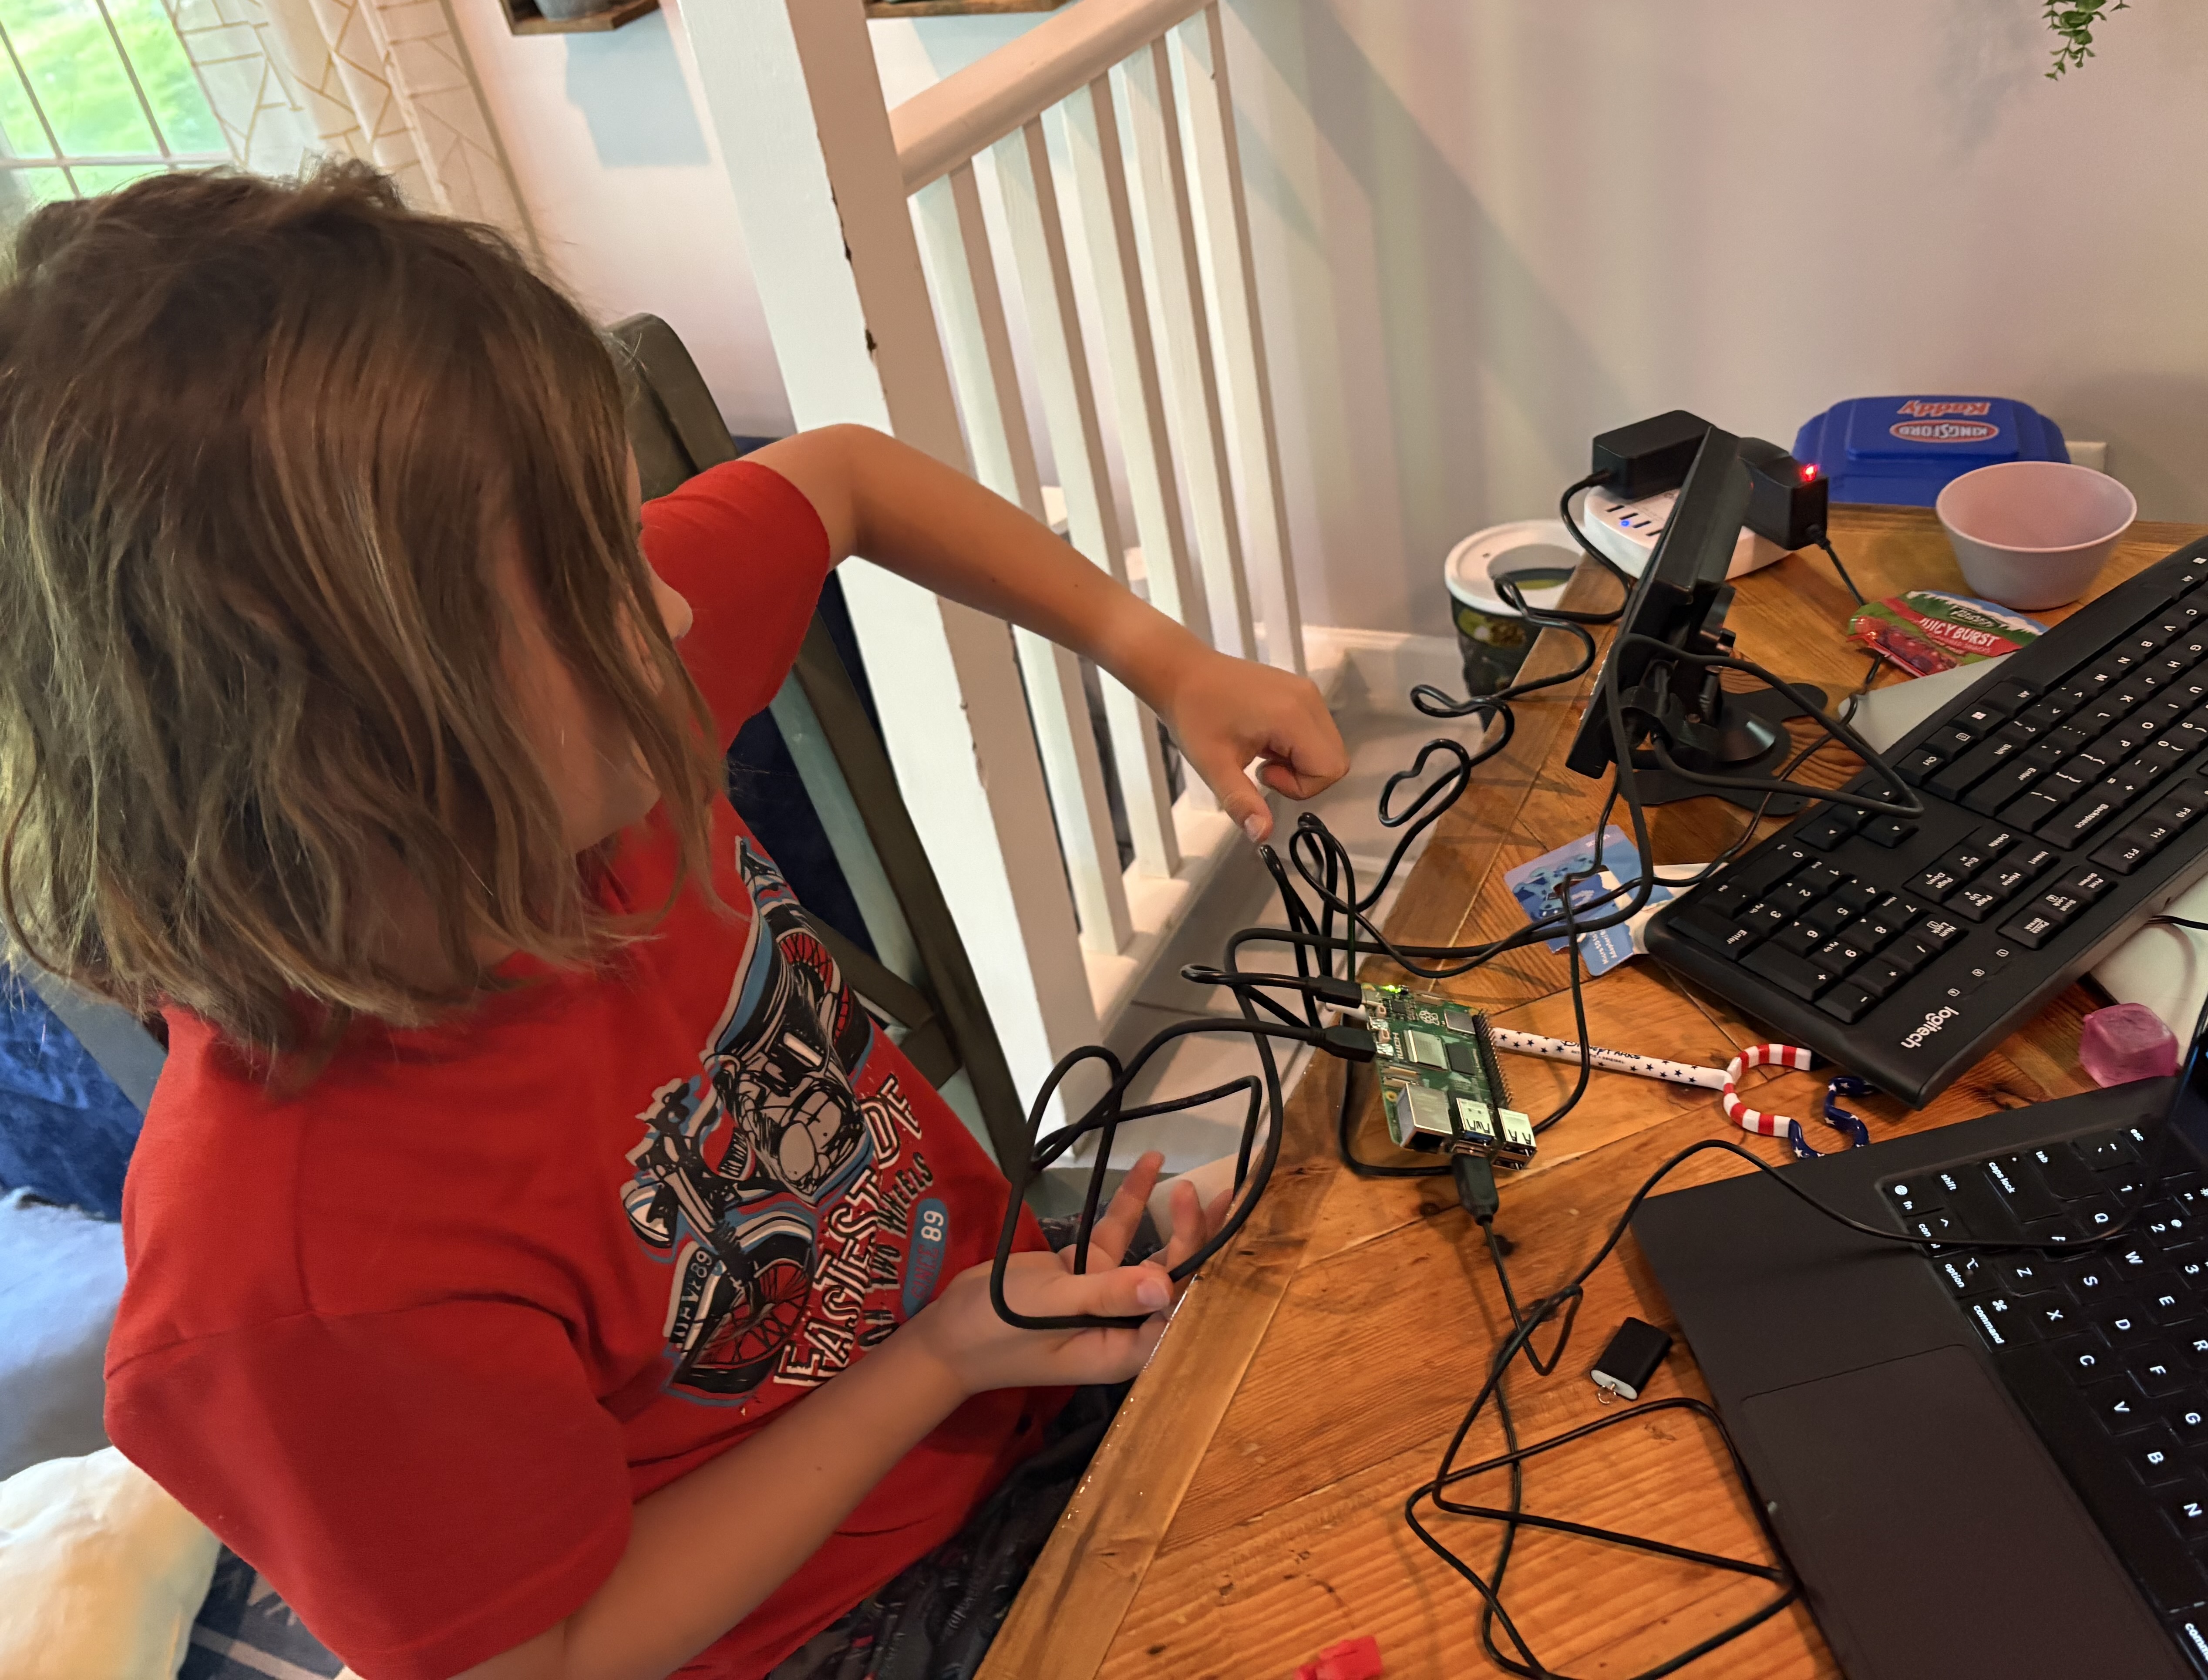
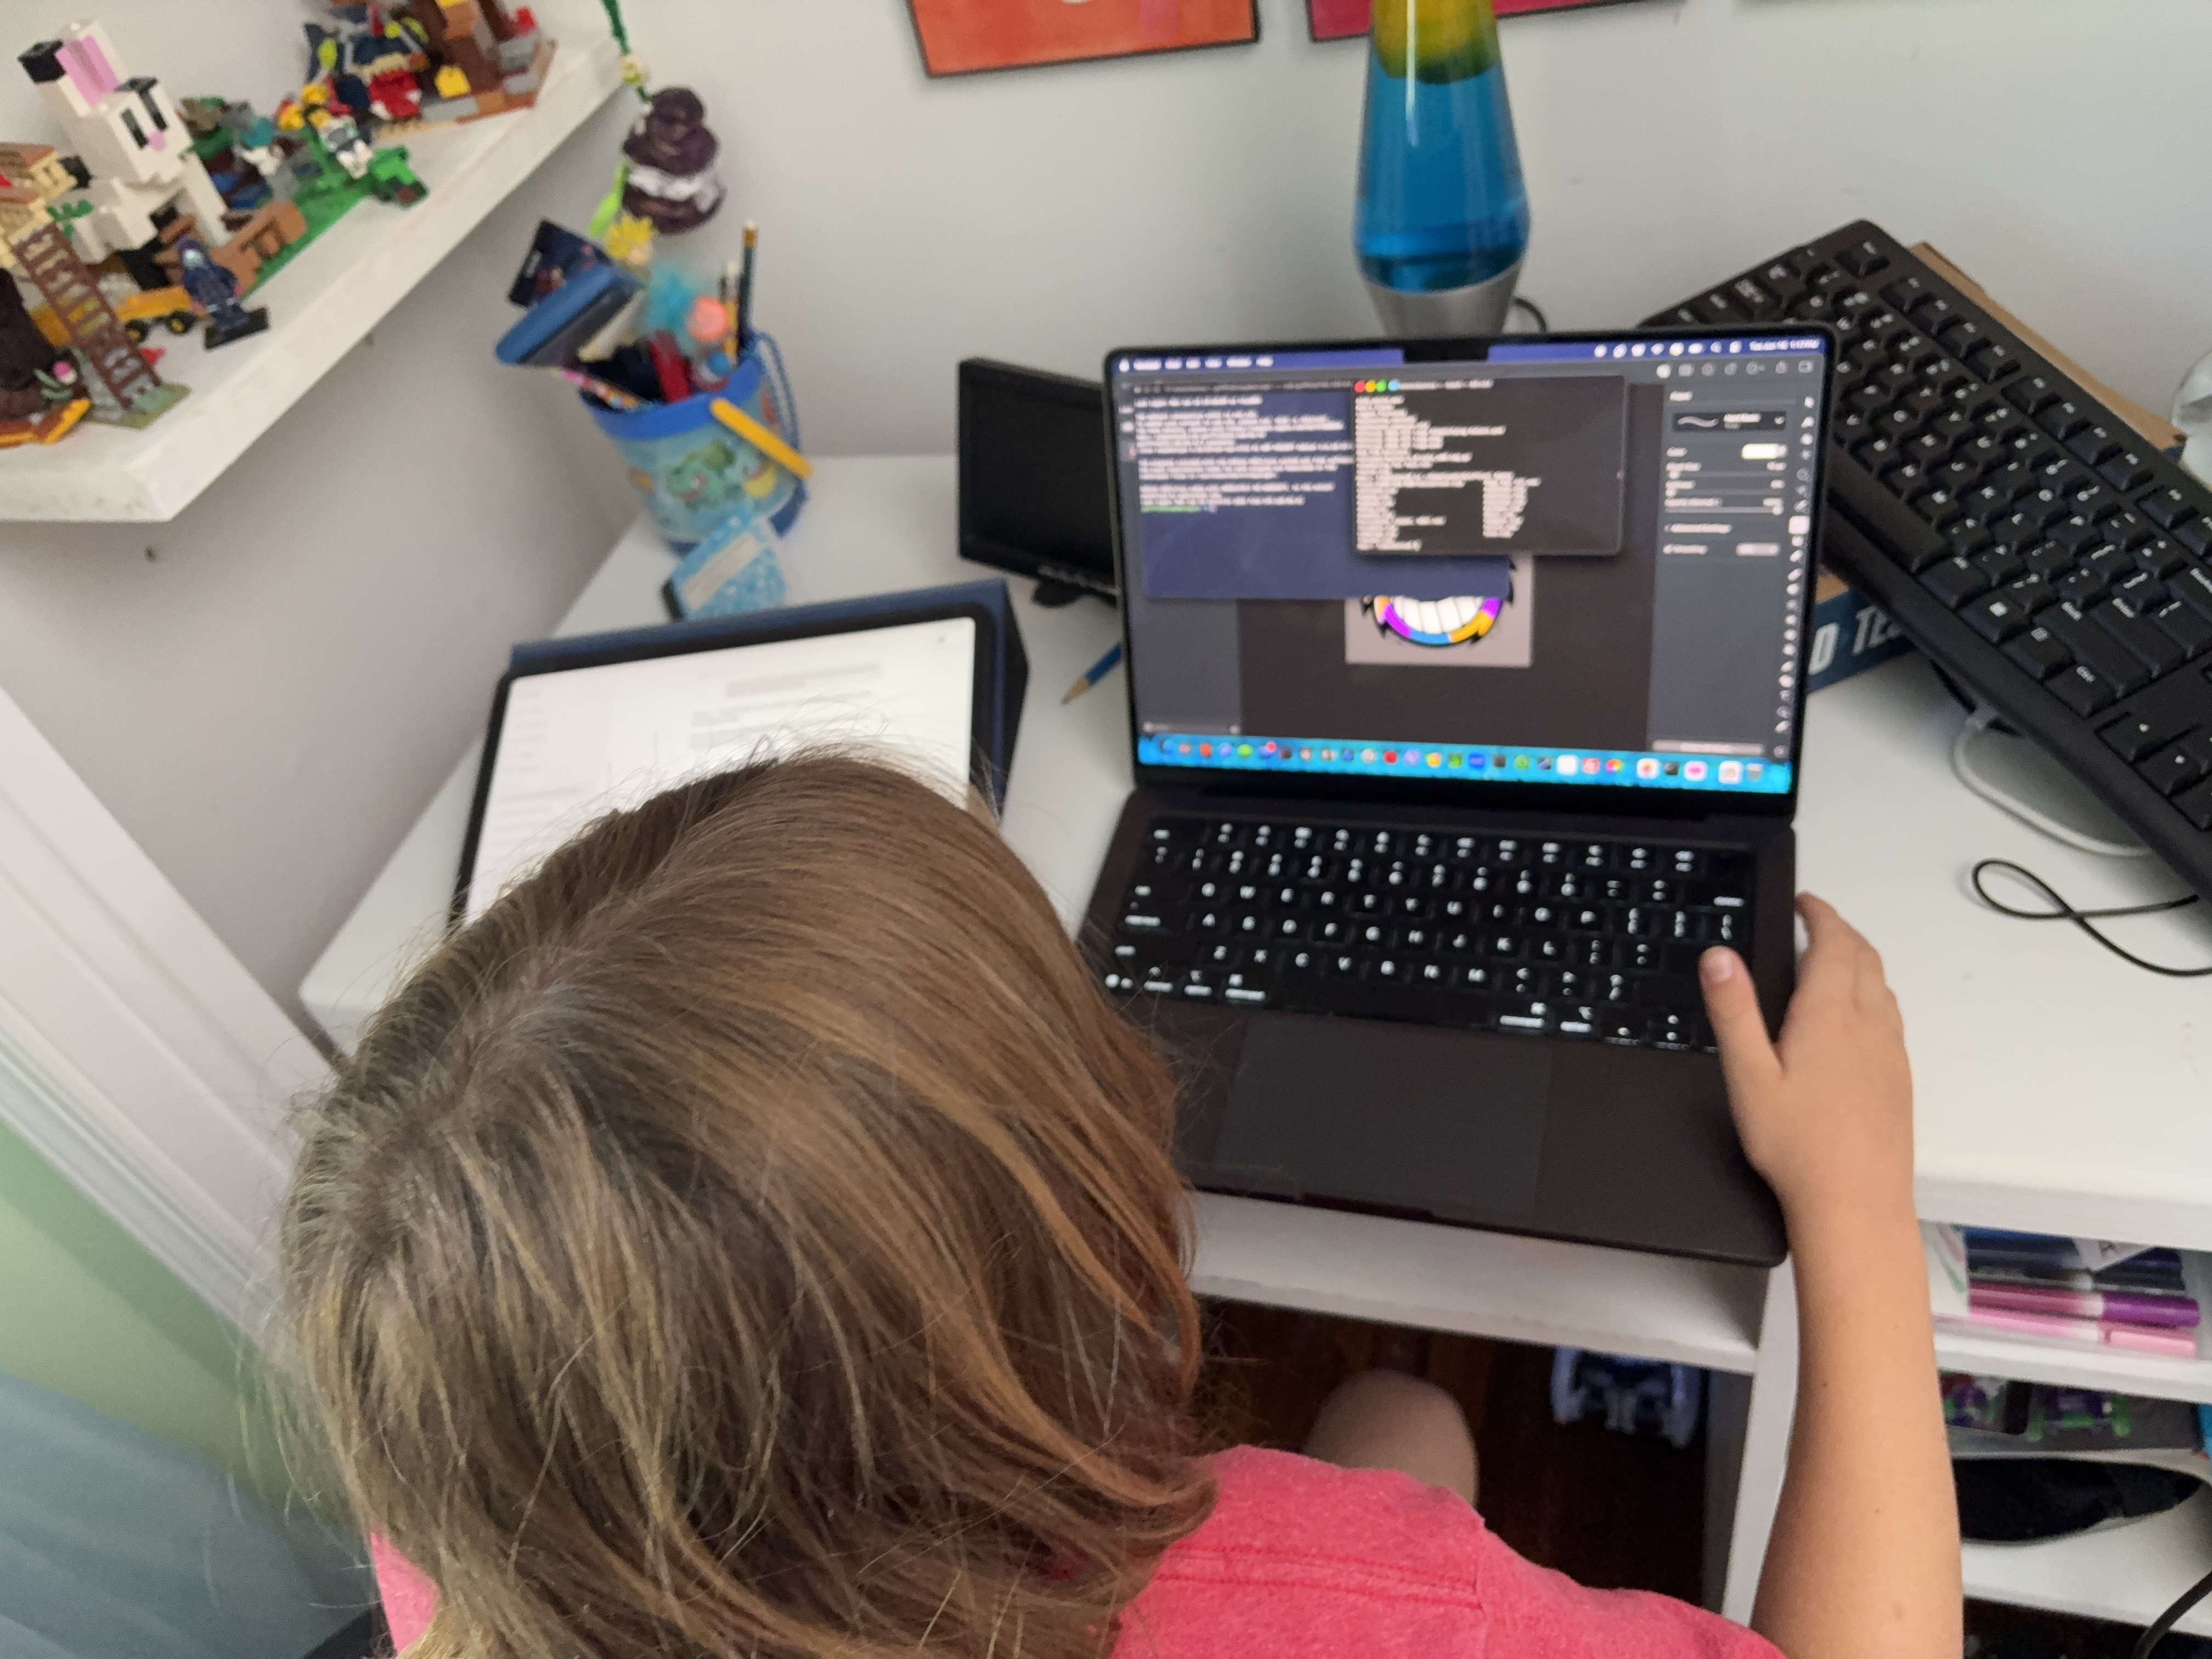
It was time to start setting up the Pi to handle the arcade games. We had to find games that we wanted to put on the arcade, get the emulator working, and start loading them on. It's going to be a long process but we had to start somewhere.
June 19, 2026
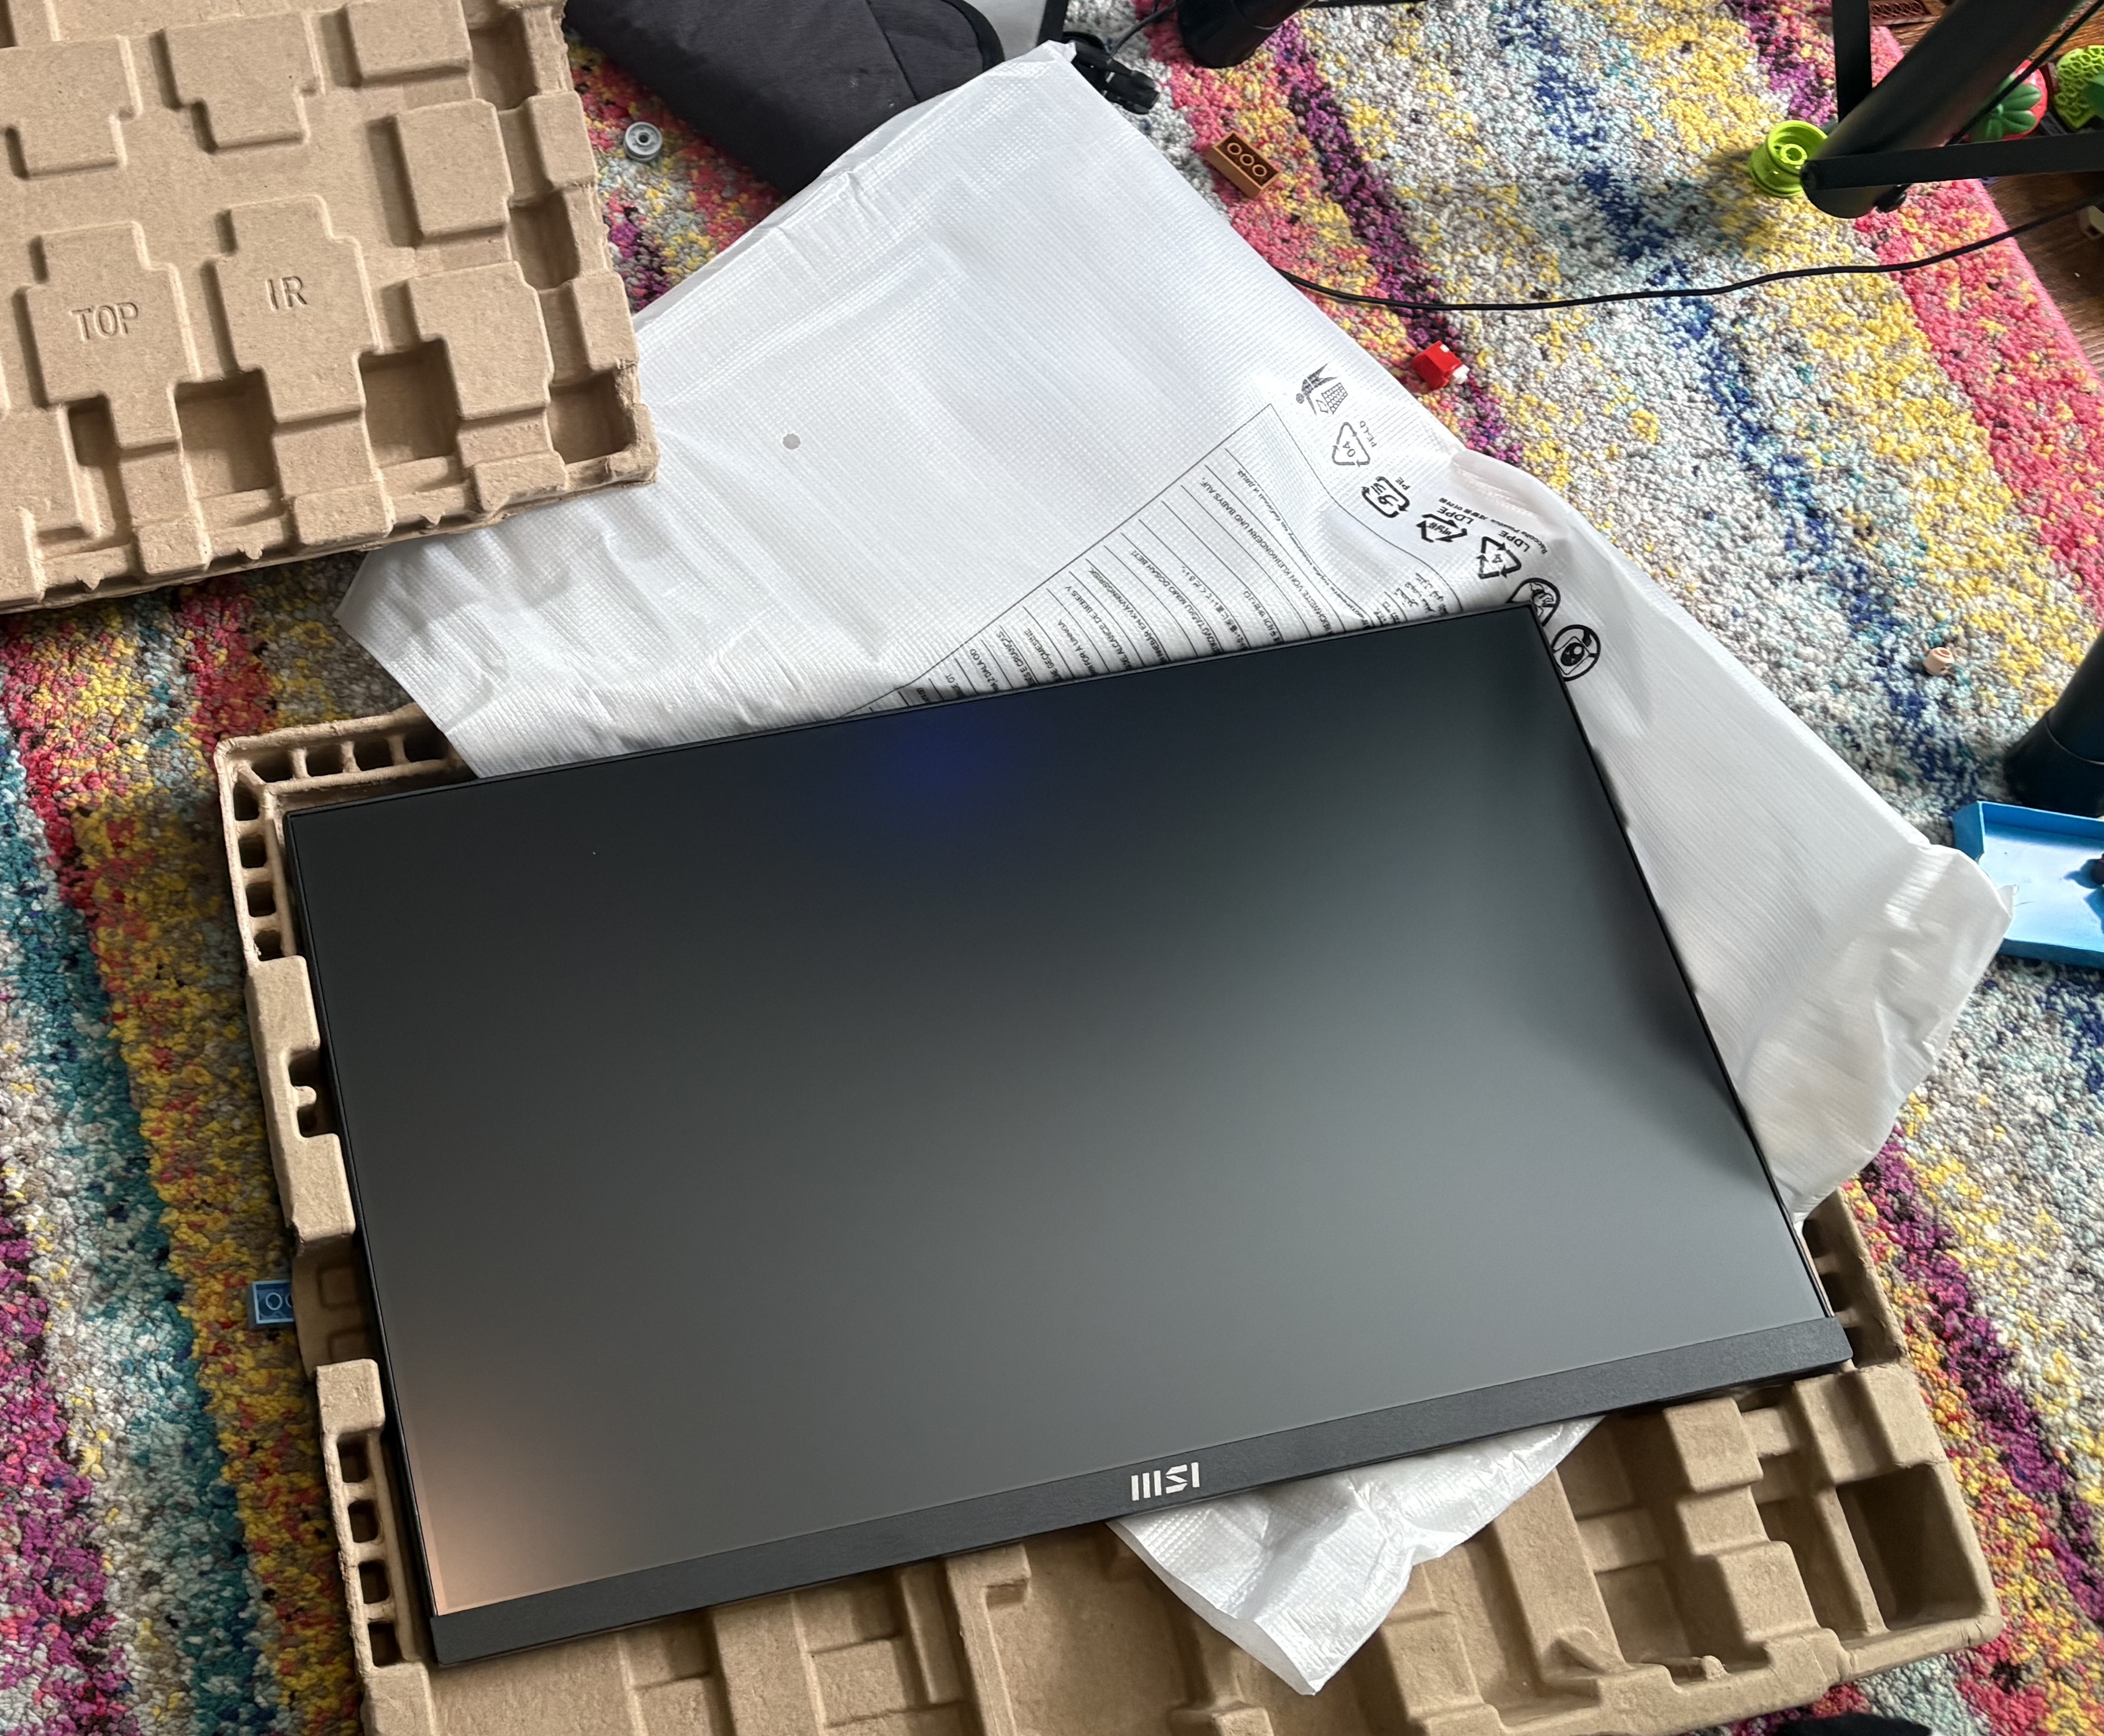
We have a monitor!
After getting a bunch of our games loaded into the system and setting up temporary controls to test the games, we thought it was time to get the monitor that will eventually go into the arcade game. No more squinting at a tiny monitor!
June 22, 2026
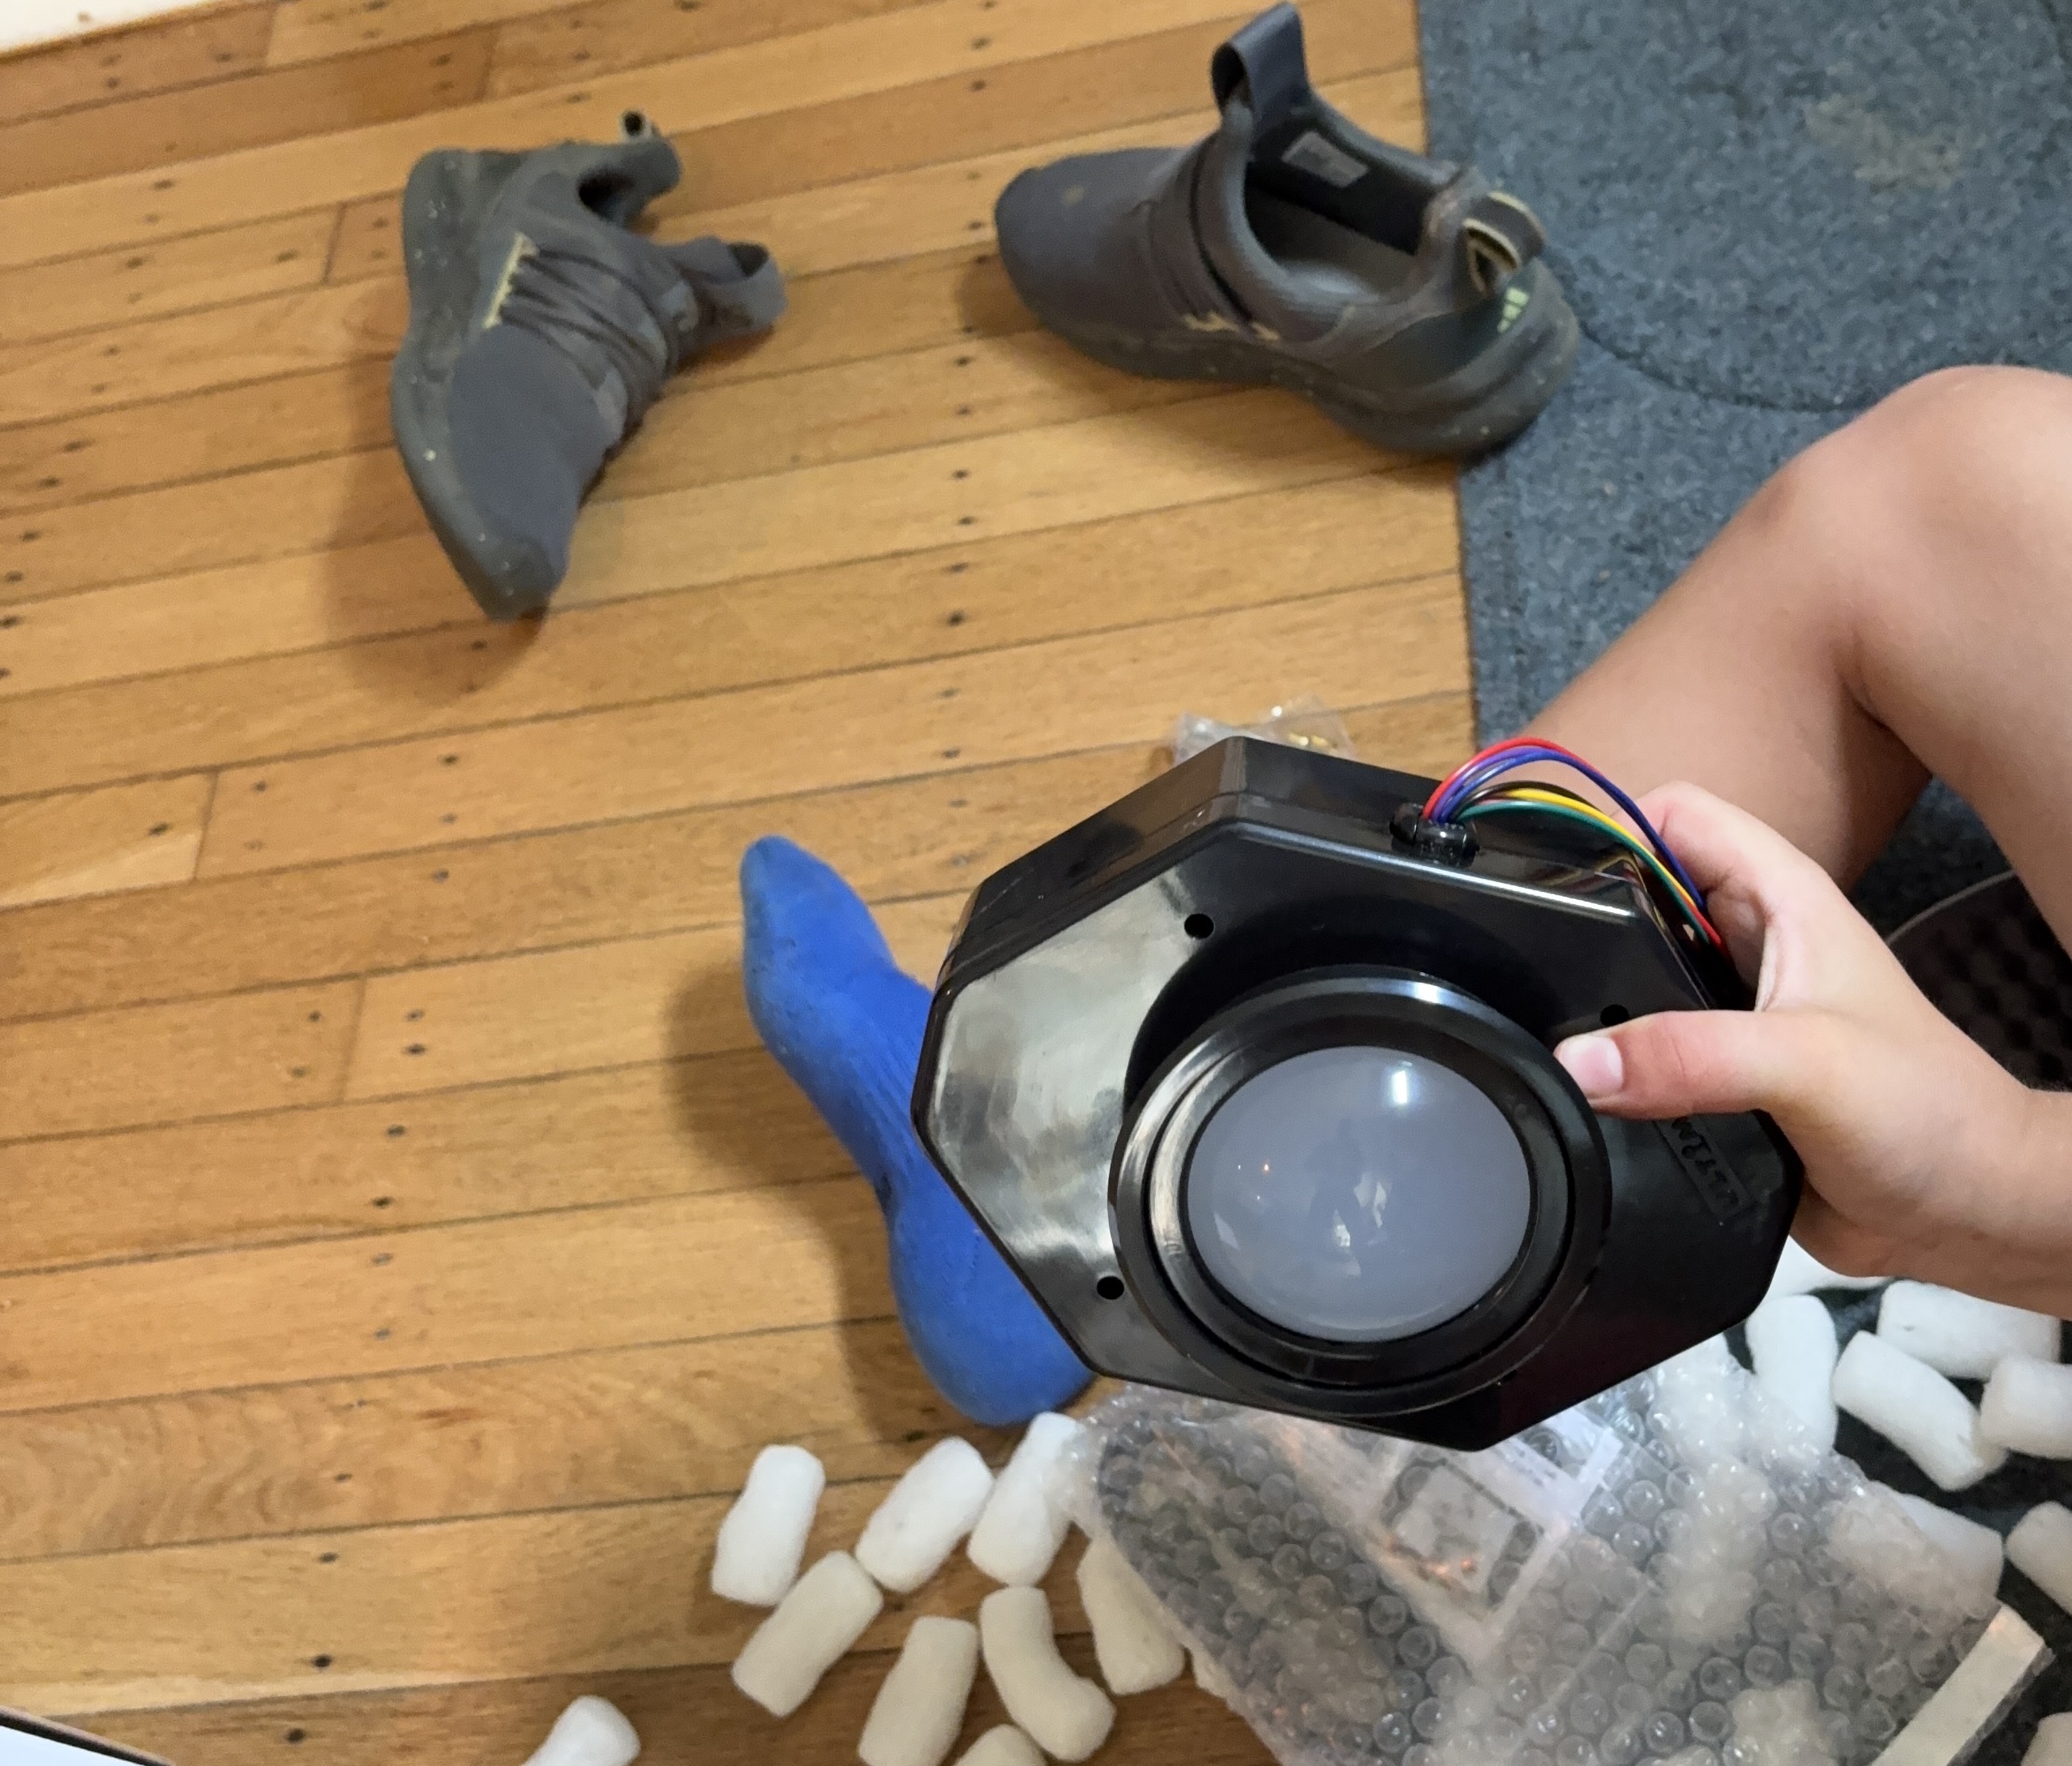
Track ball has arrived
The track ball in in the building, but it's been a little glitchy. We've been doing some troubleshooting to find out why it won't move certain directions within certain games.
June 28, 2026
Let's start building
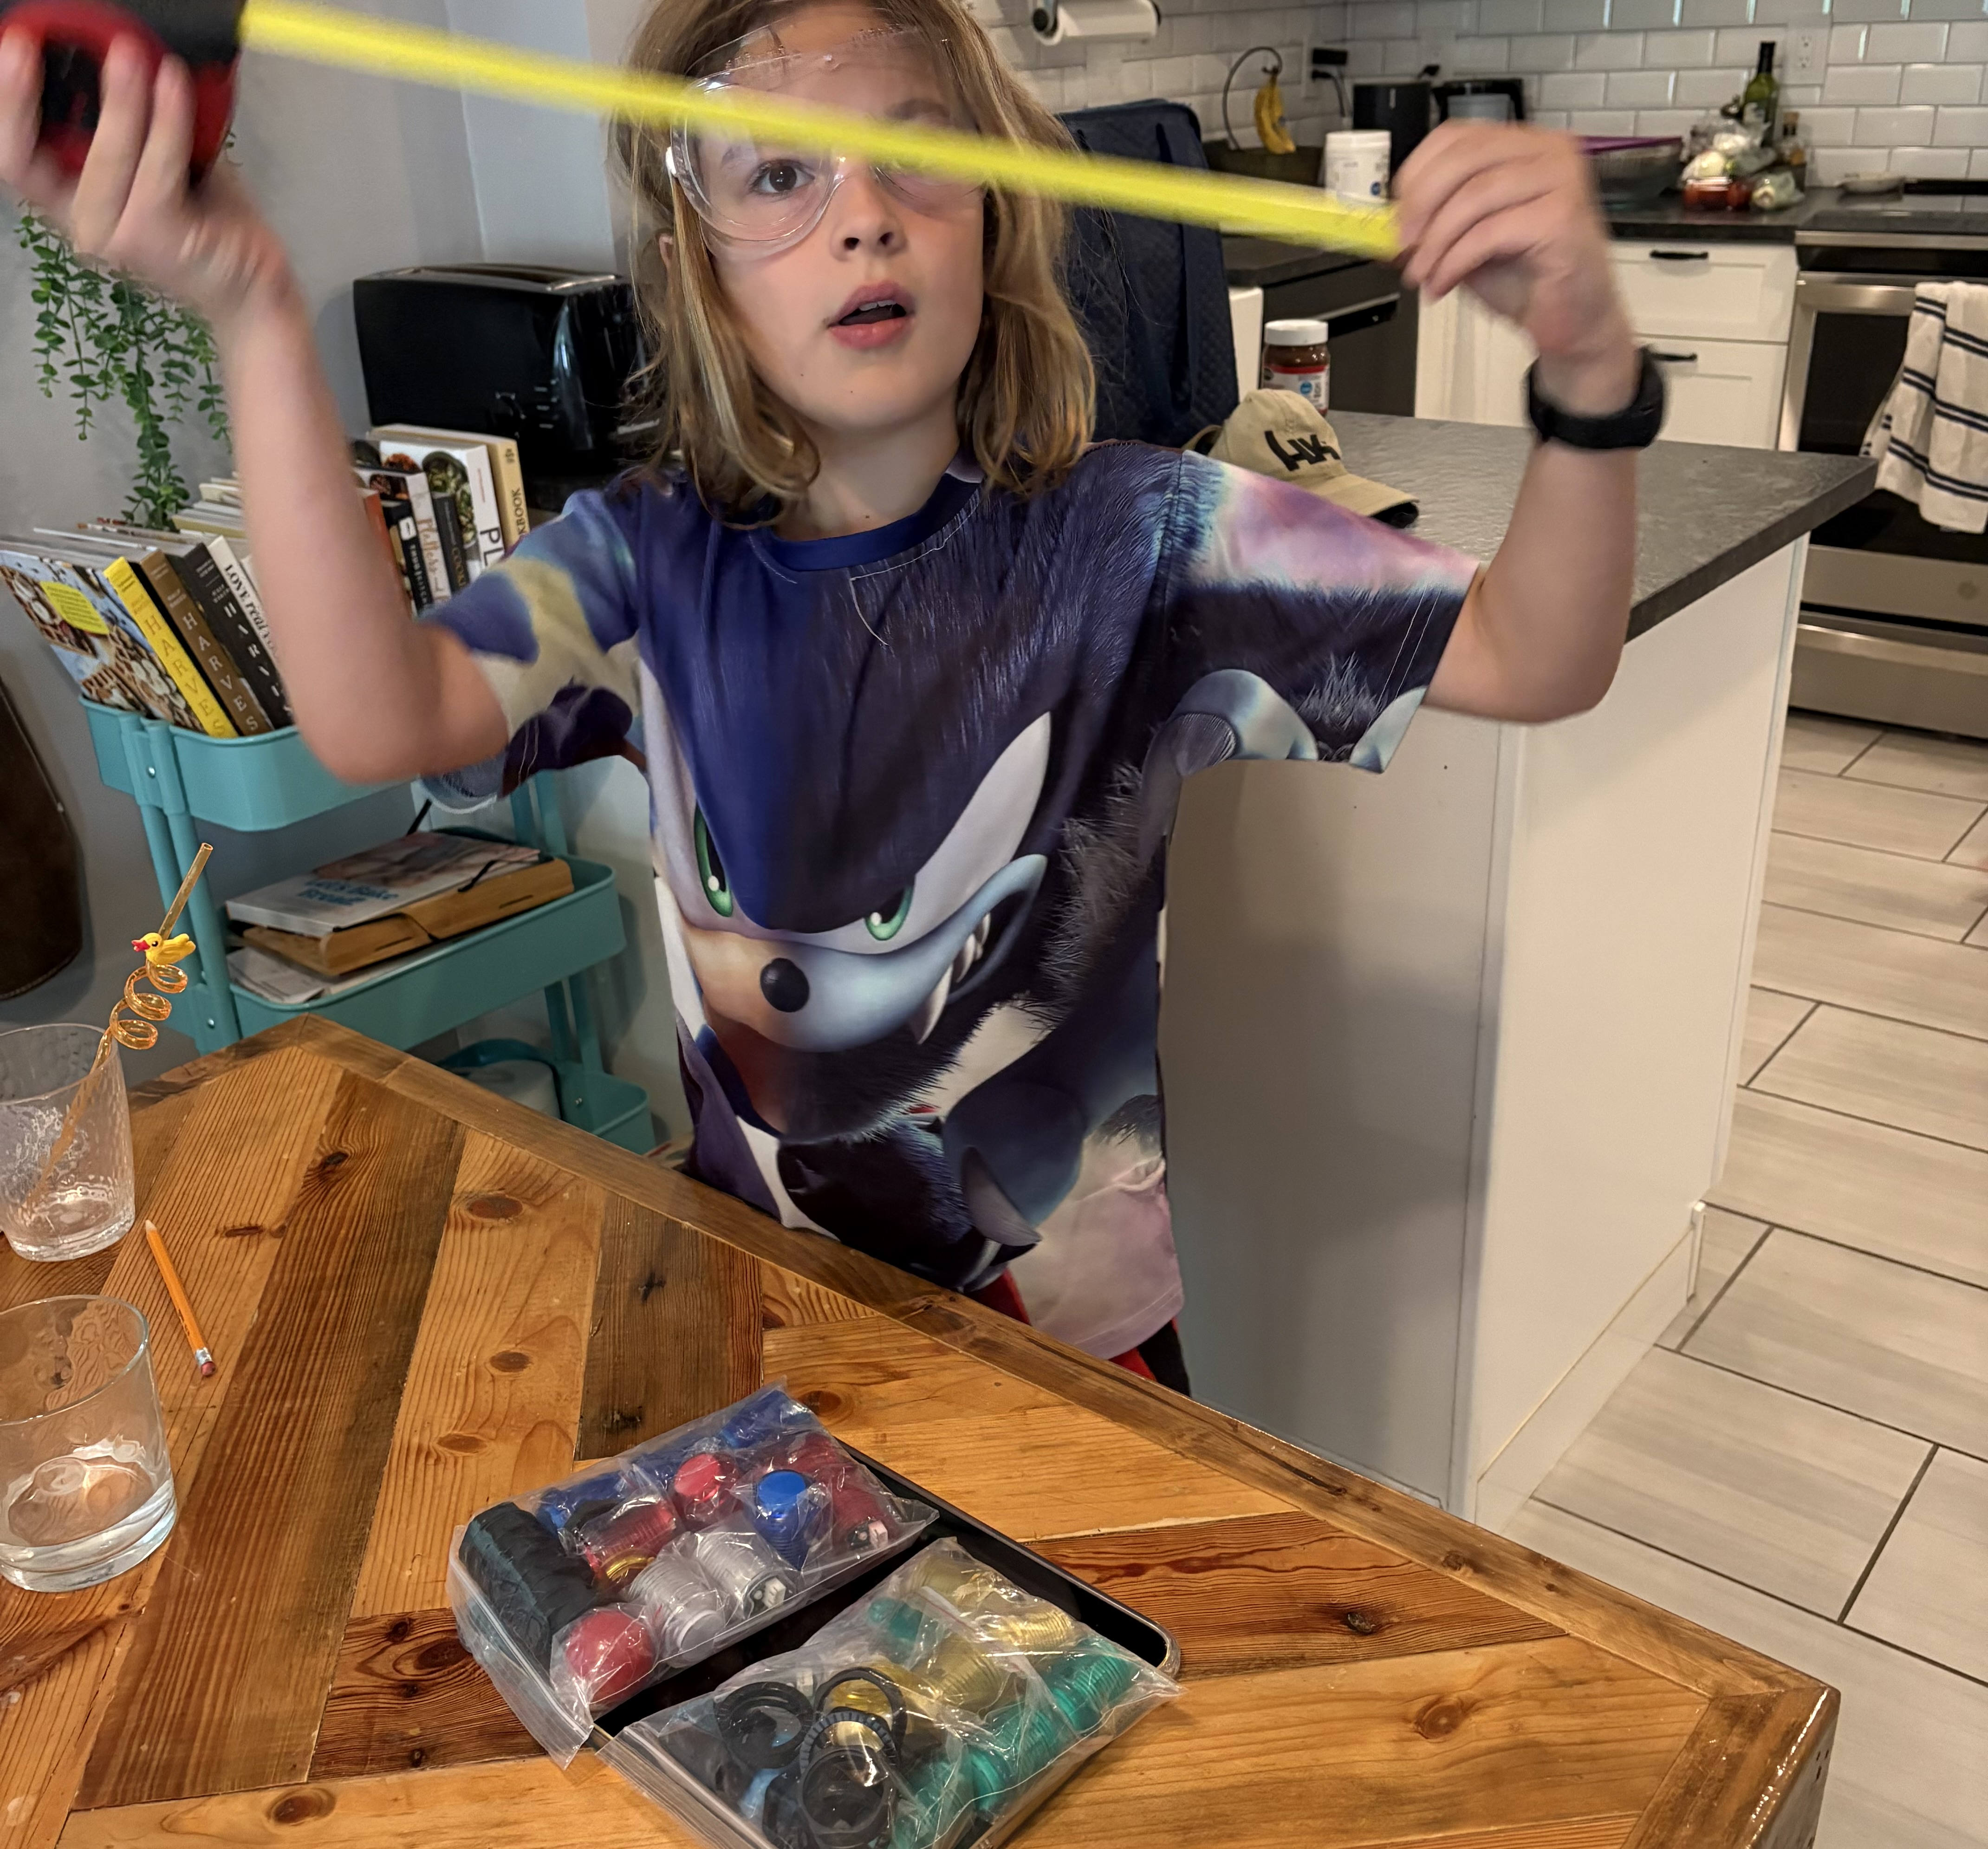
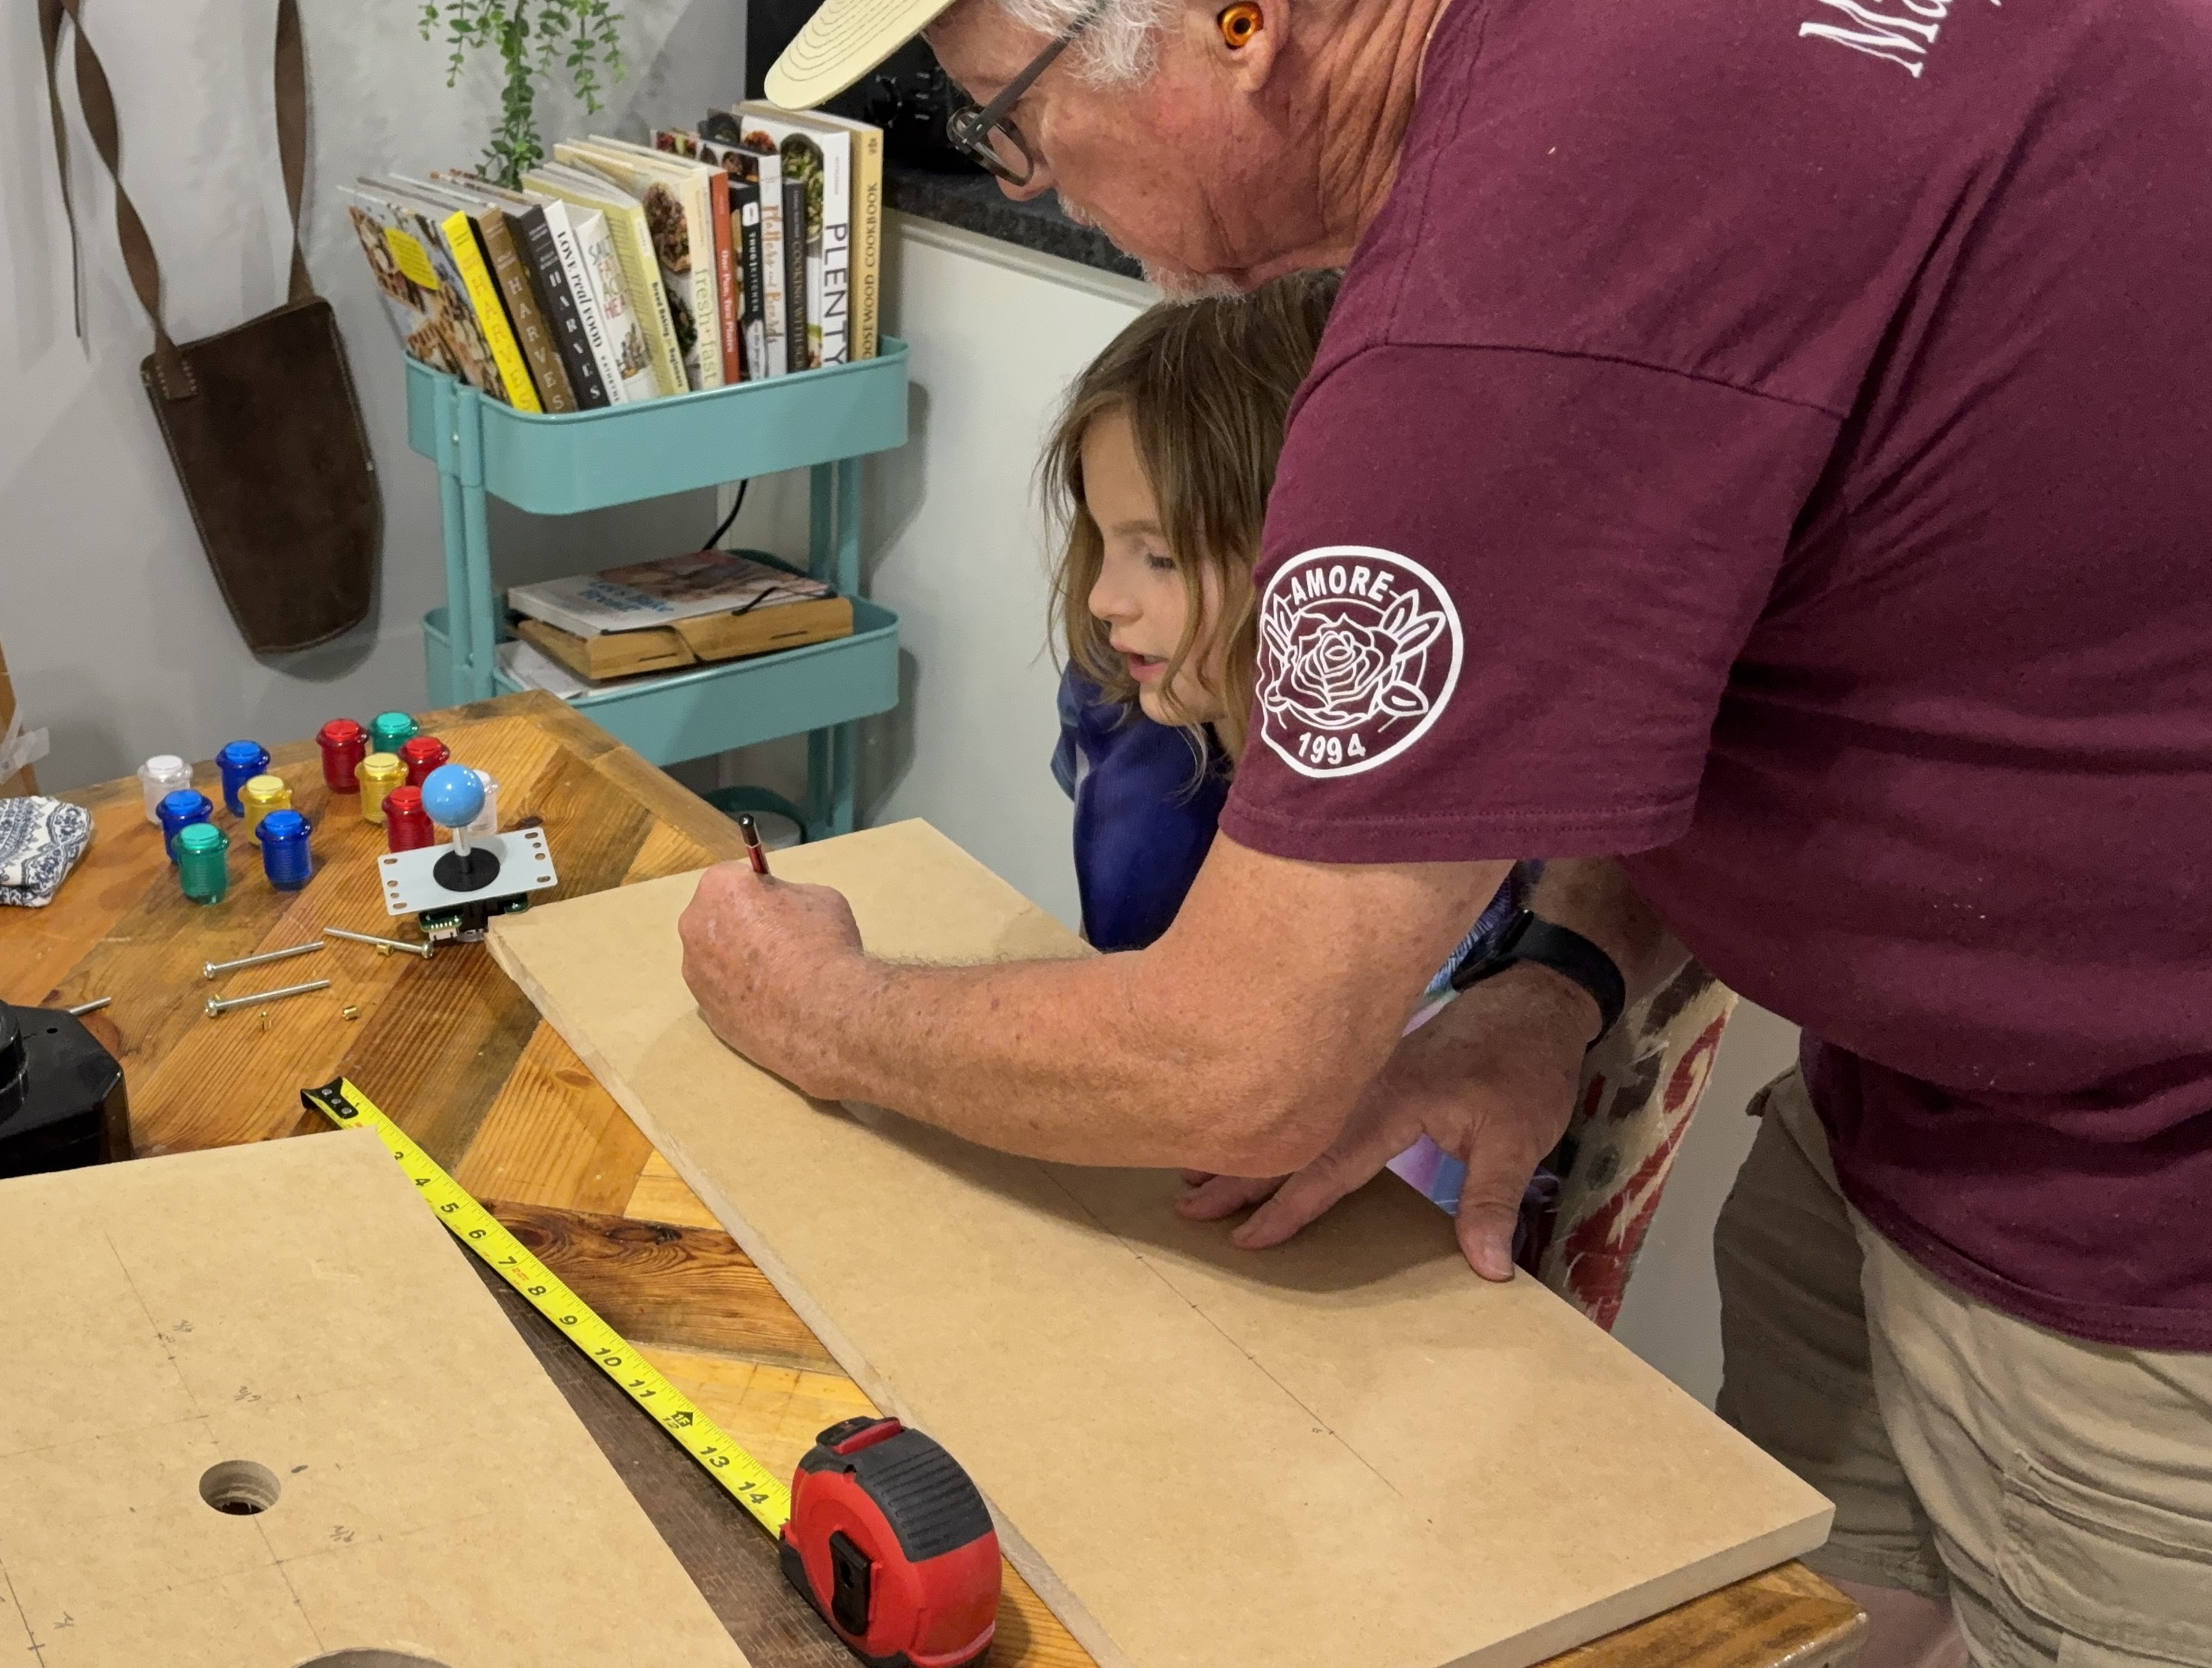
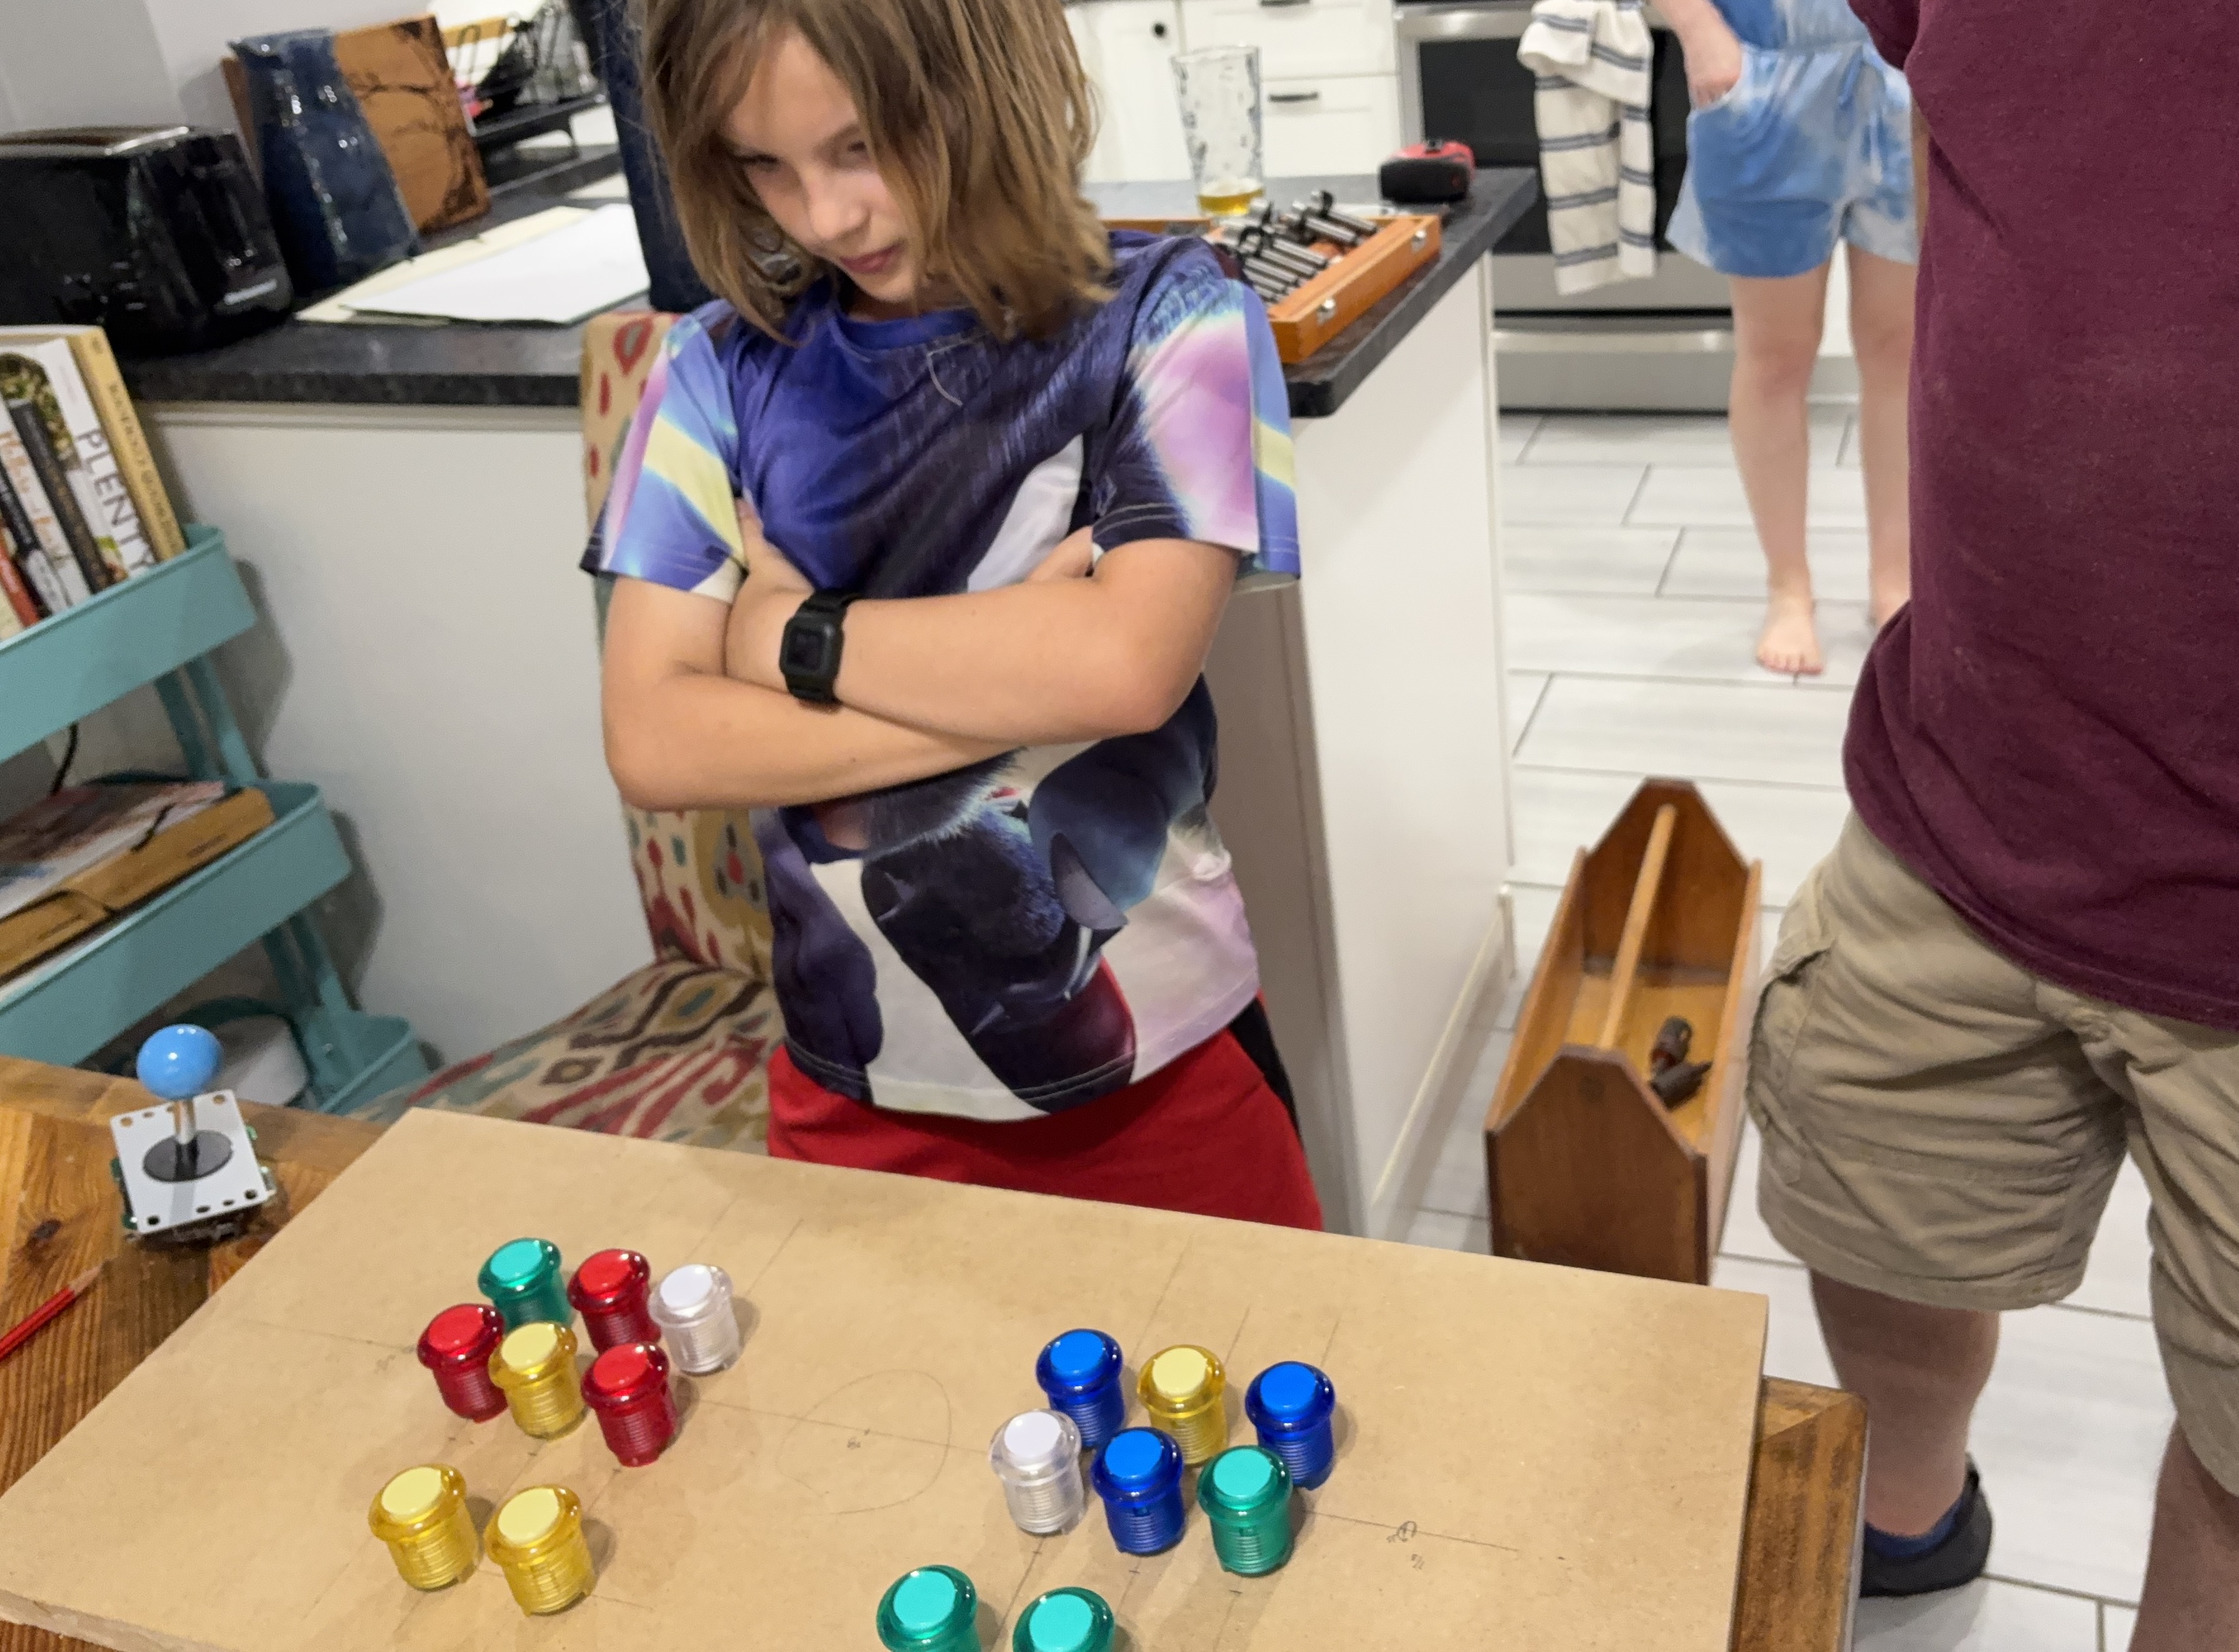
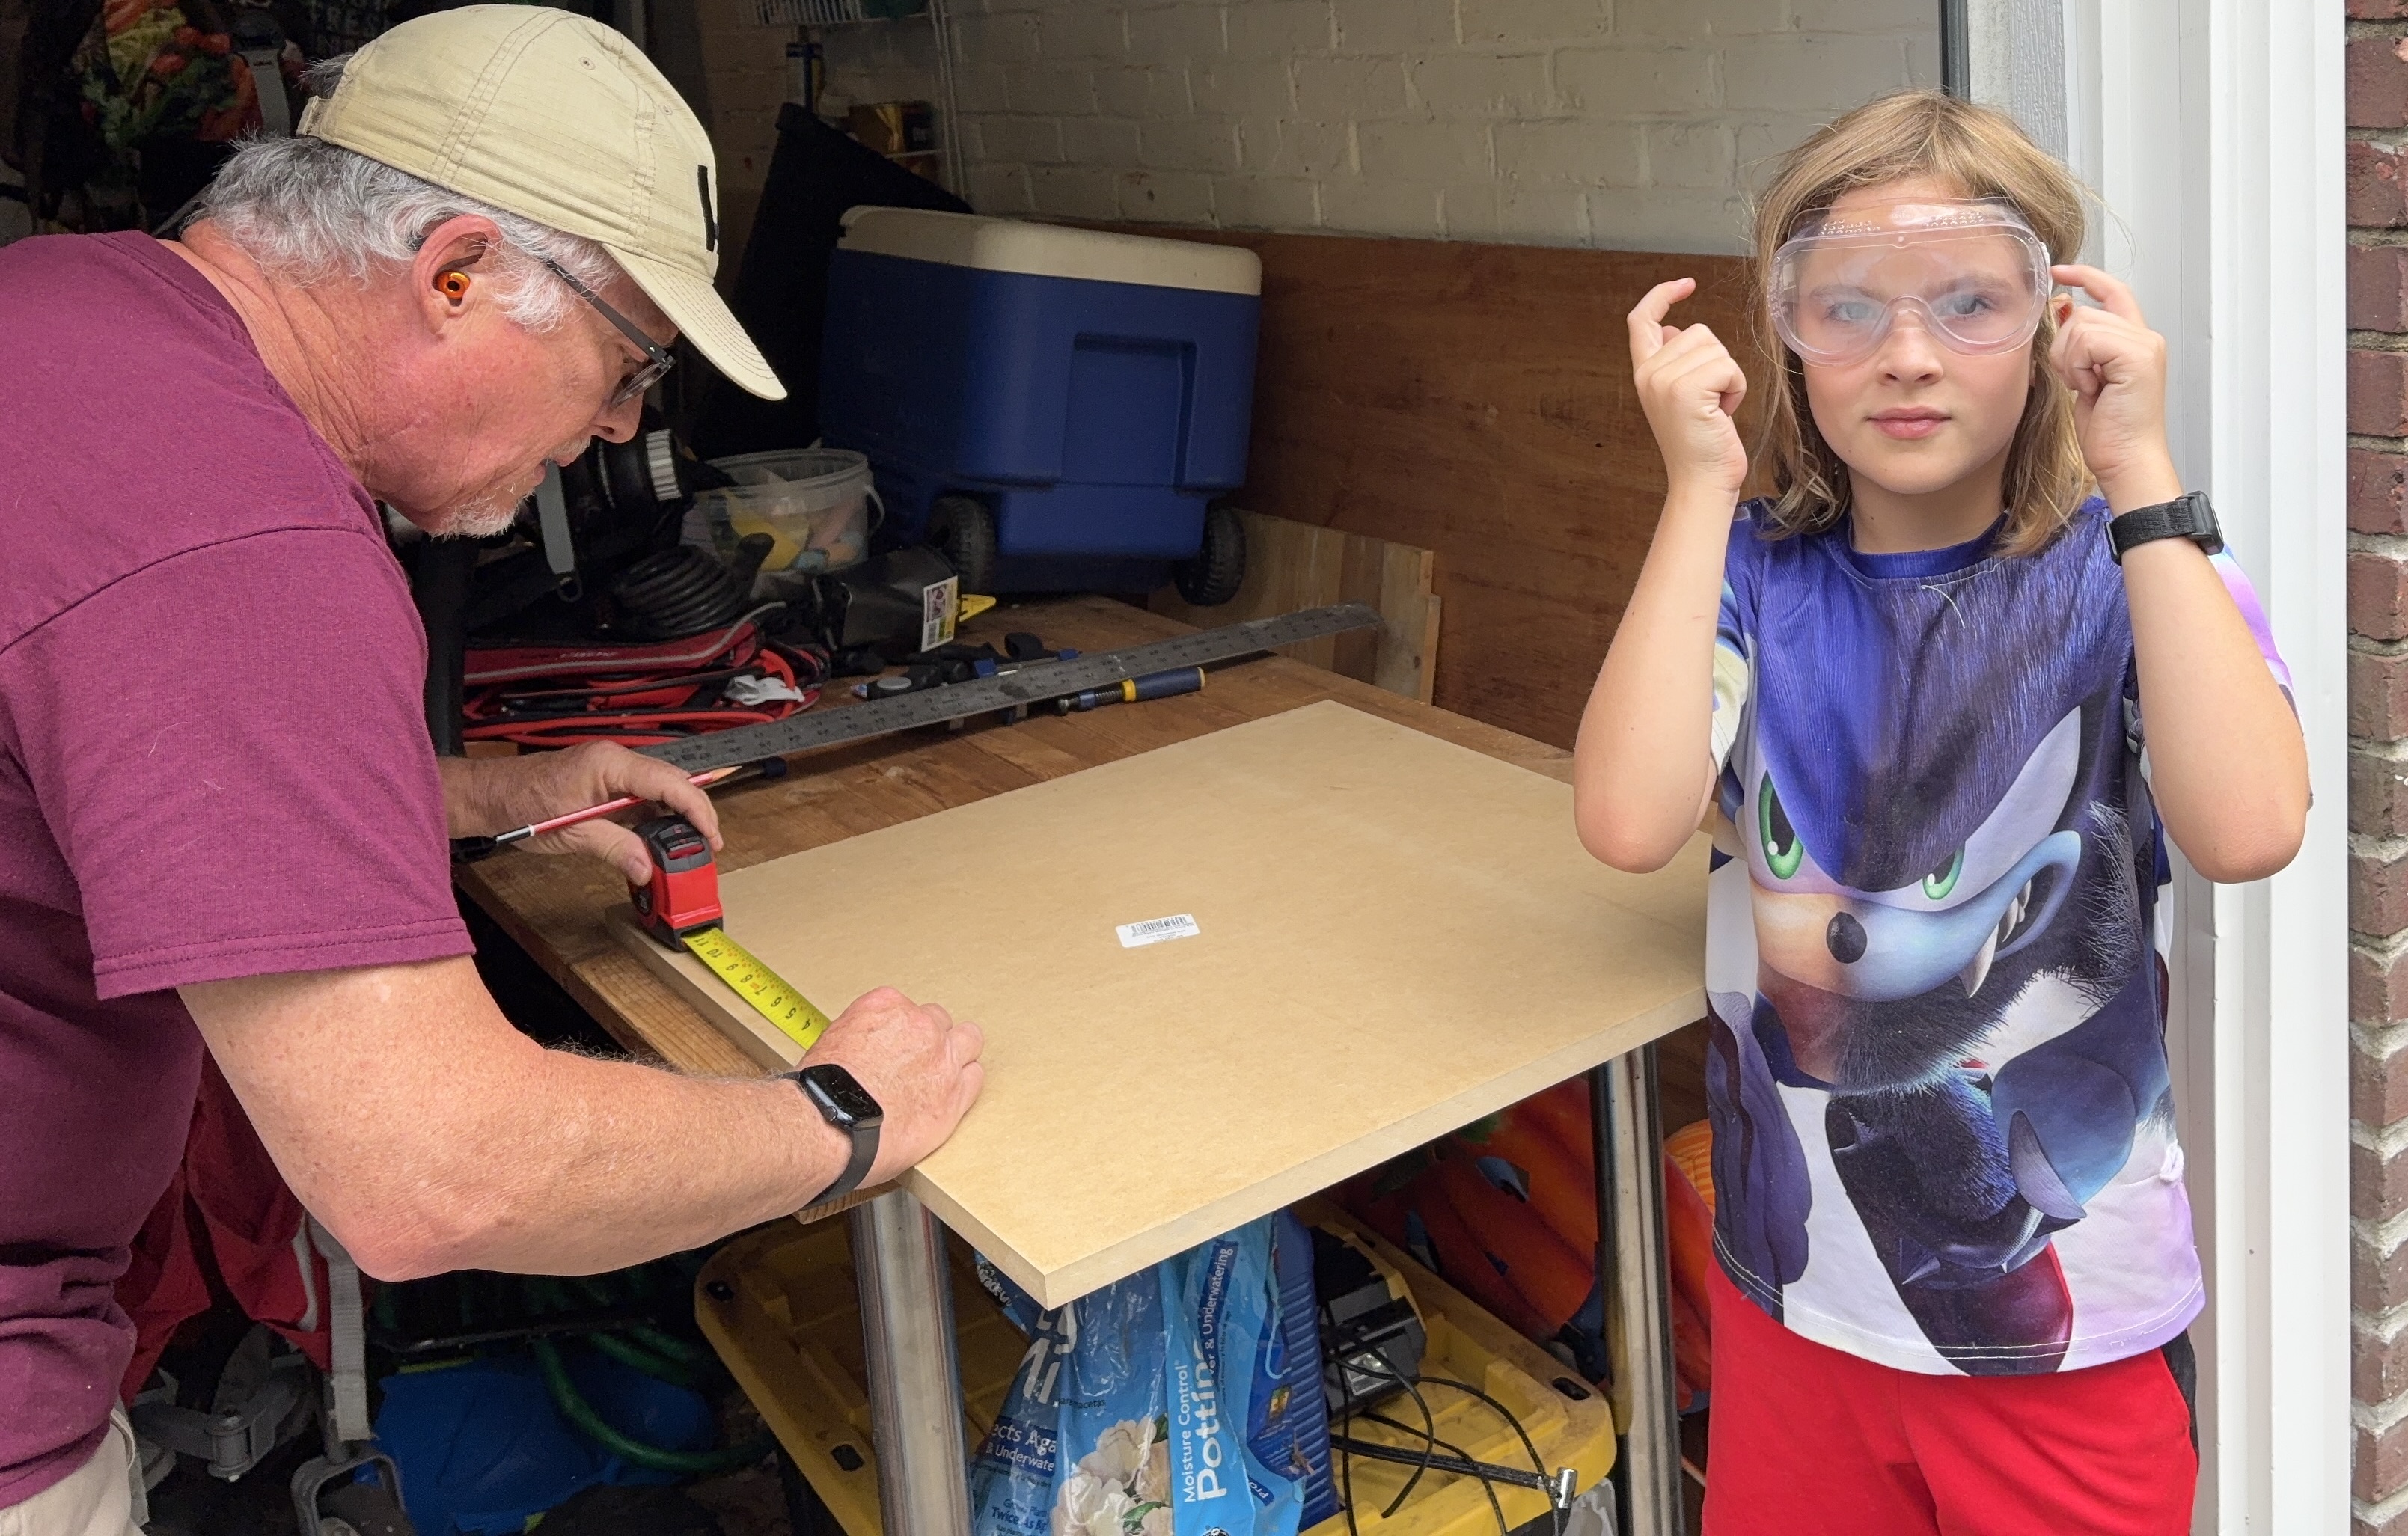
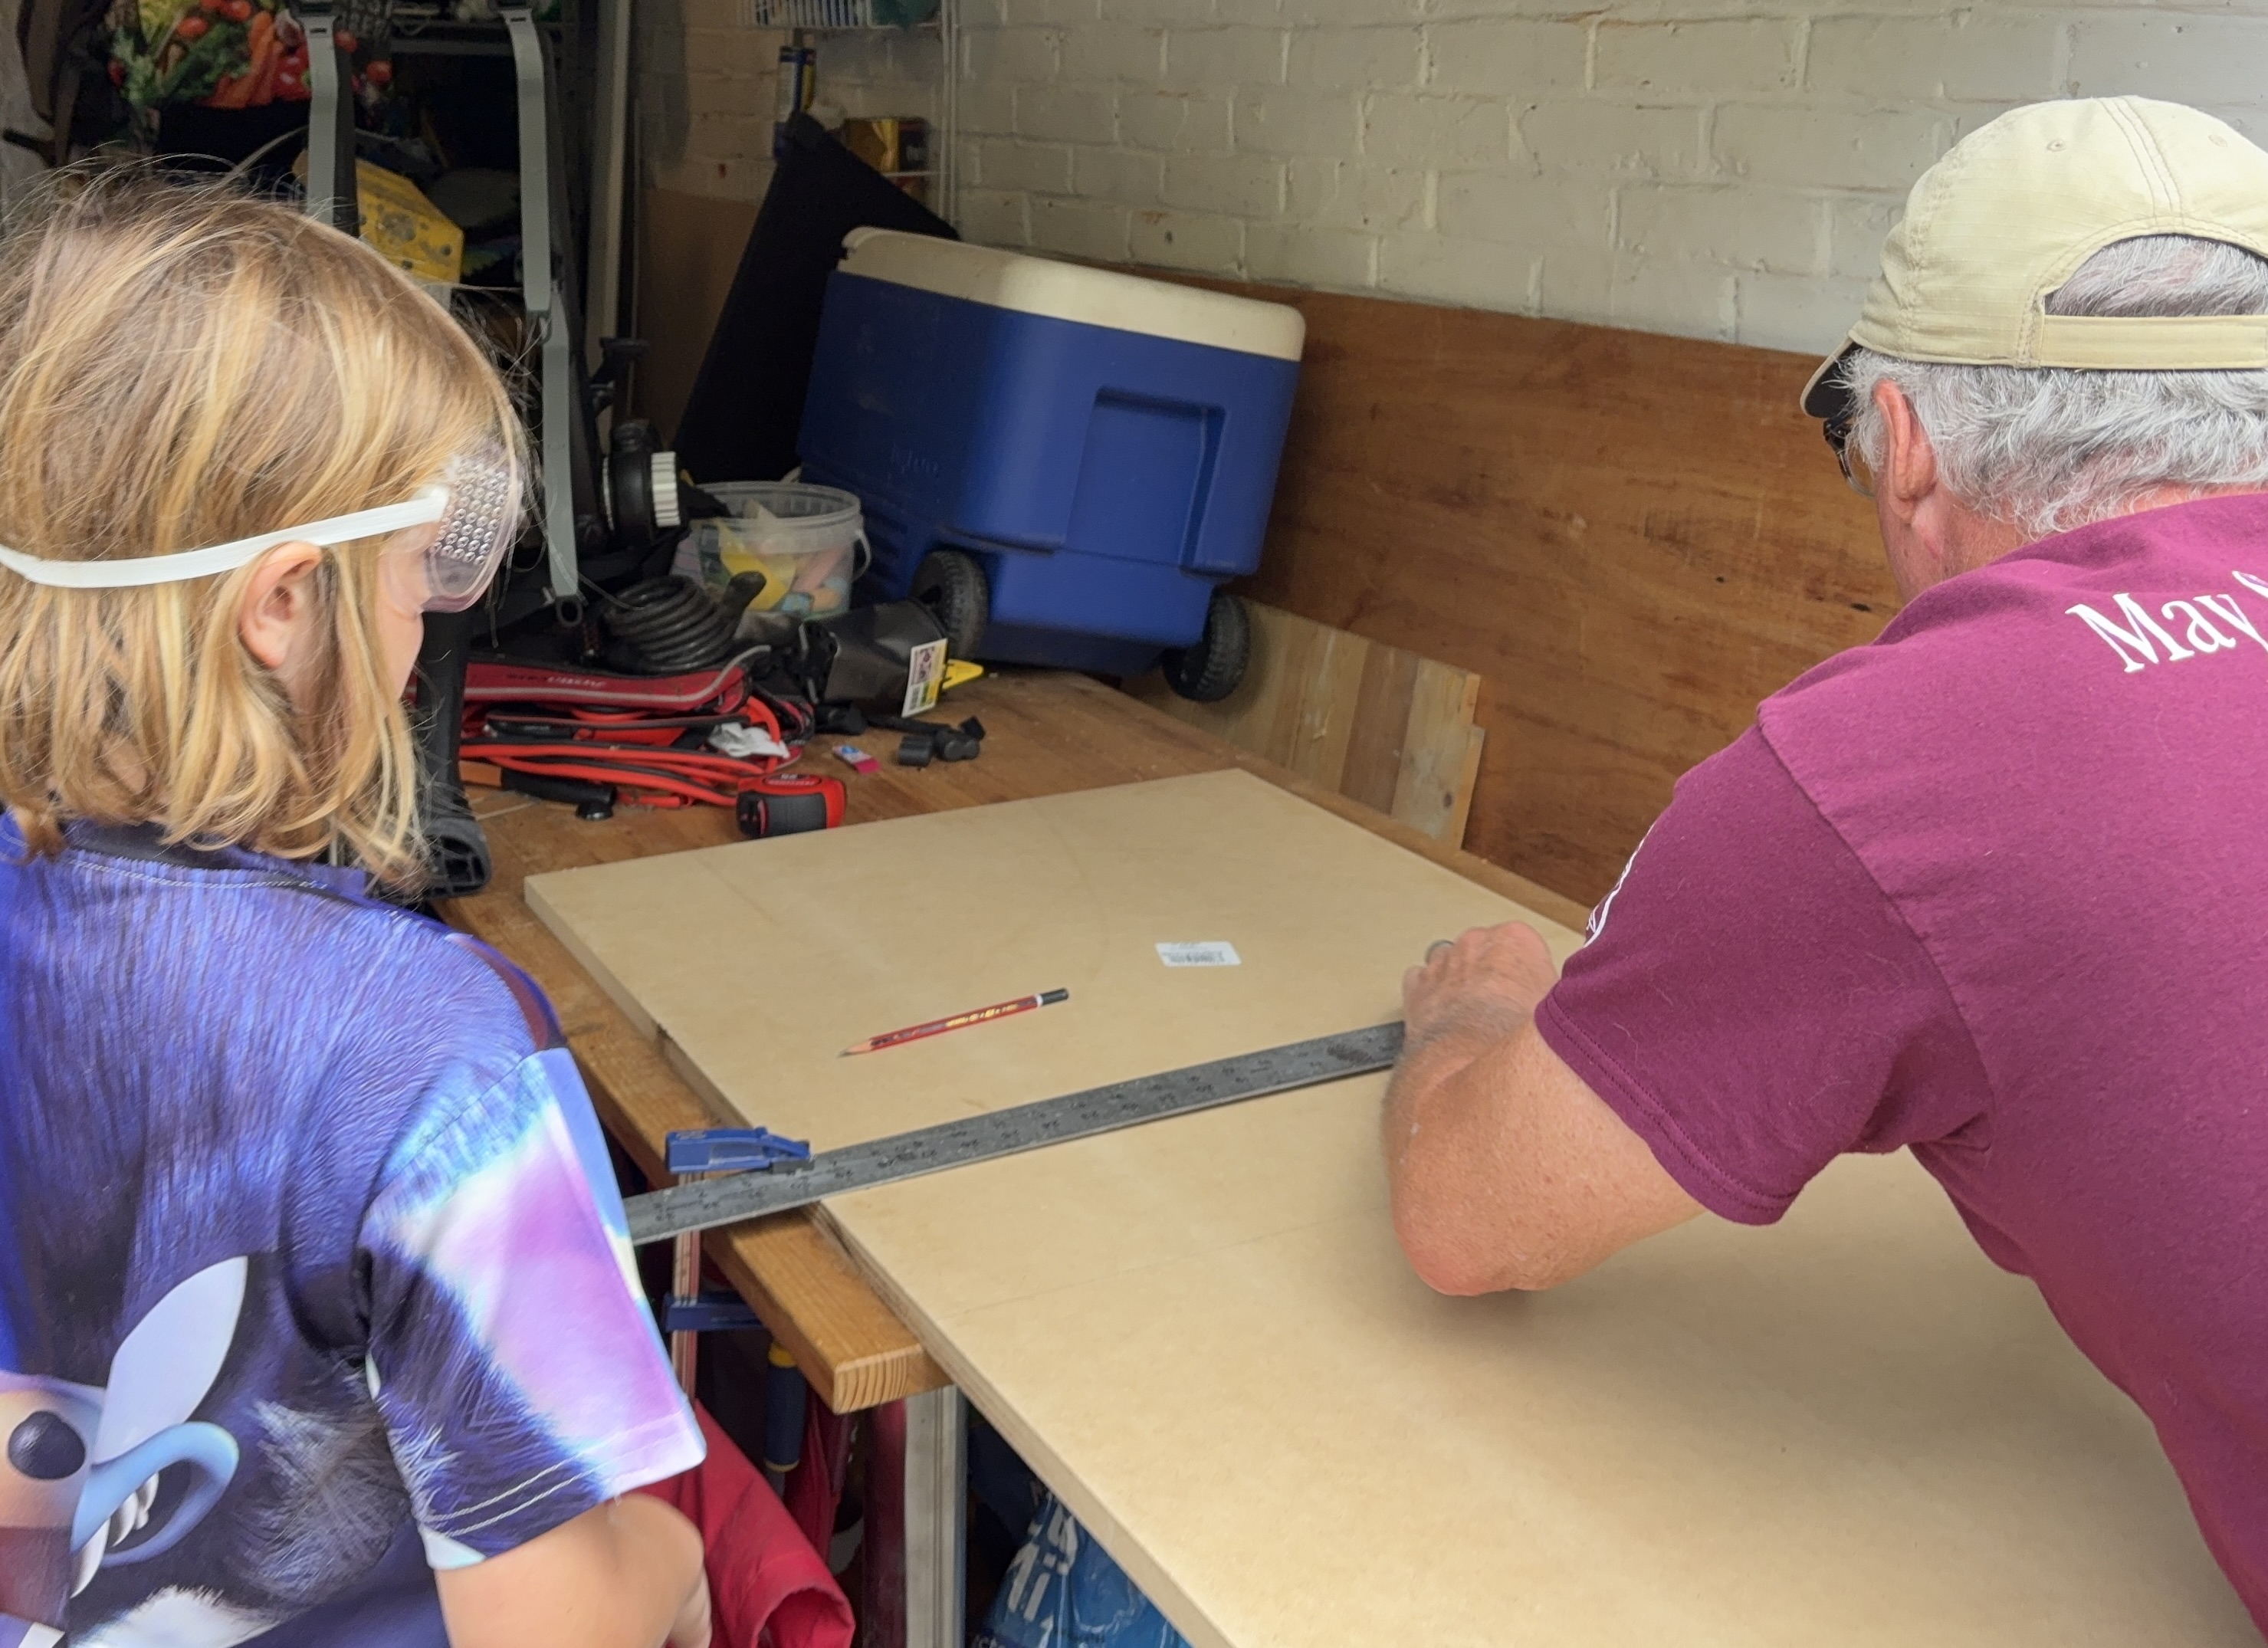
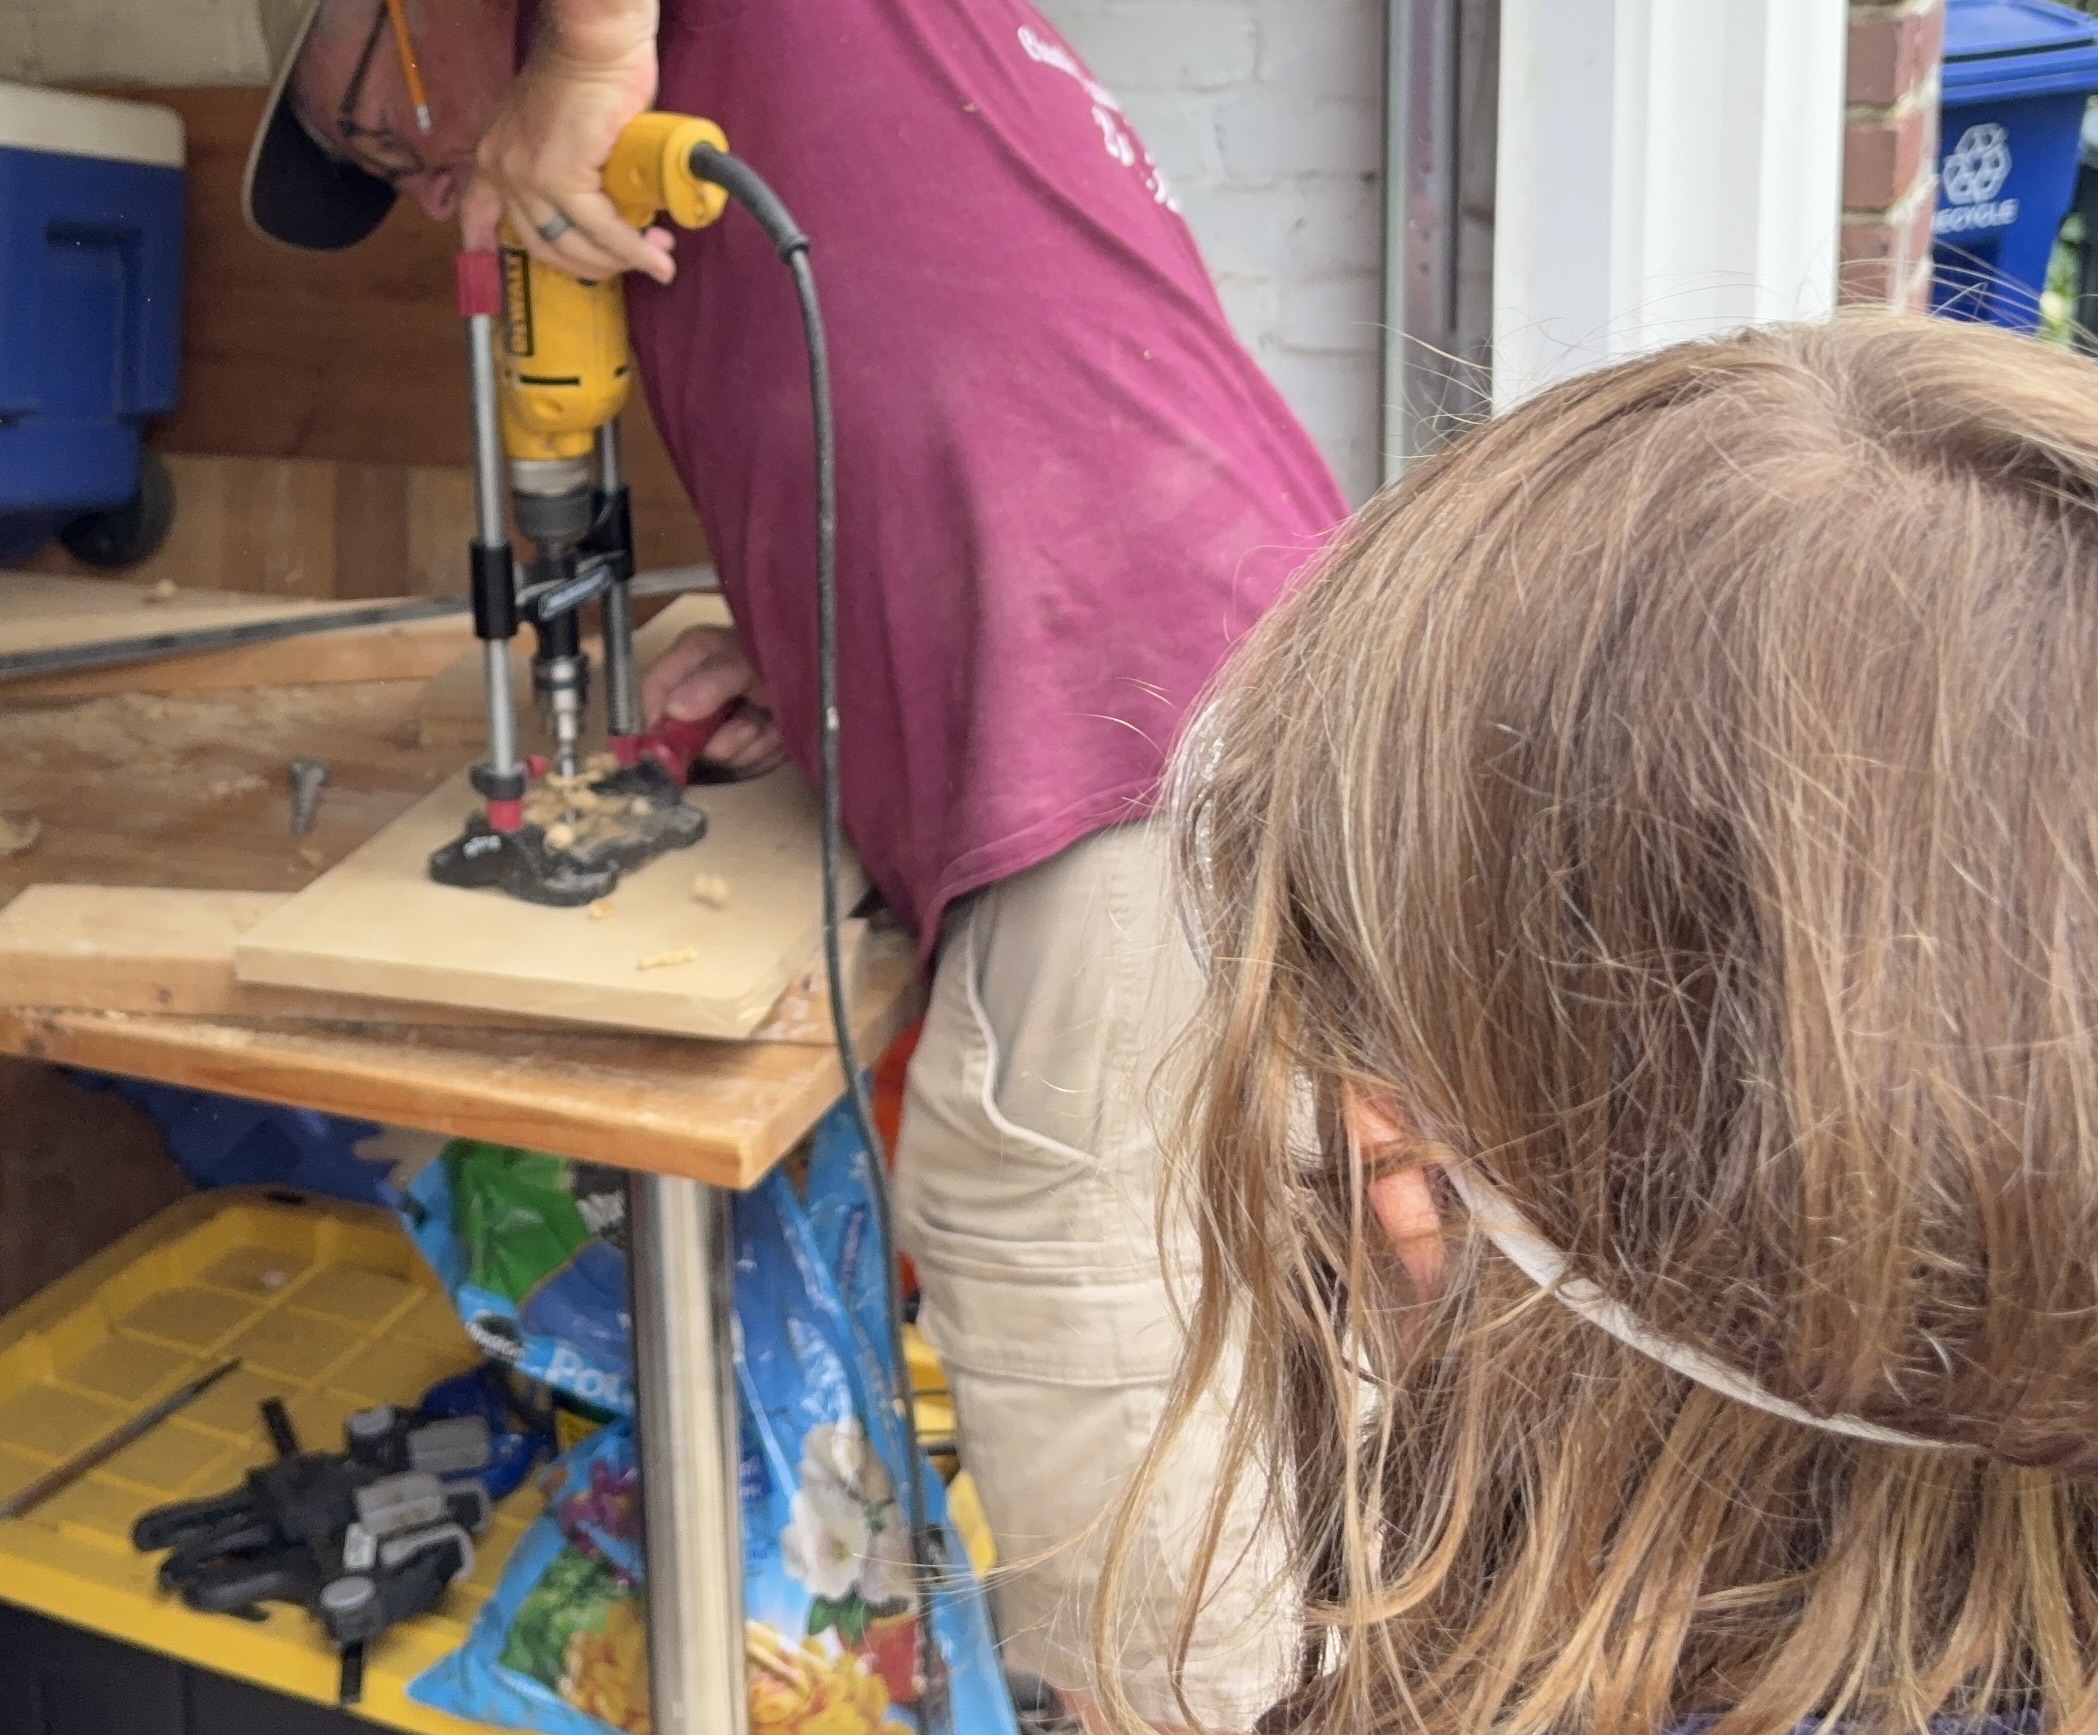
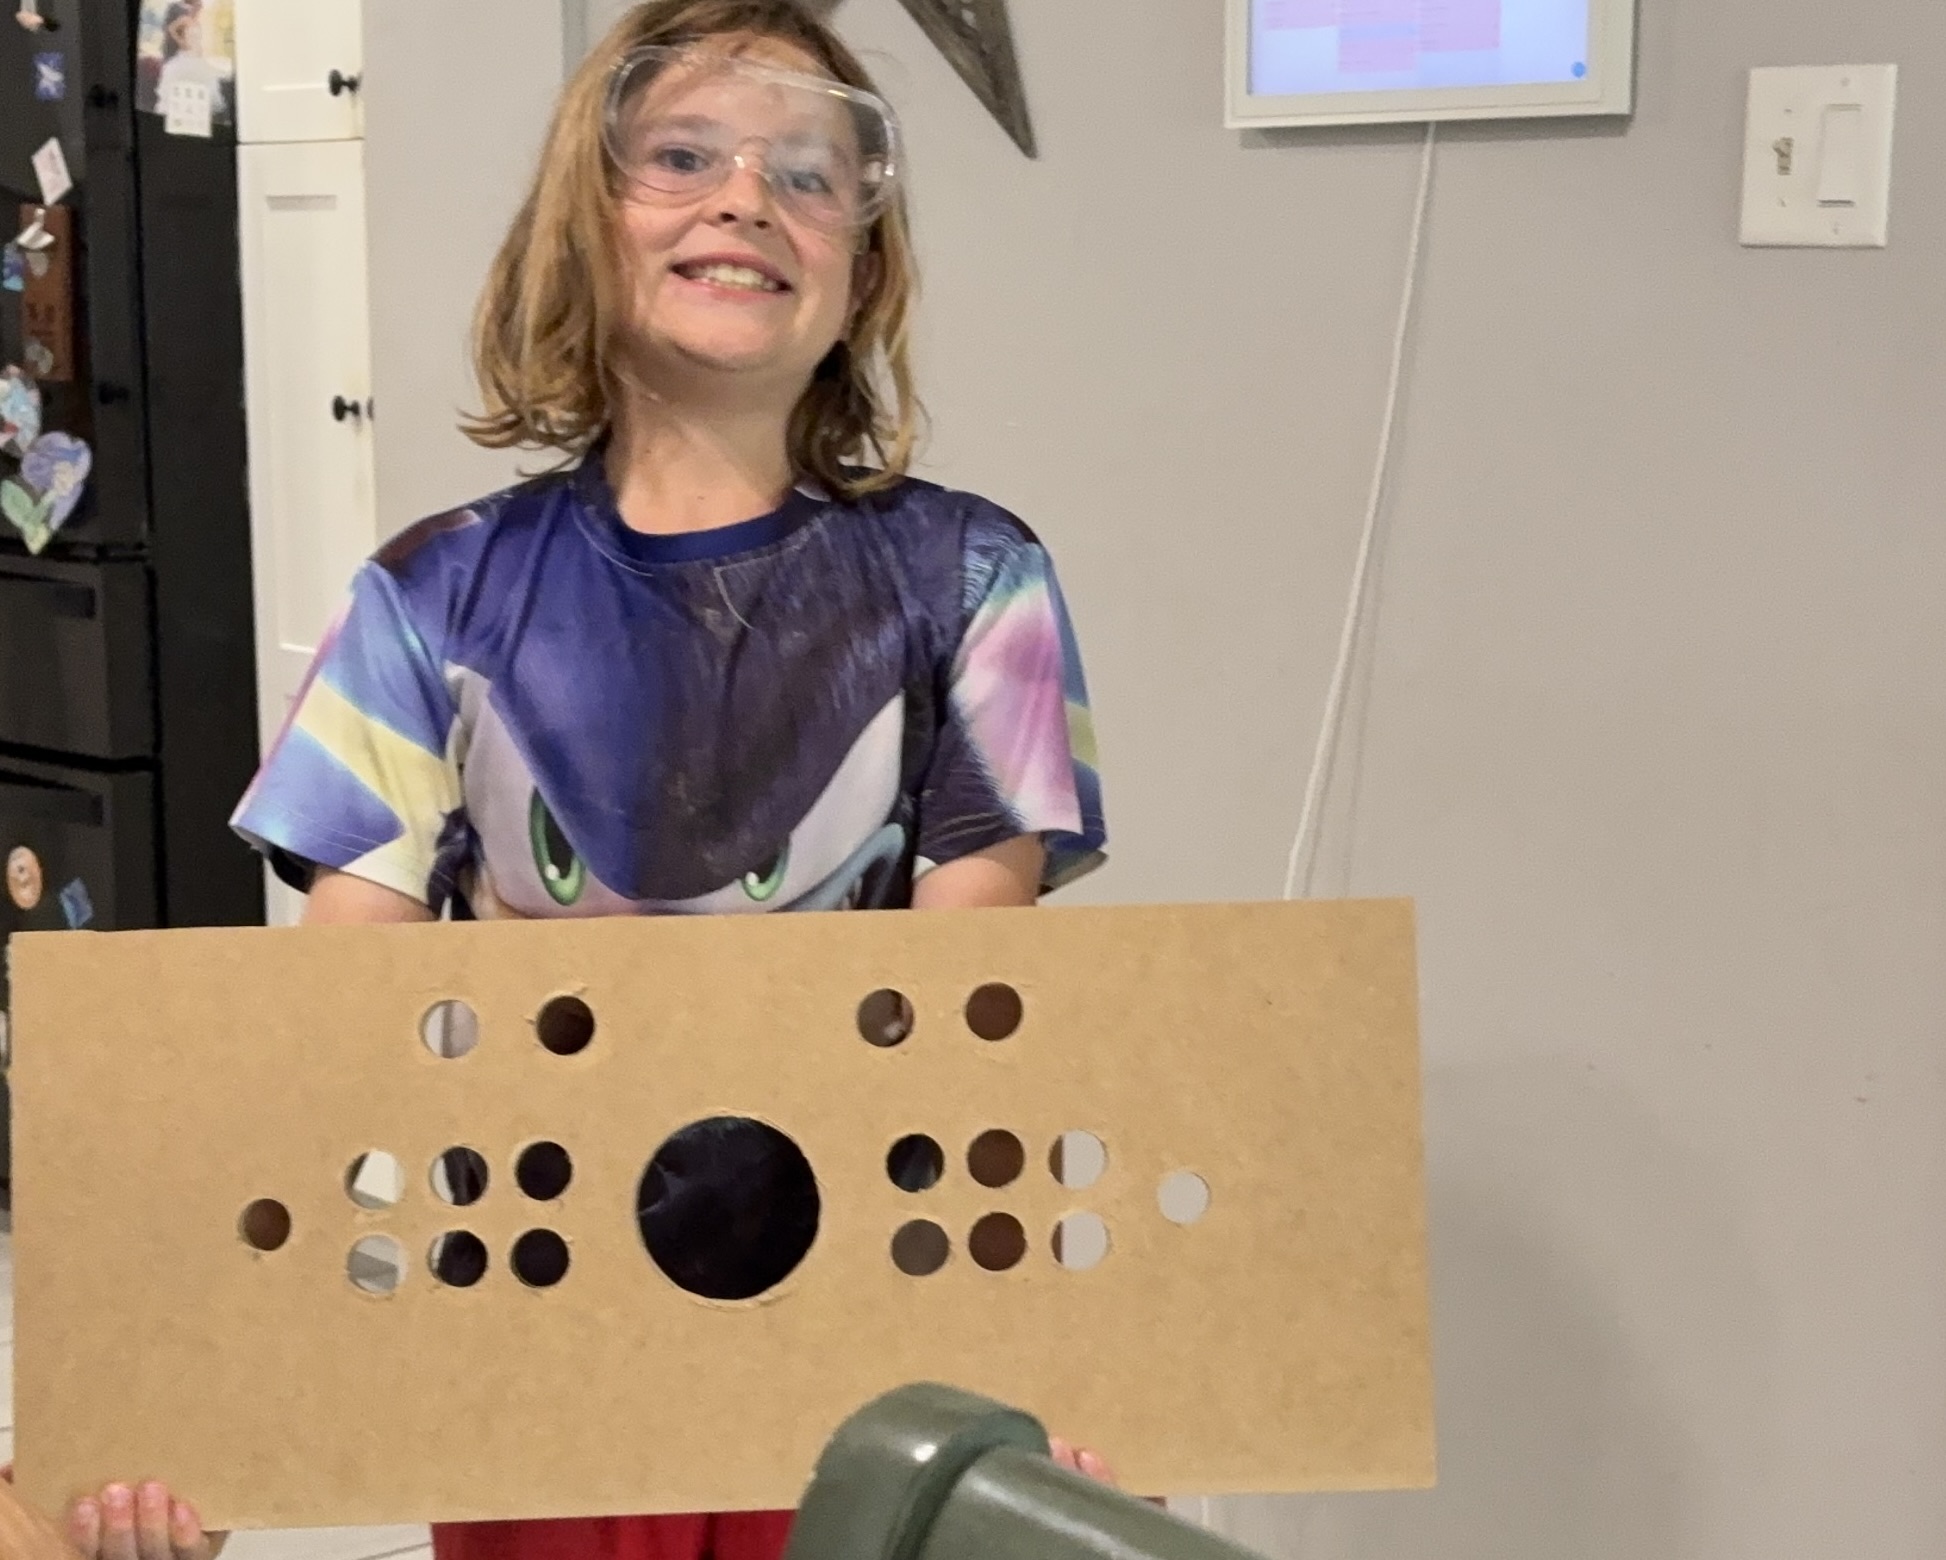
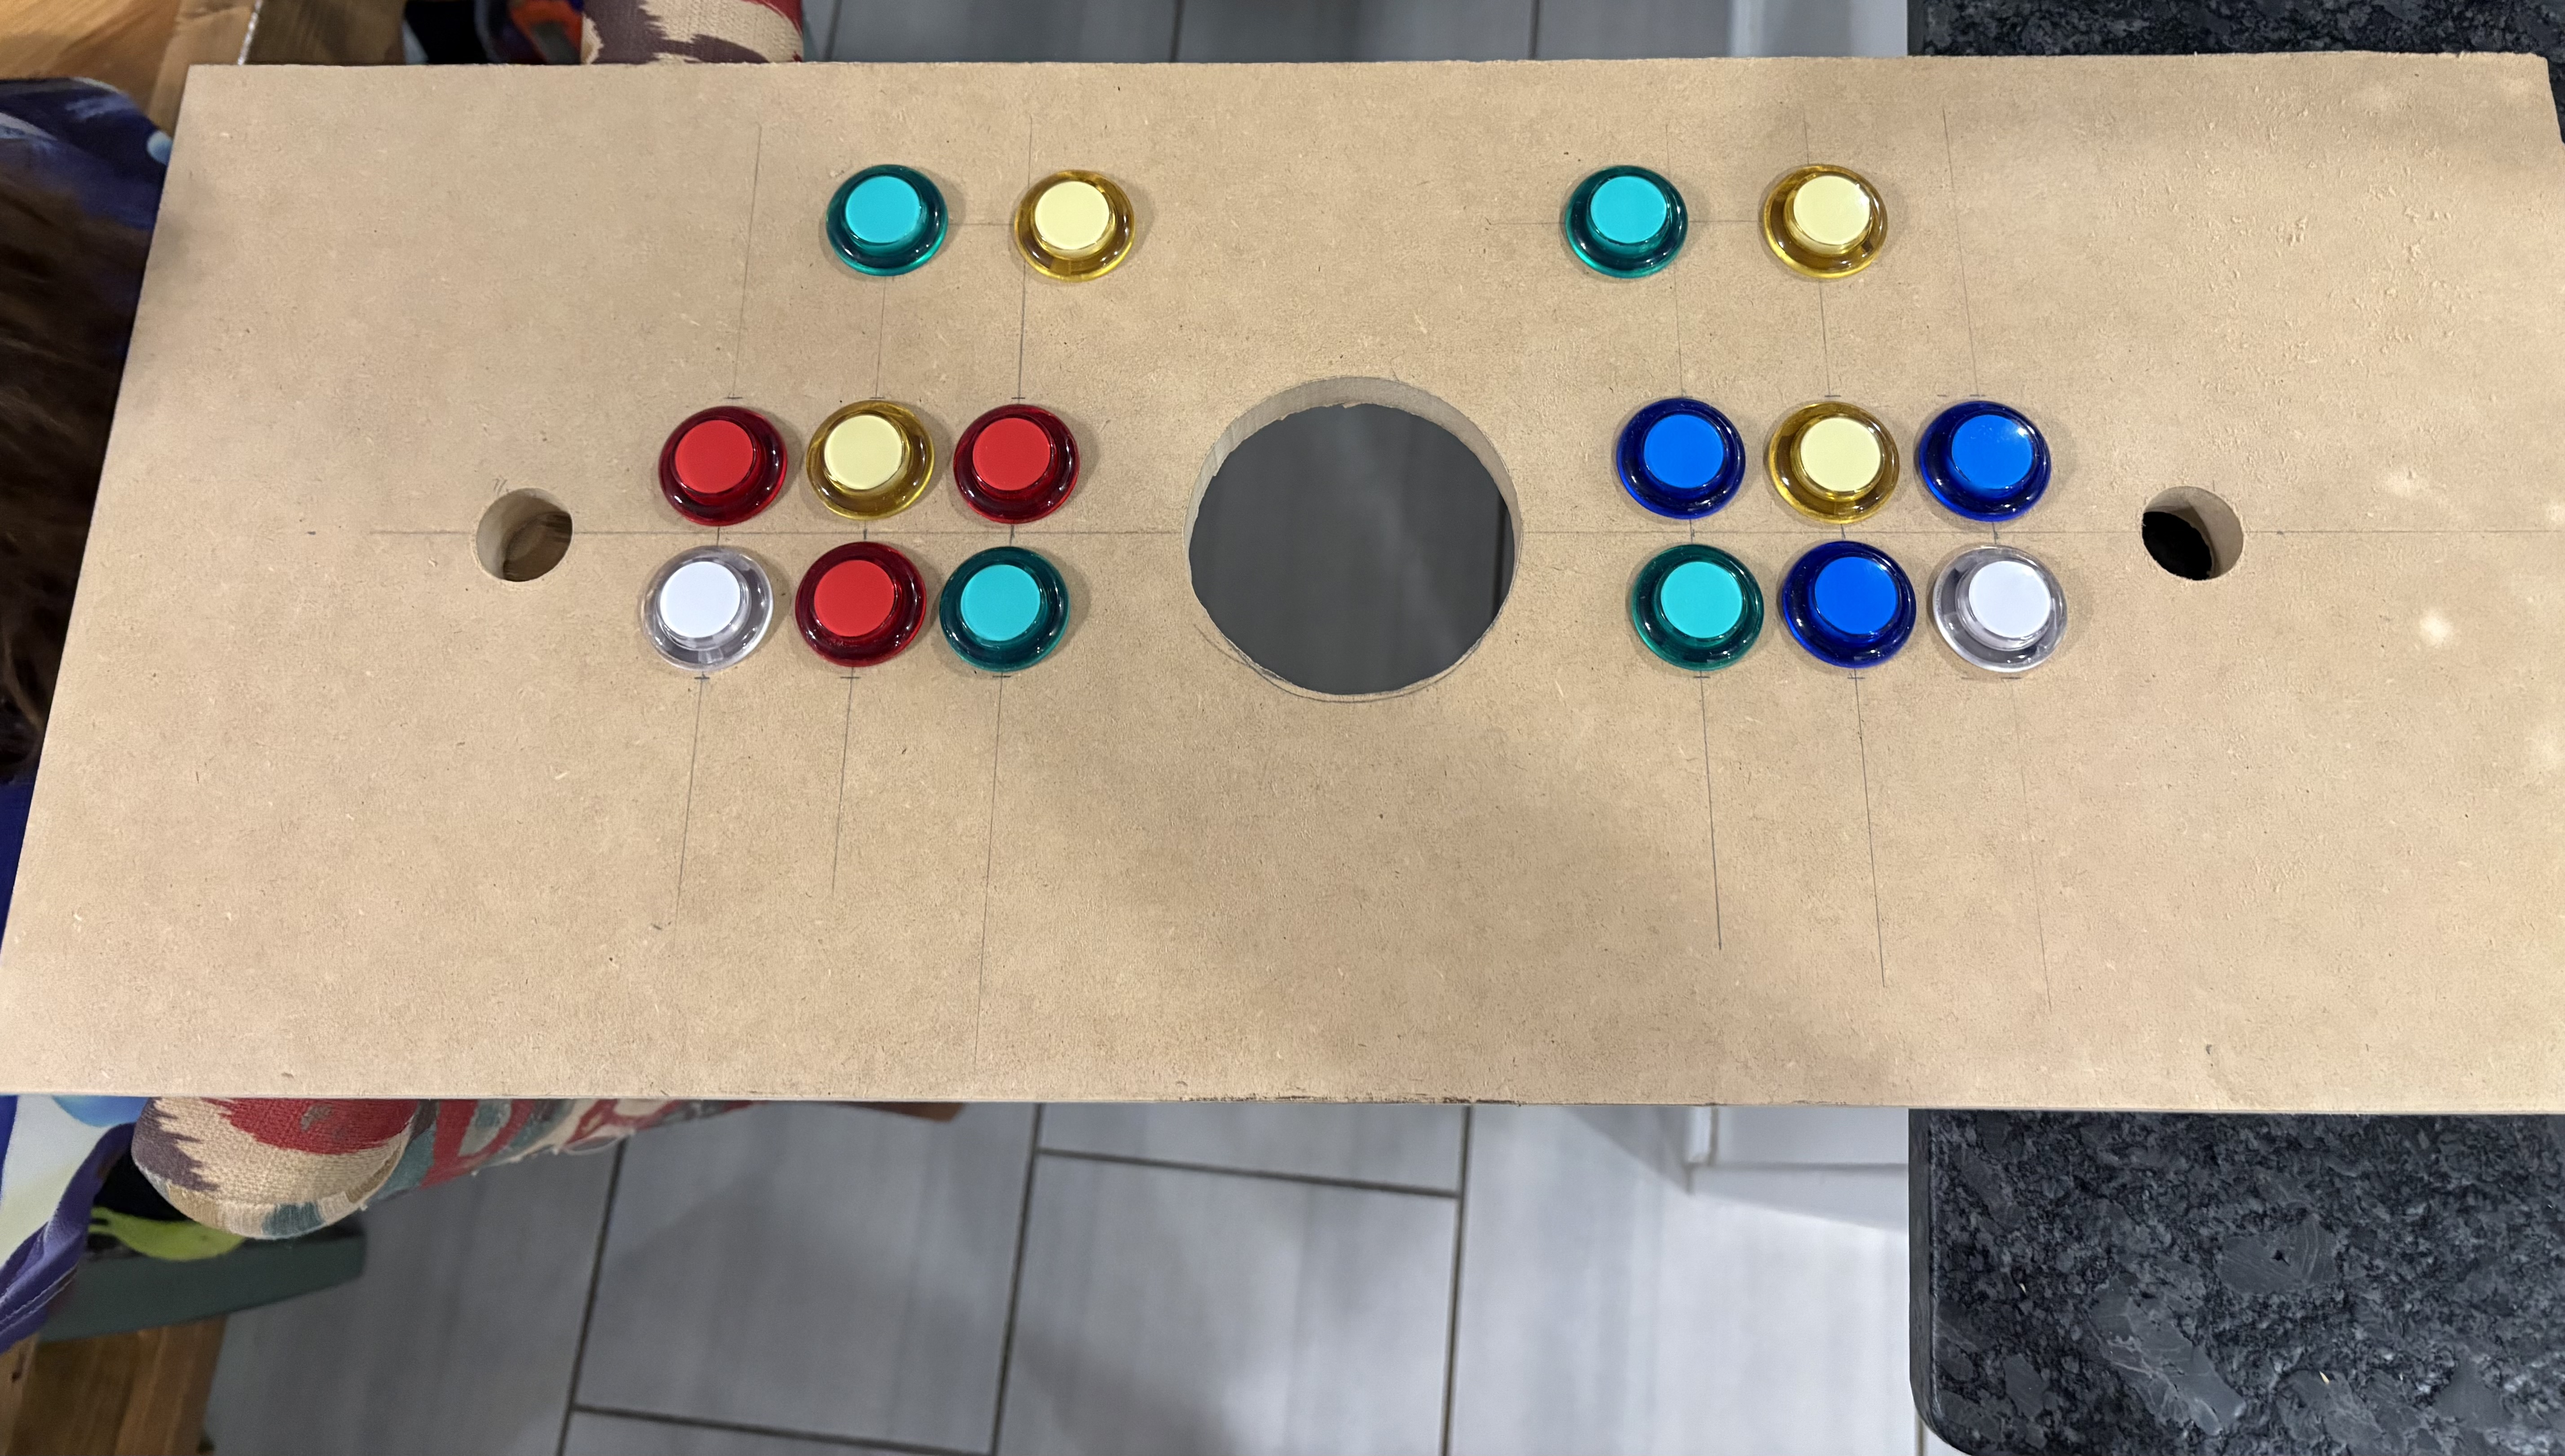
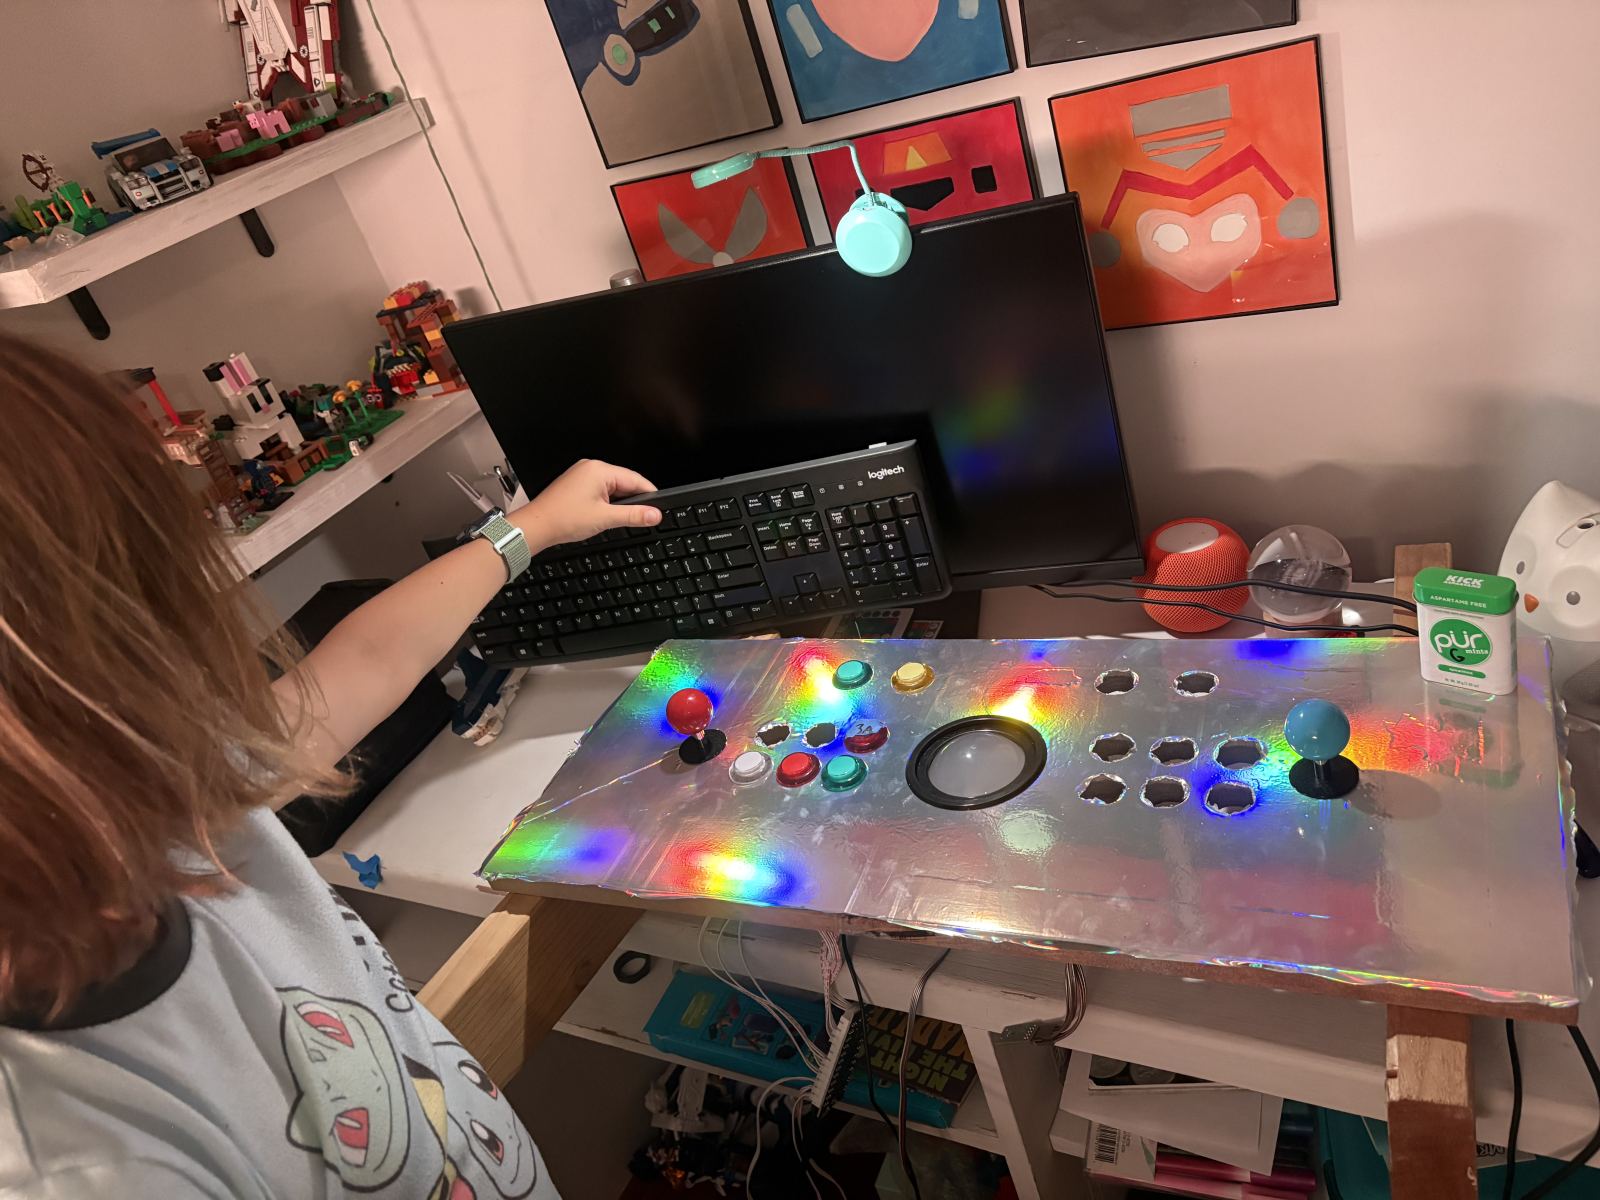
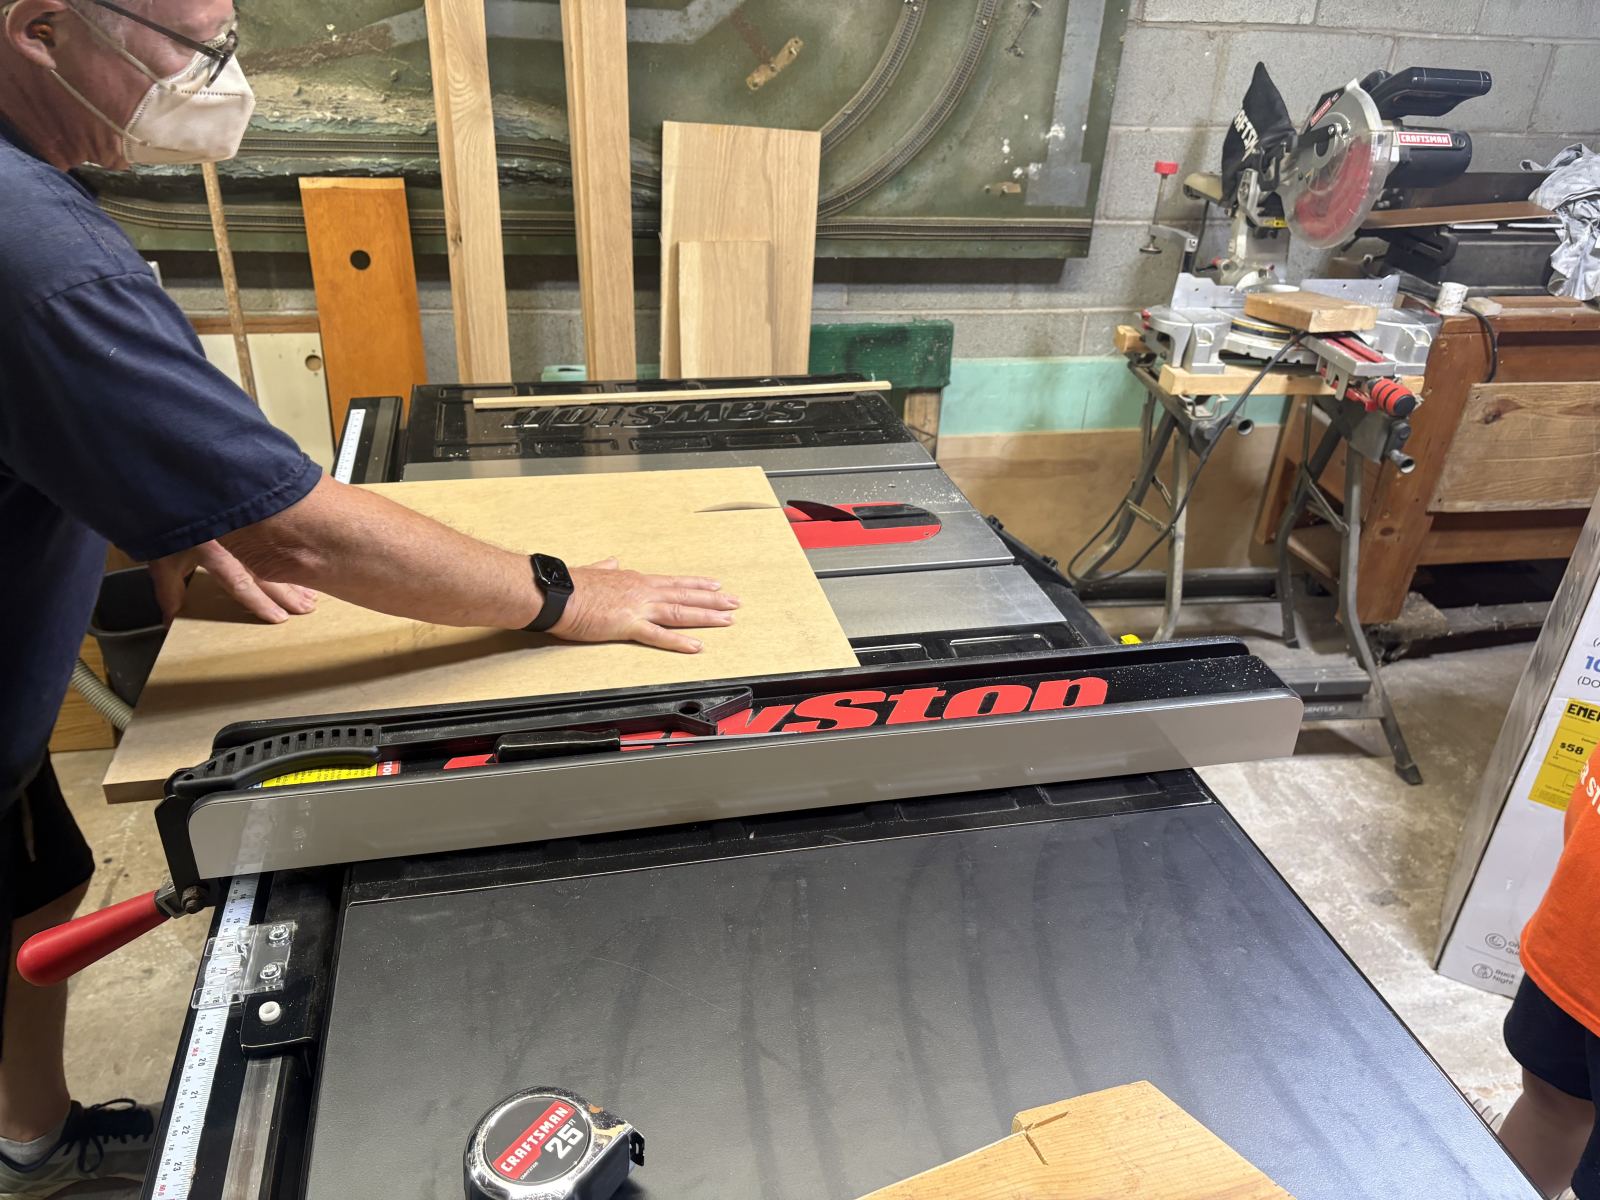
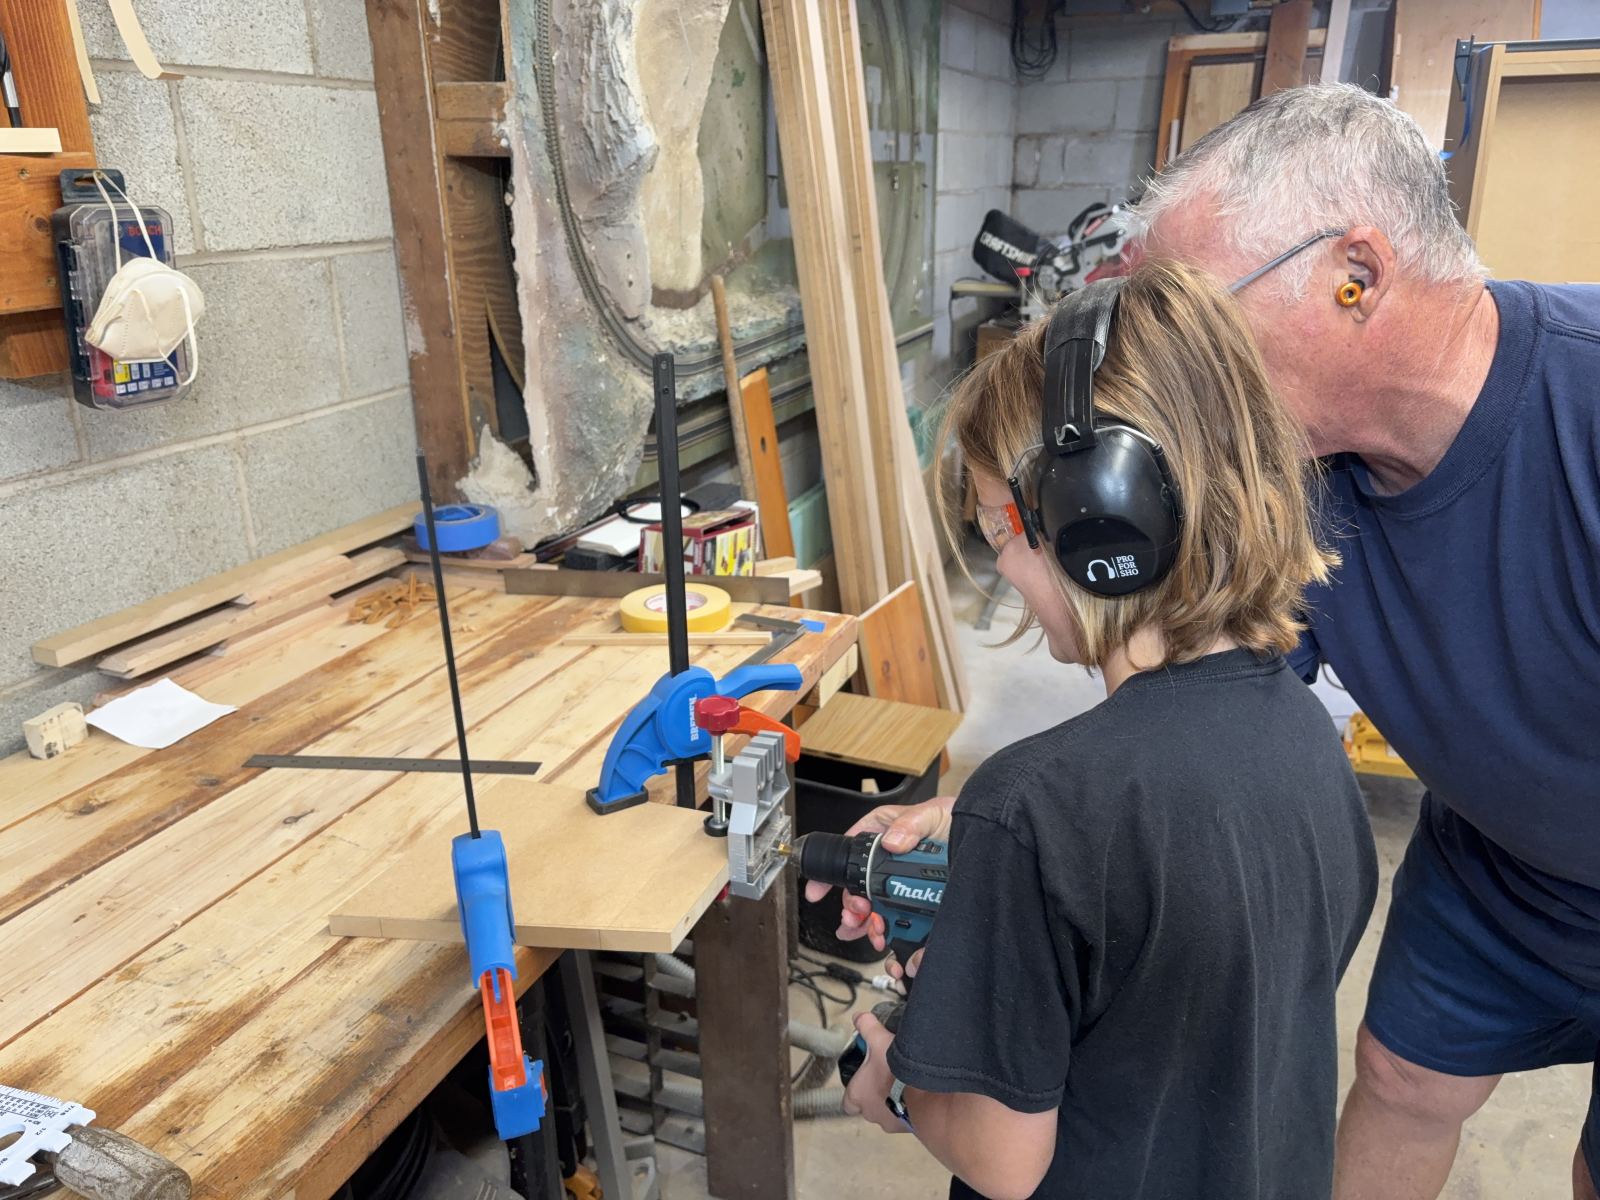
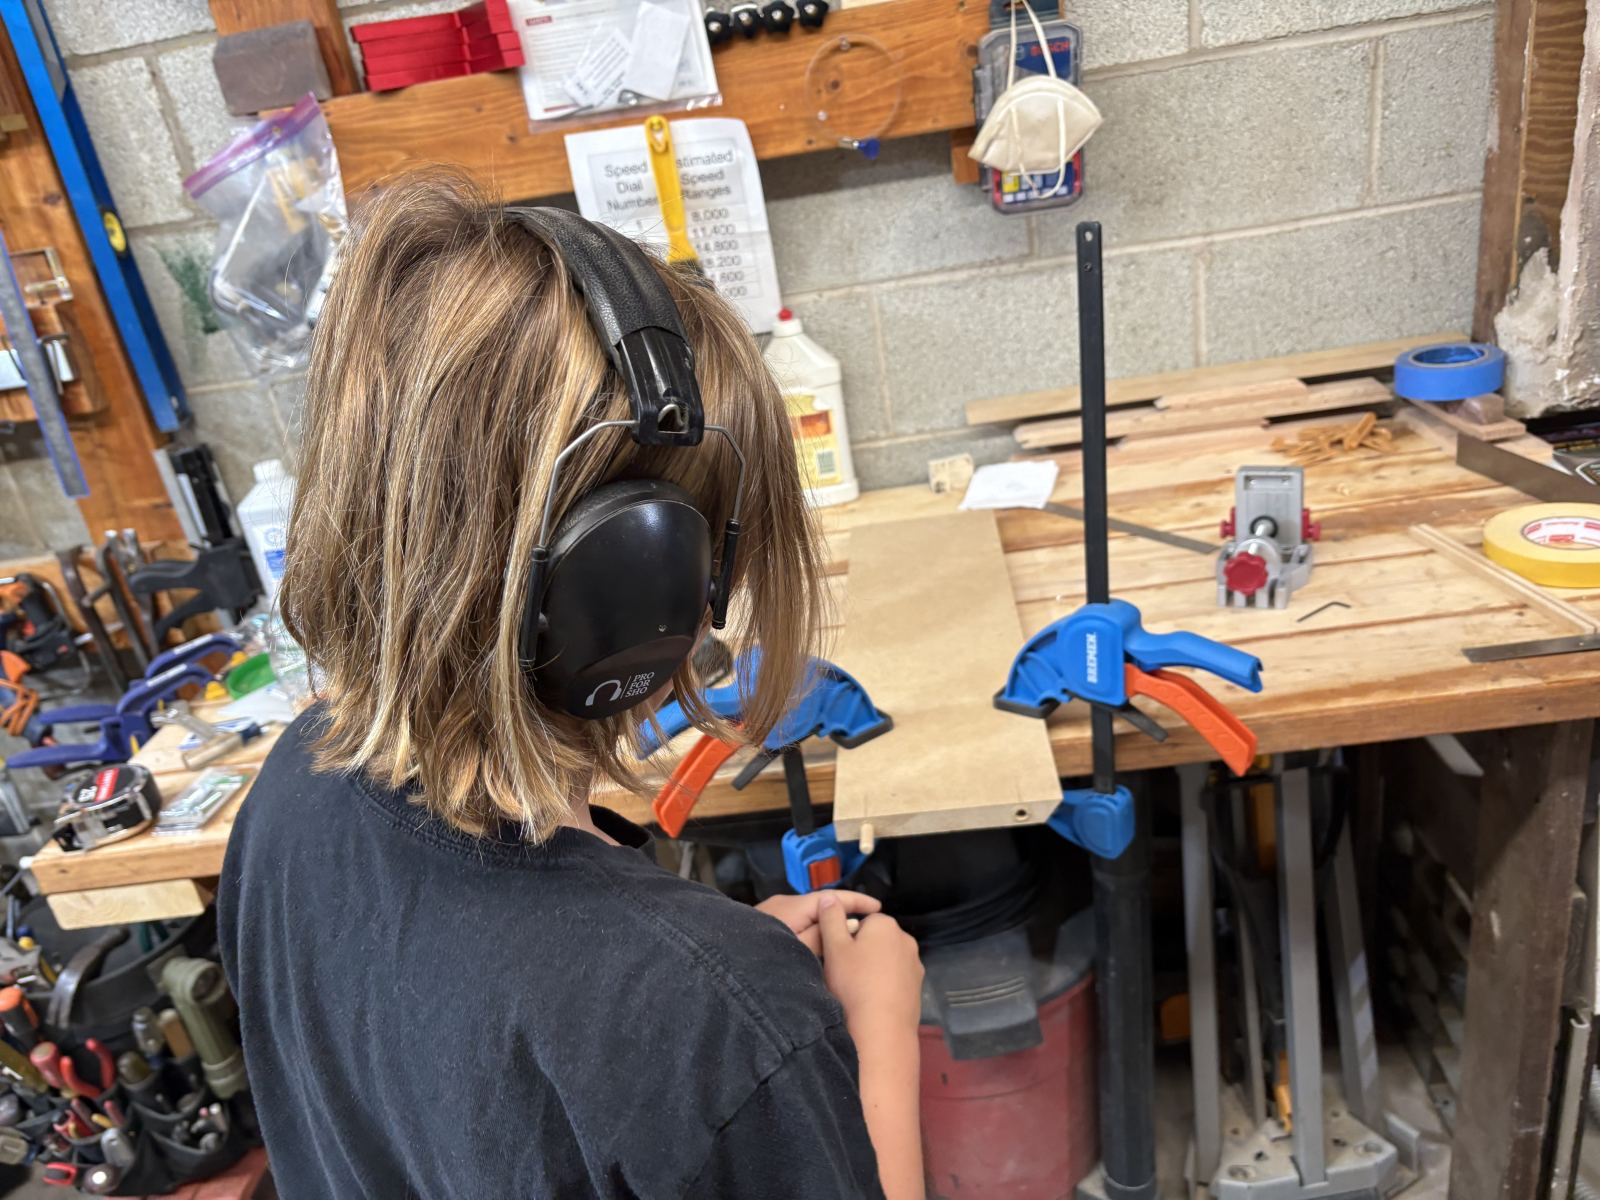
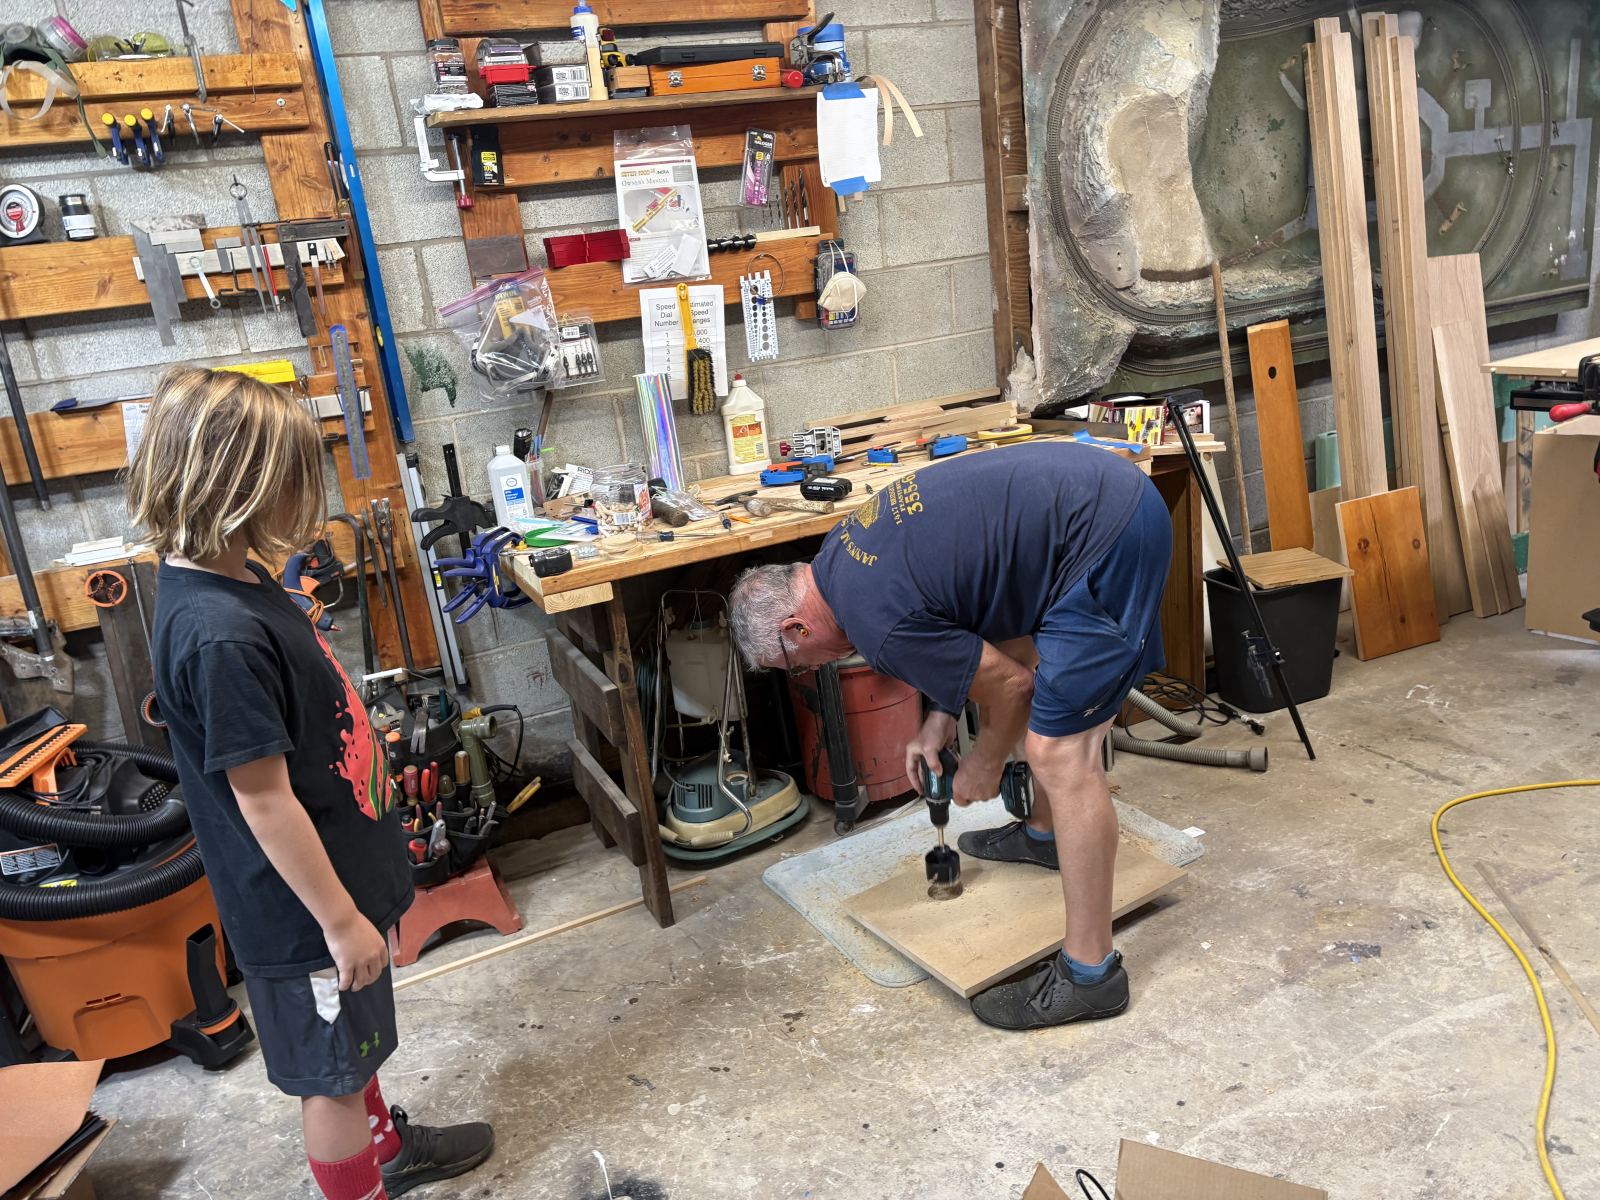
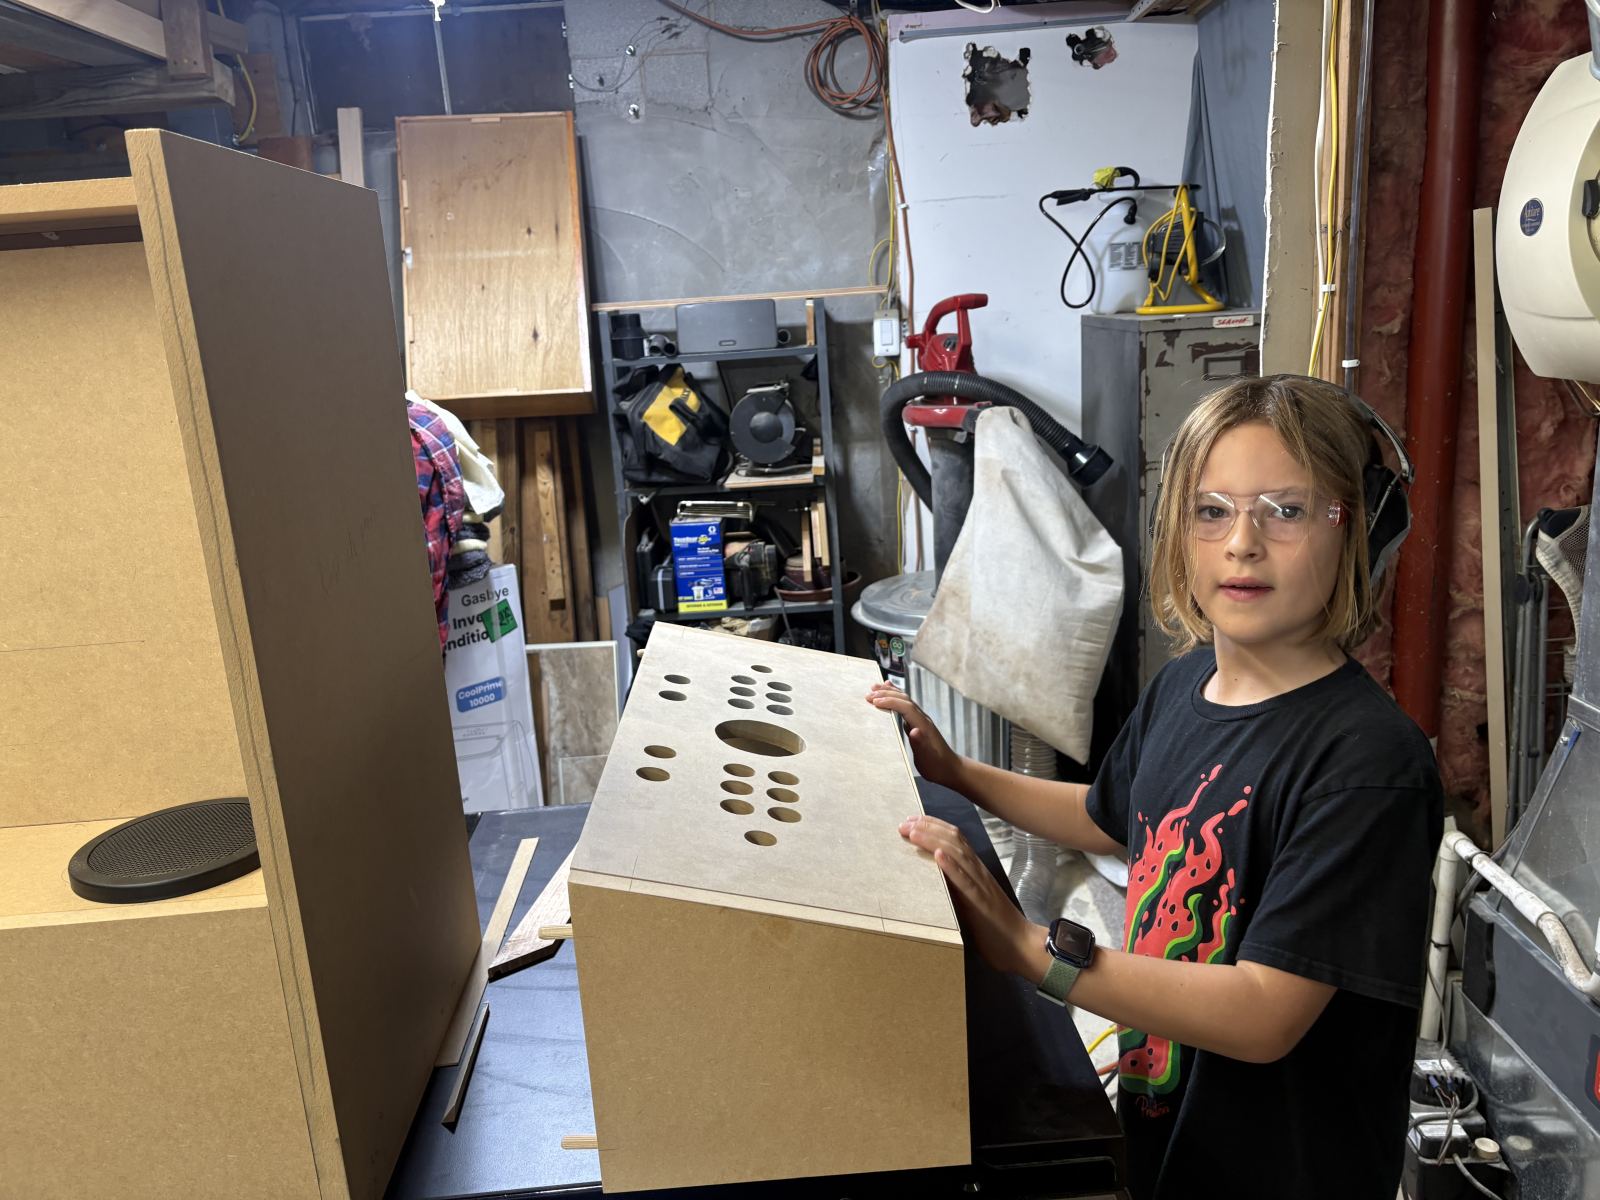
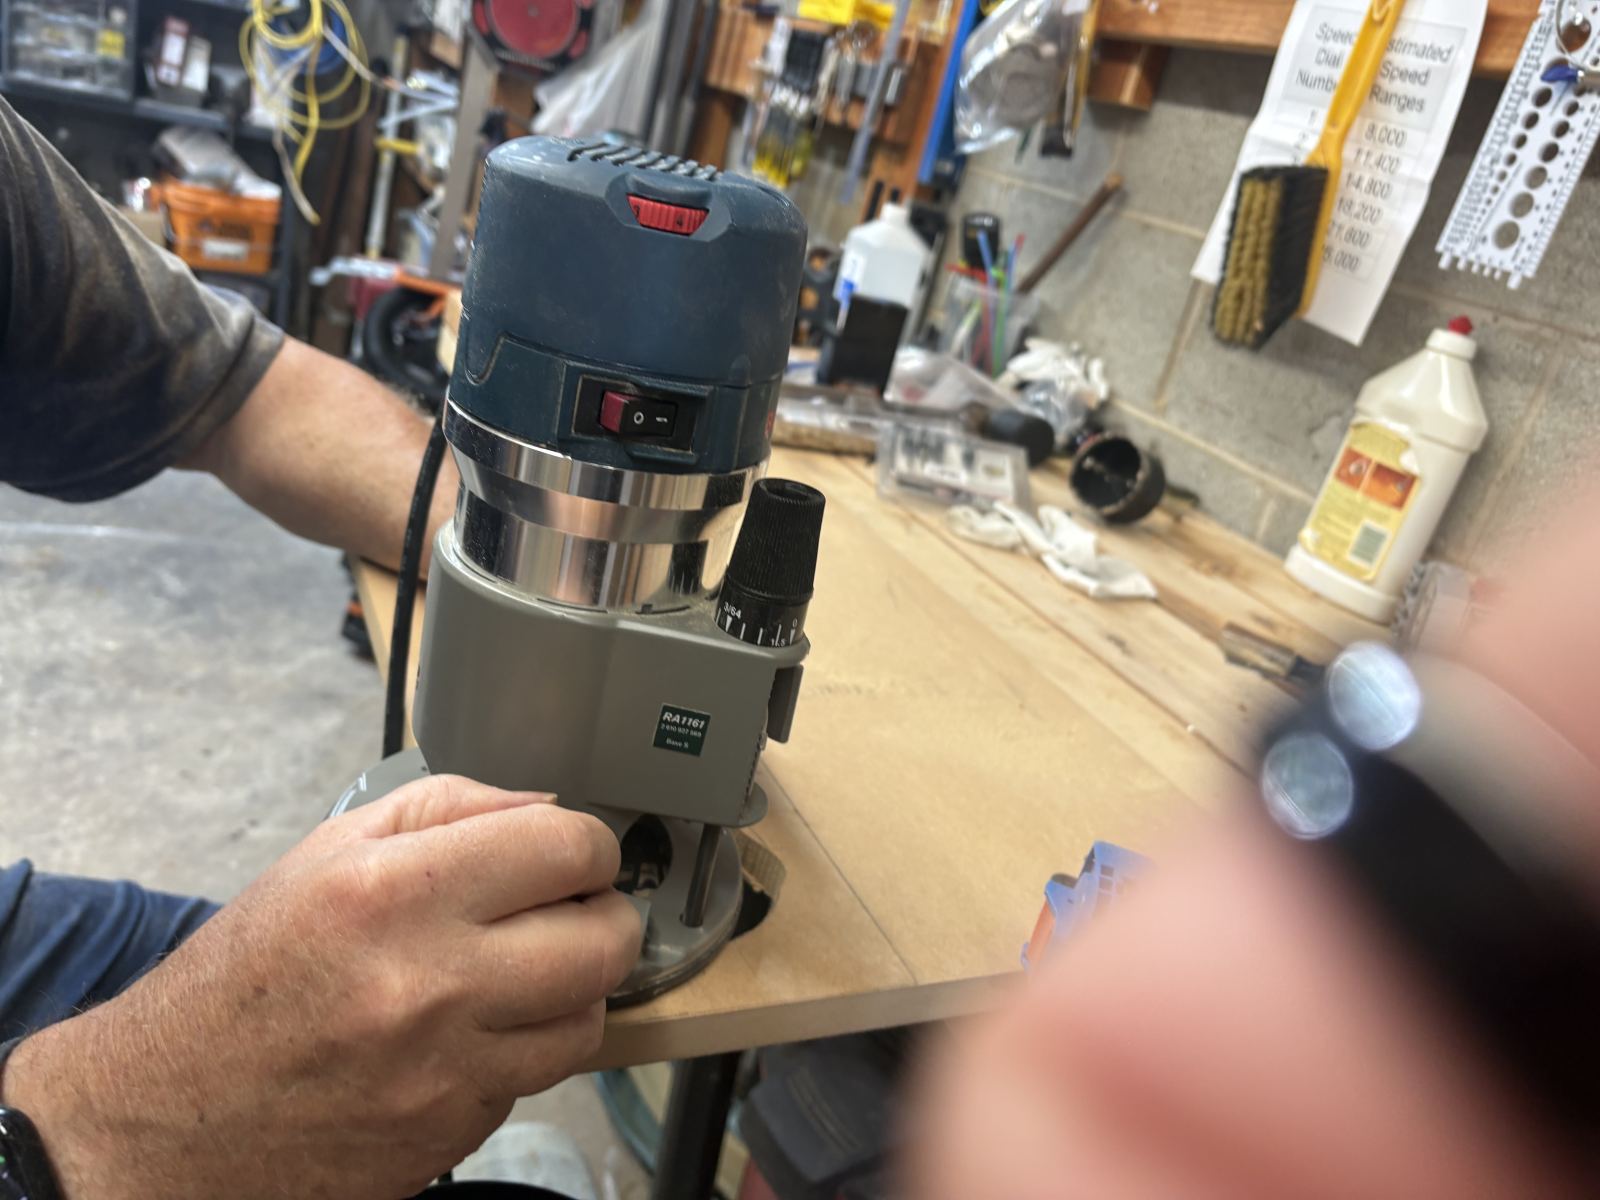
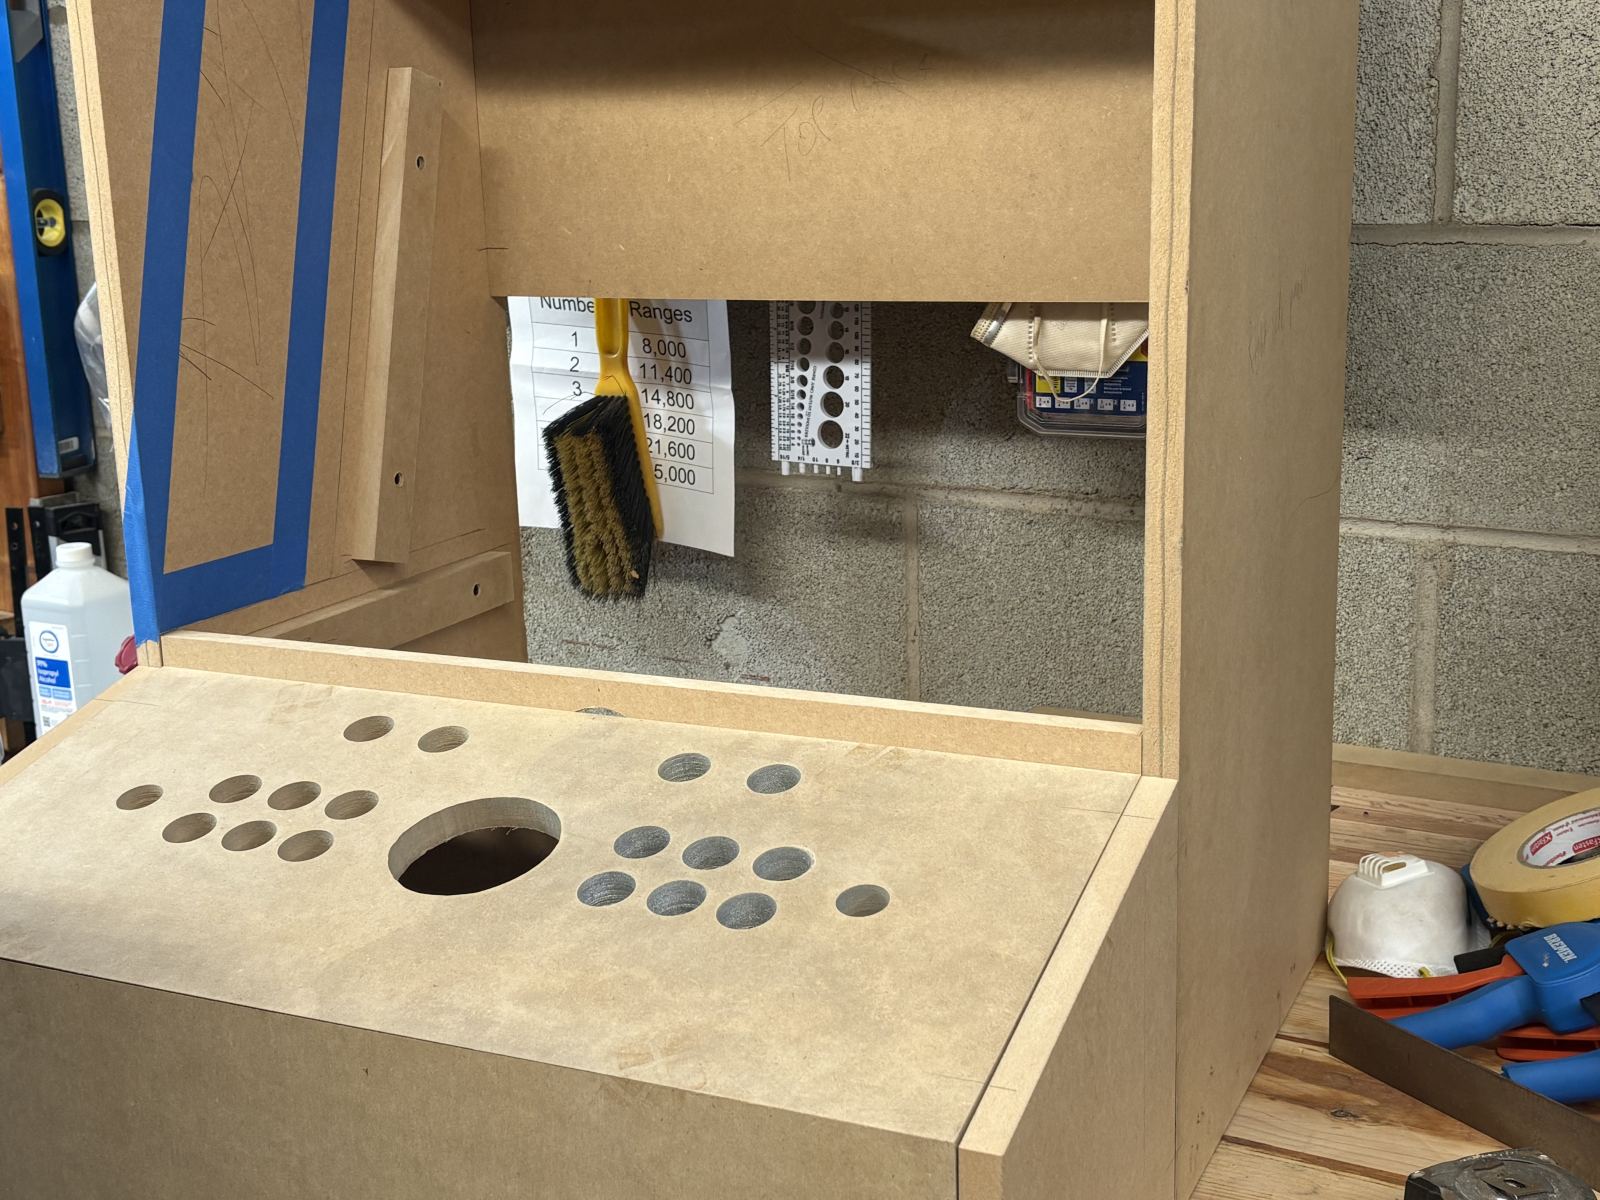
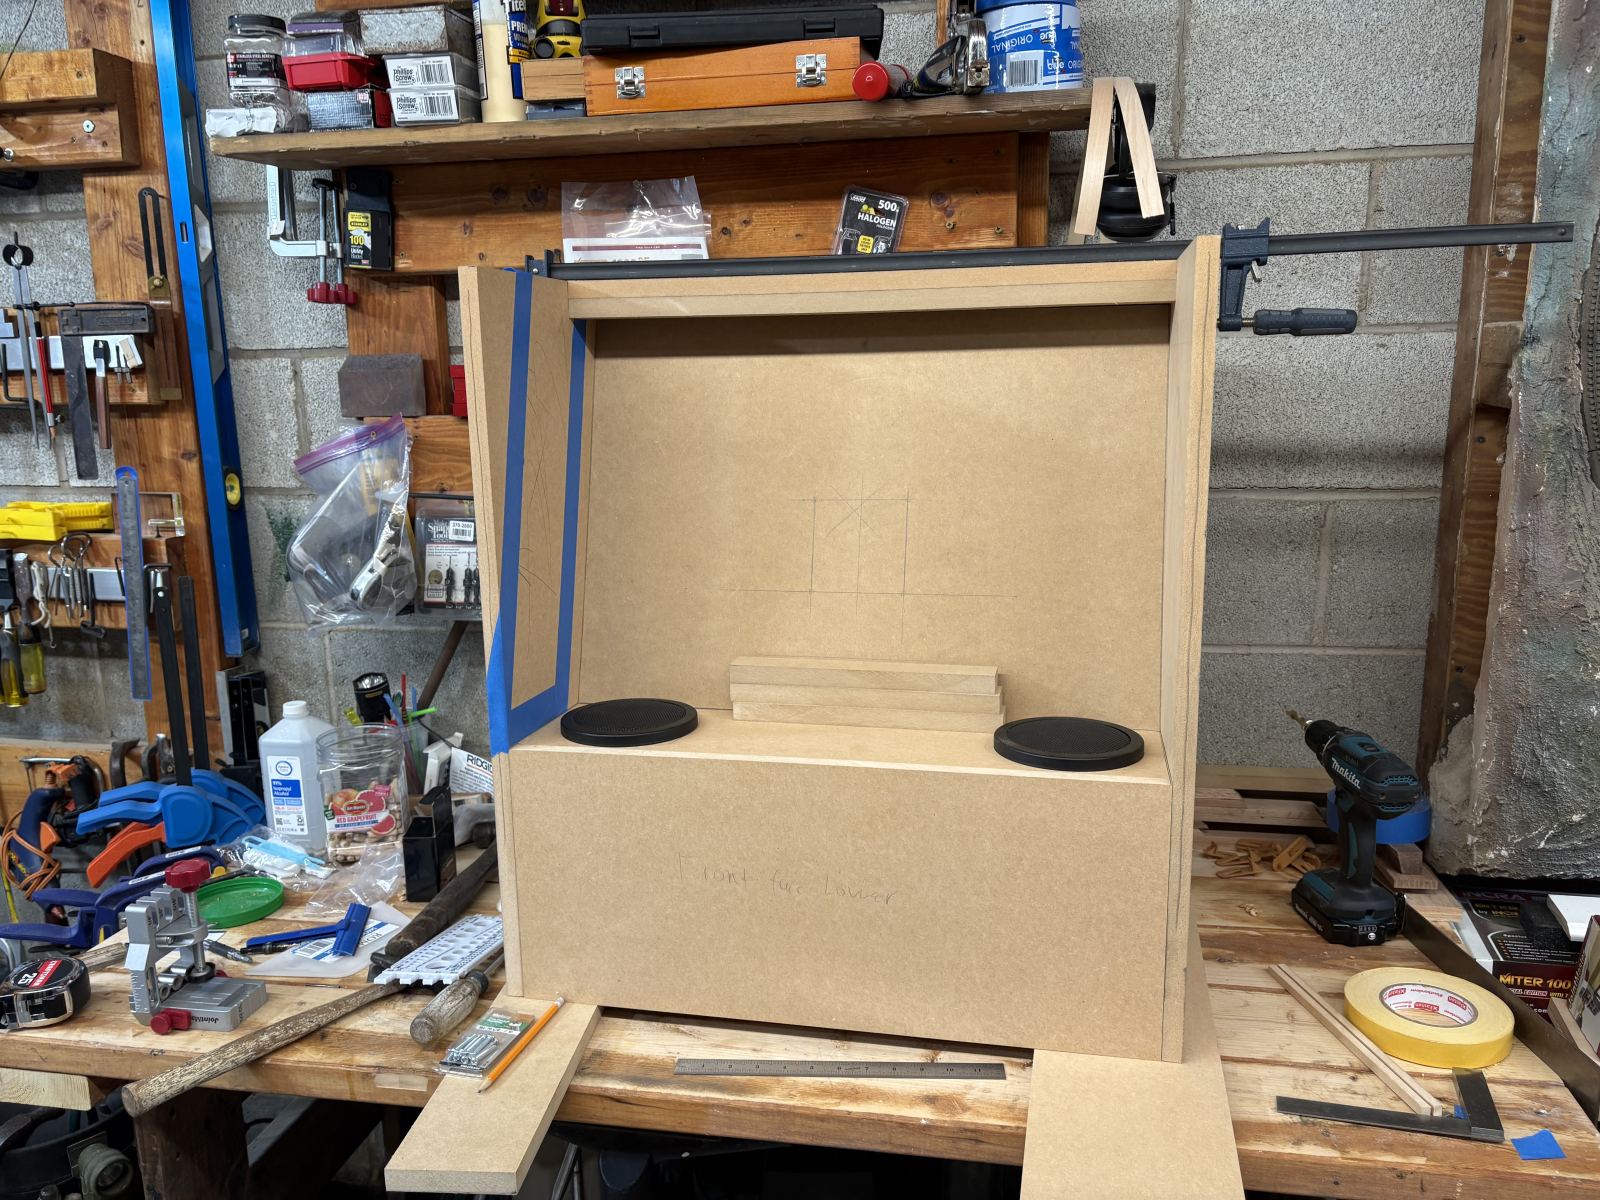
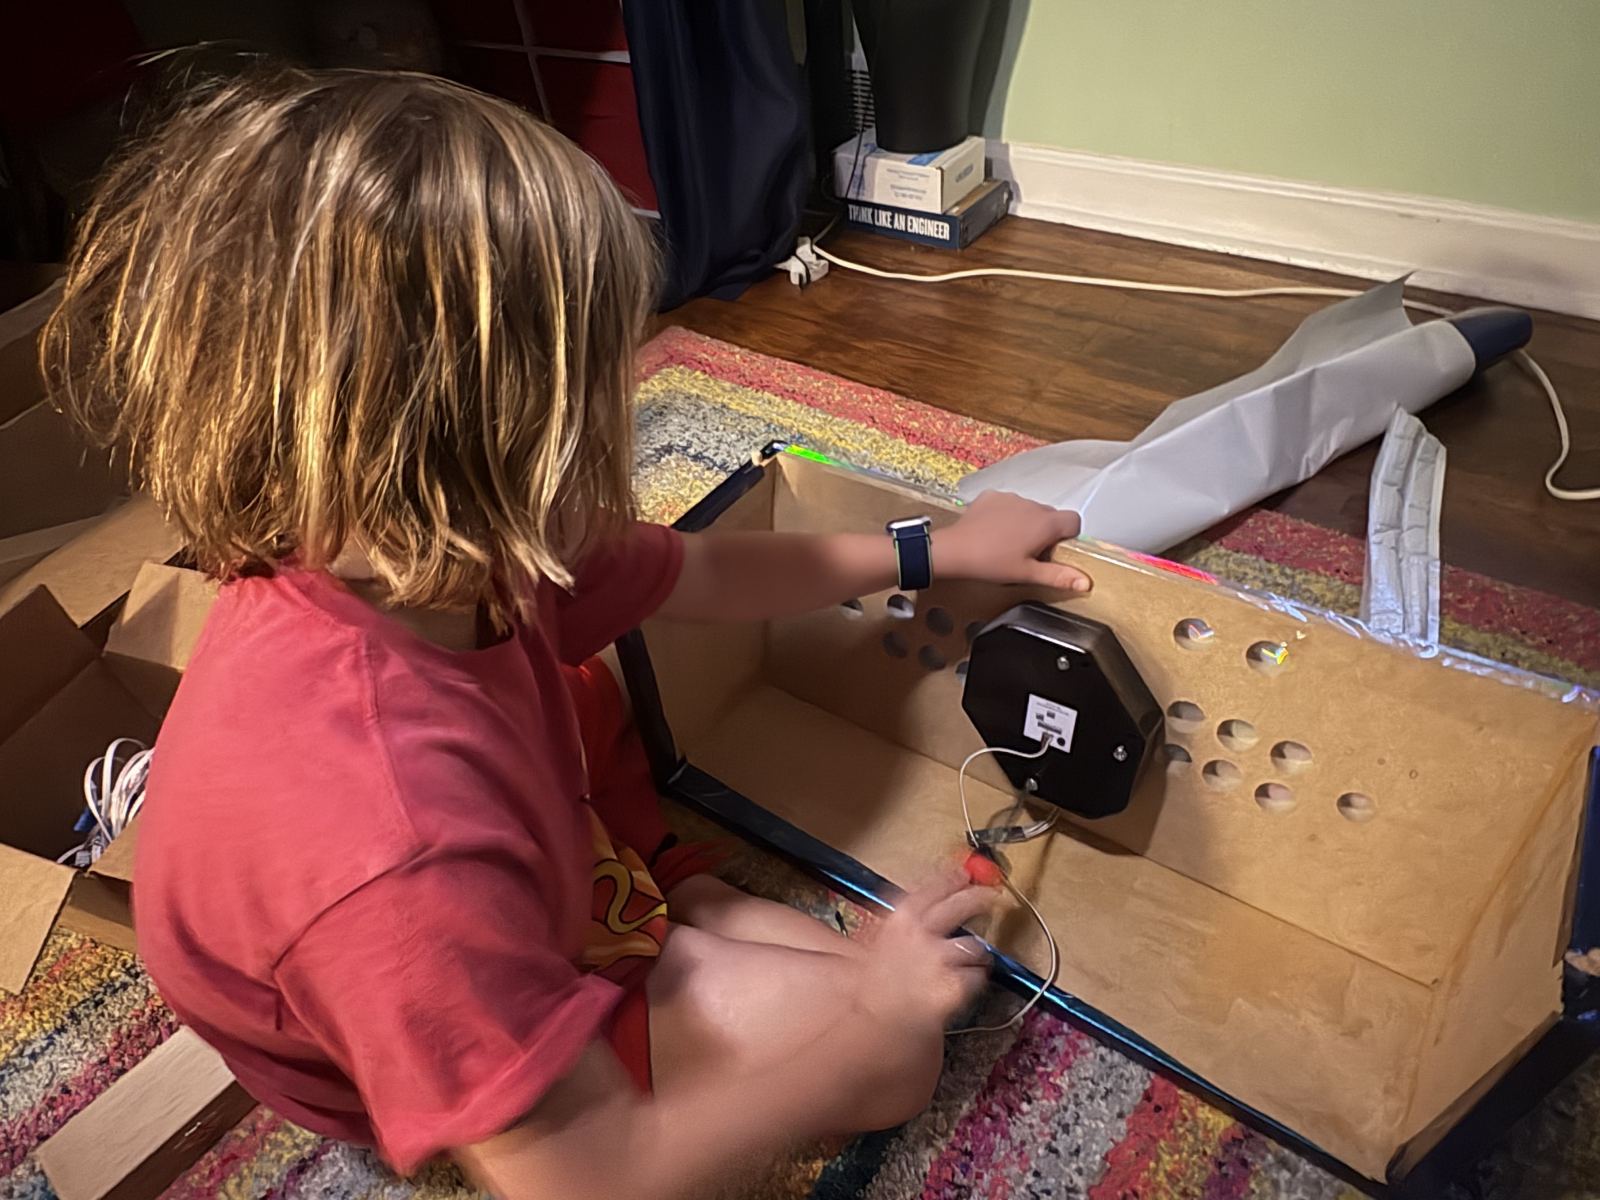
We've got about 15 games working correctly, but up until now we've only tested them with a keyboard and mouse. To move forward, it's time to create the board where all the buttons, joysticks, and trackball will go. We enlisted the help of an expert (thanks Scott!) to help with the actual cutting phase. After careful mapping out, drawing, planning, and cutting, the framework is complete!
August 6, 2026
Designing The Arcade
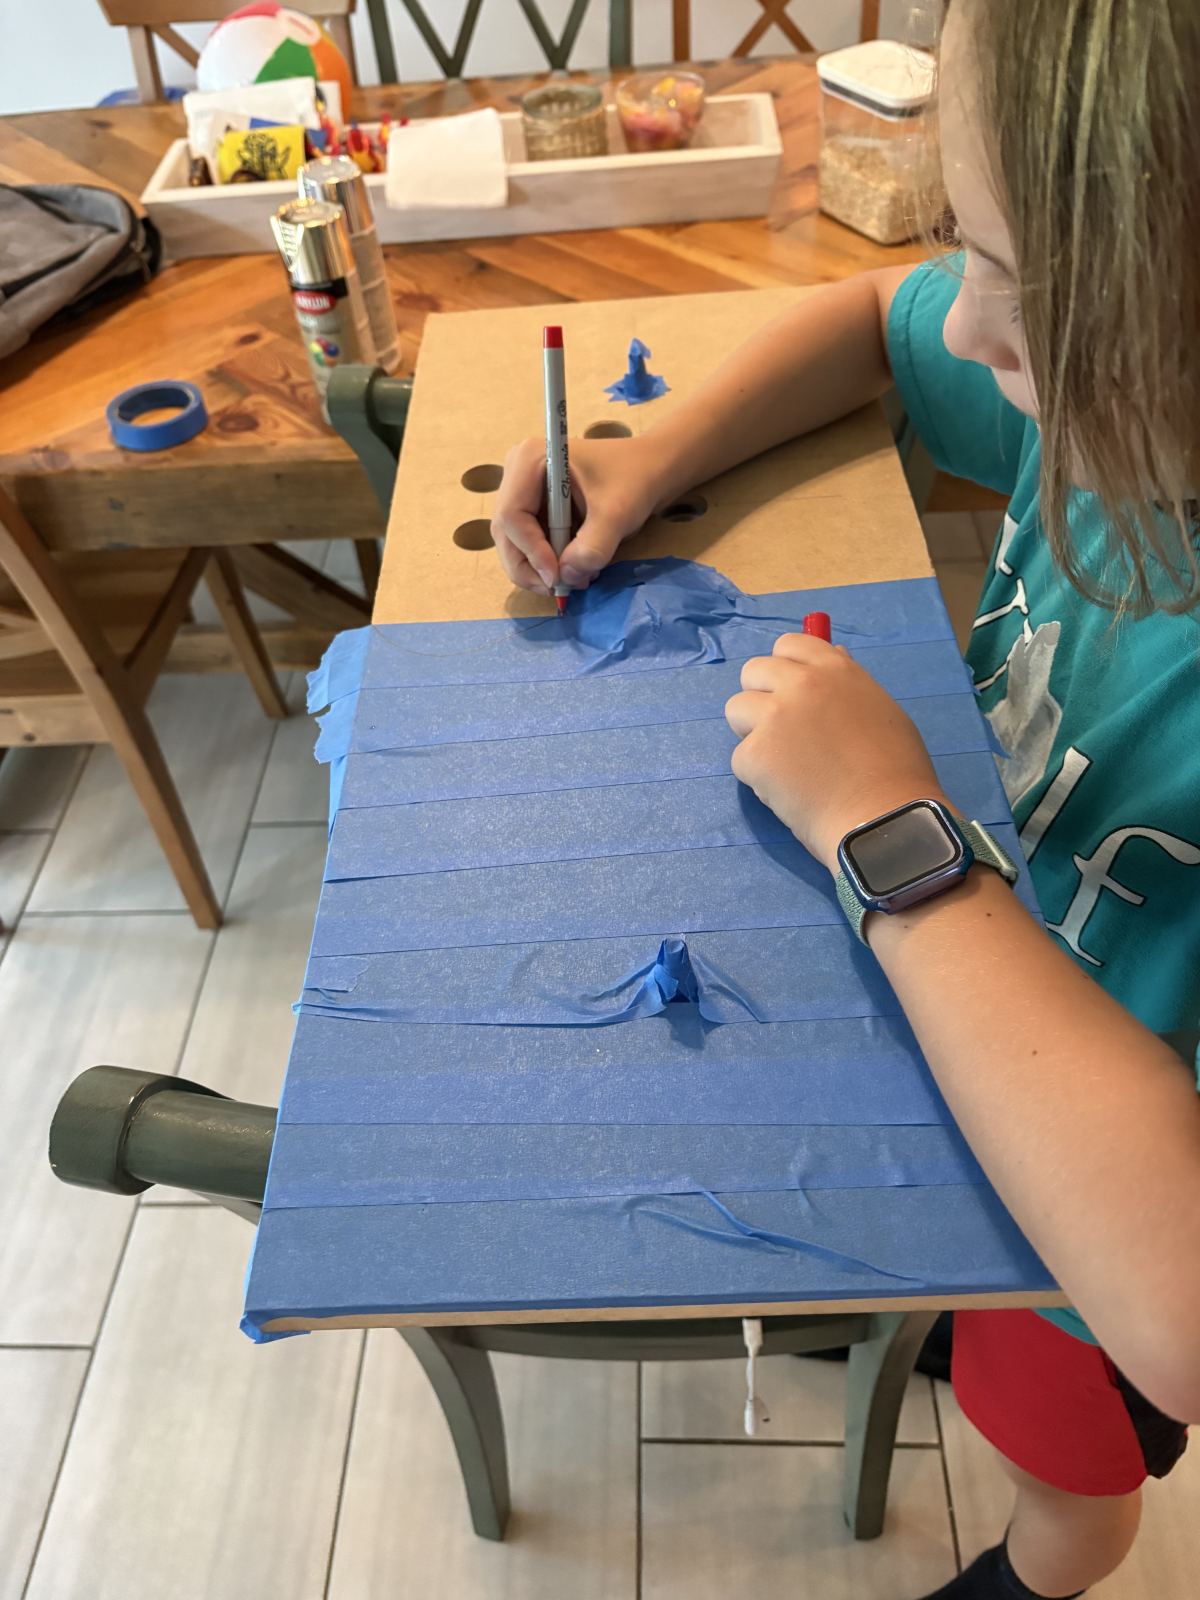
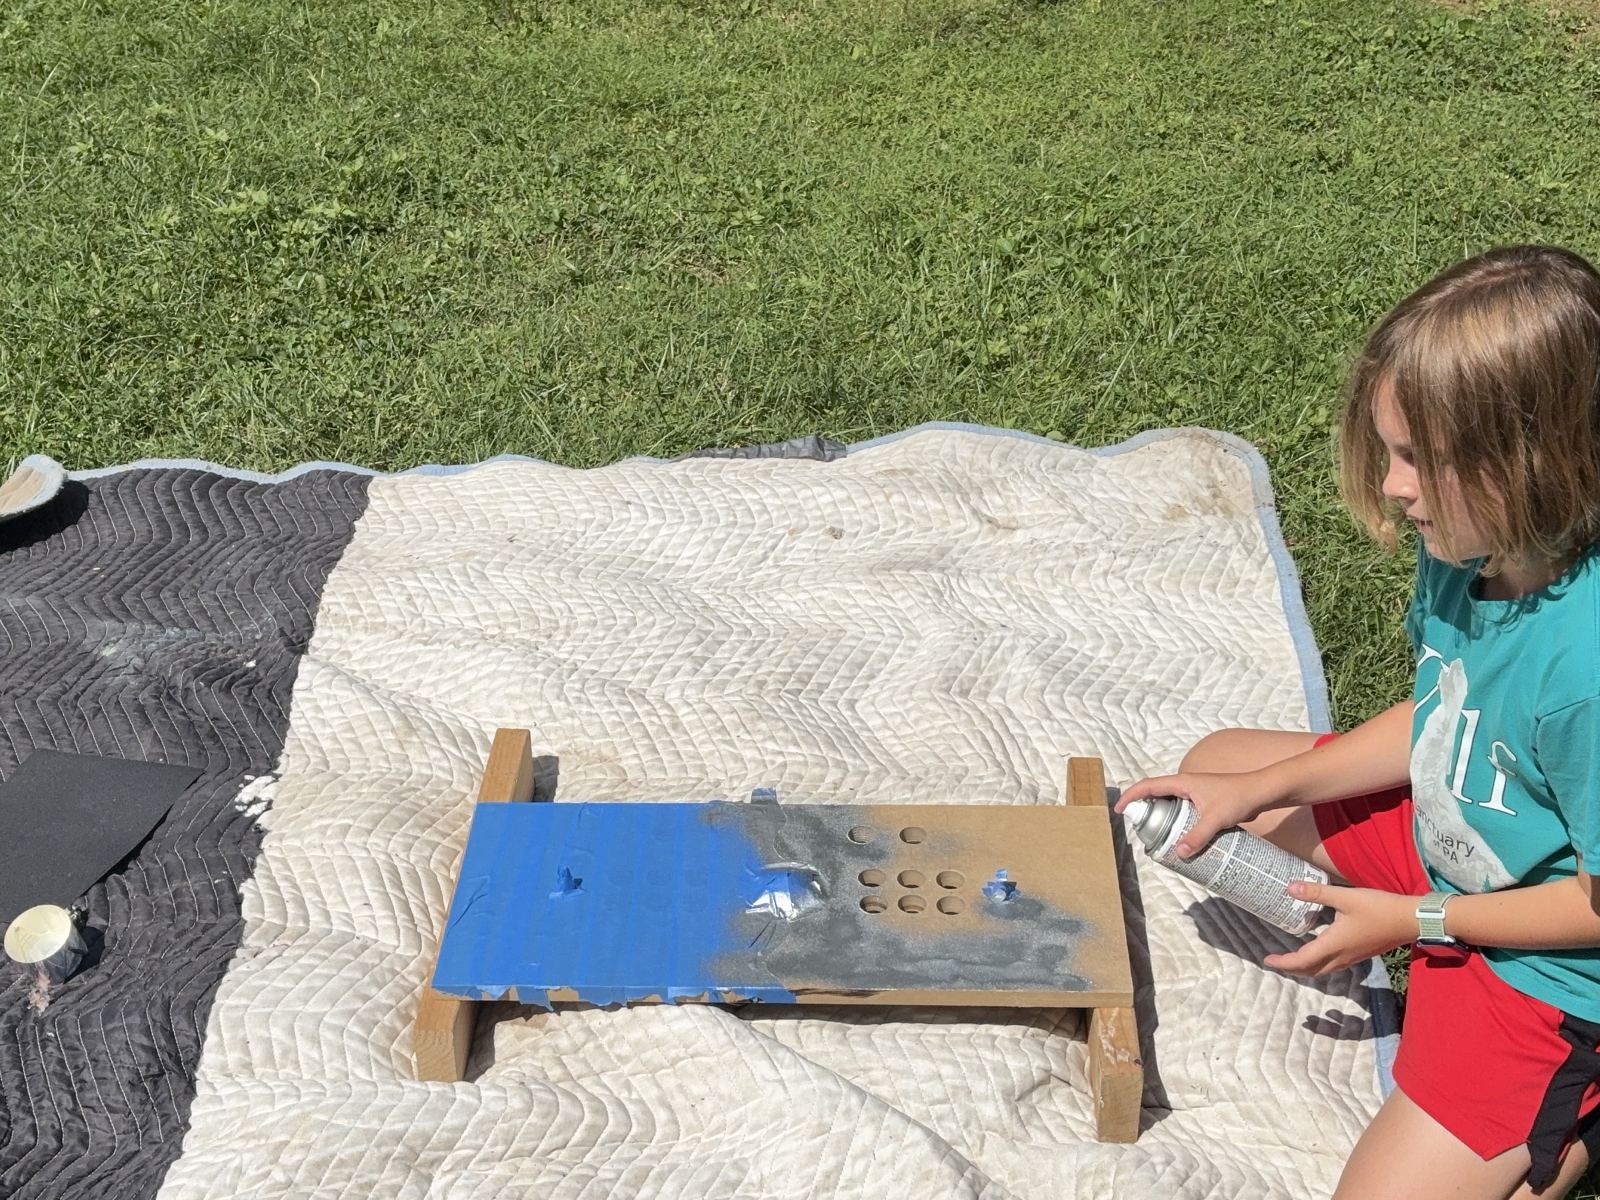
After a month off, we were back to work with designing the box for it. We taped it off and spray painted our design.
August 8, 2026
Design snag
The day had arrived to remove the tape and see what our design looked like. Unfortunately our awesome design came right up with the tape. We had to figure out another solution.
August 9, 2026
Design idea 2
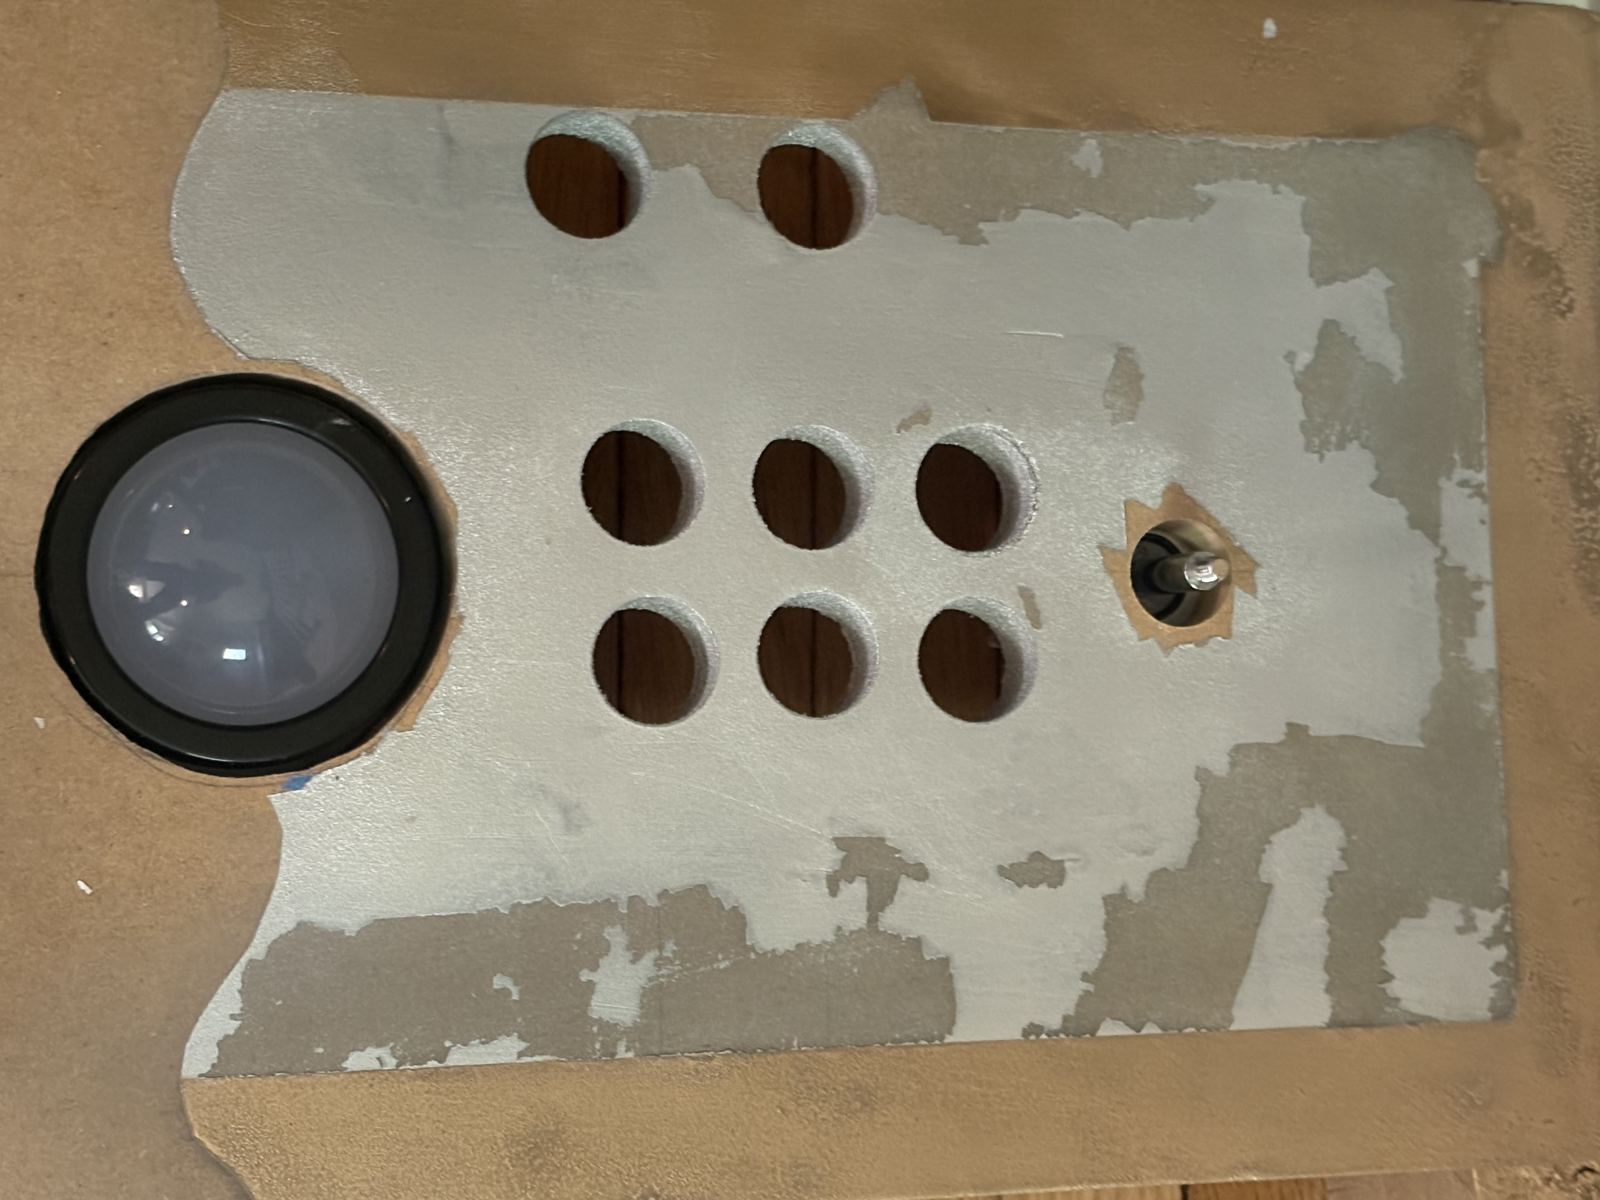
We tried to come up with a new, better idea for the design. We decided on vinyl wrap. Griffin wanted a metallic looking color for the controls so we tested it out. It looked pretty awesome, but the paint layers gave it a pretty uneven look.
August 11, 2026
Road trip to Scott's workshop
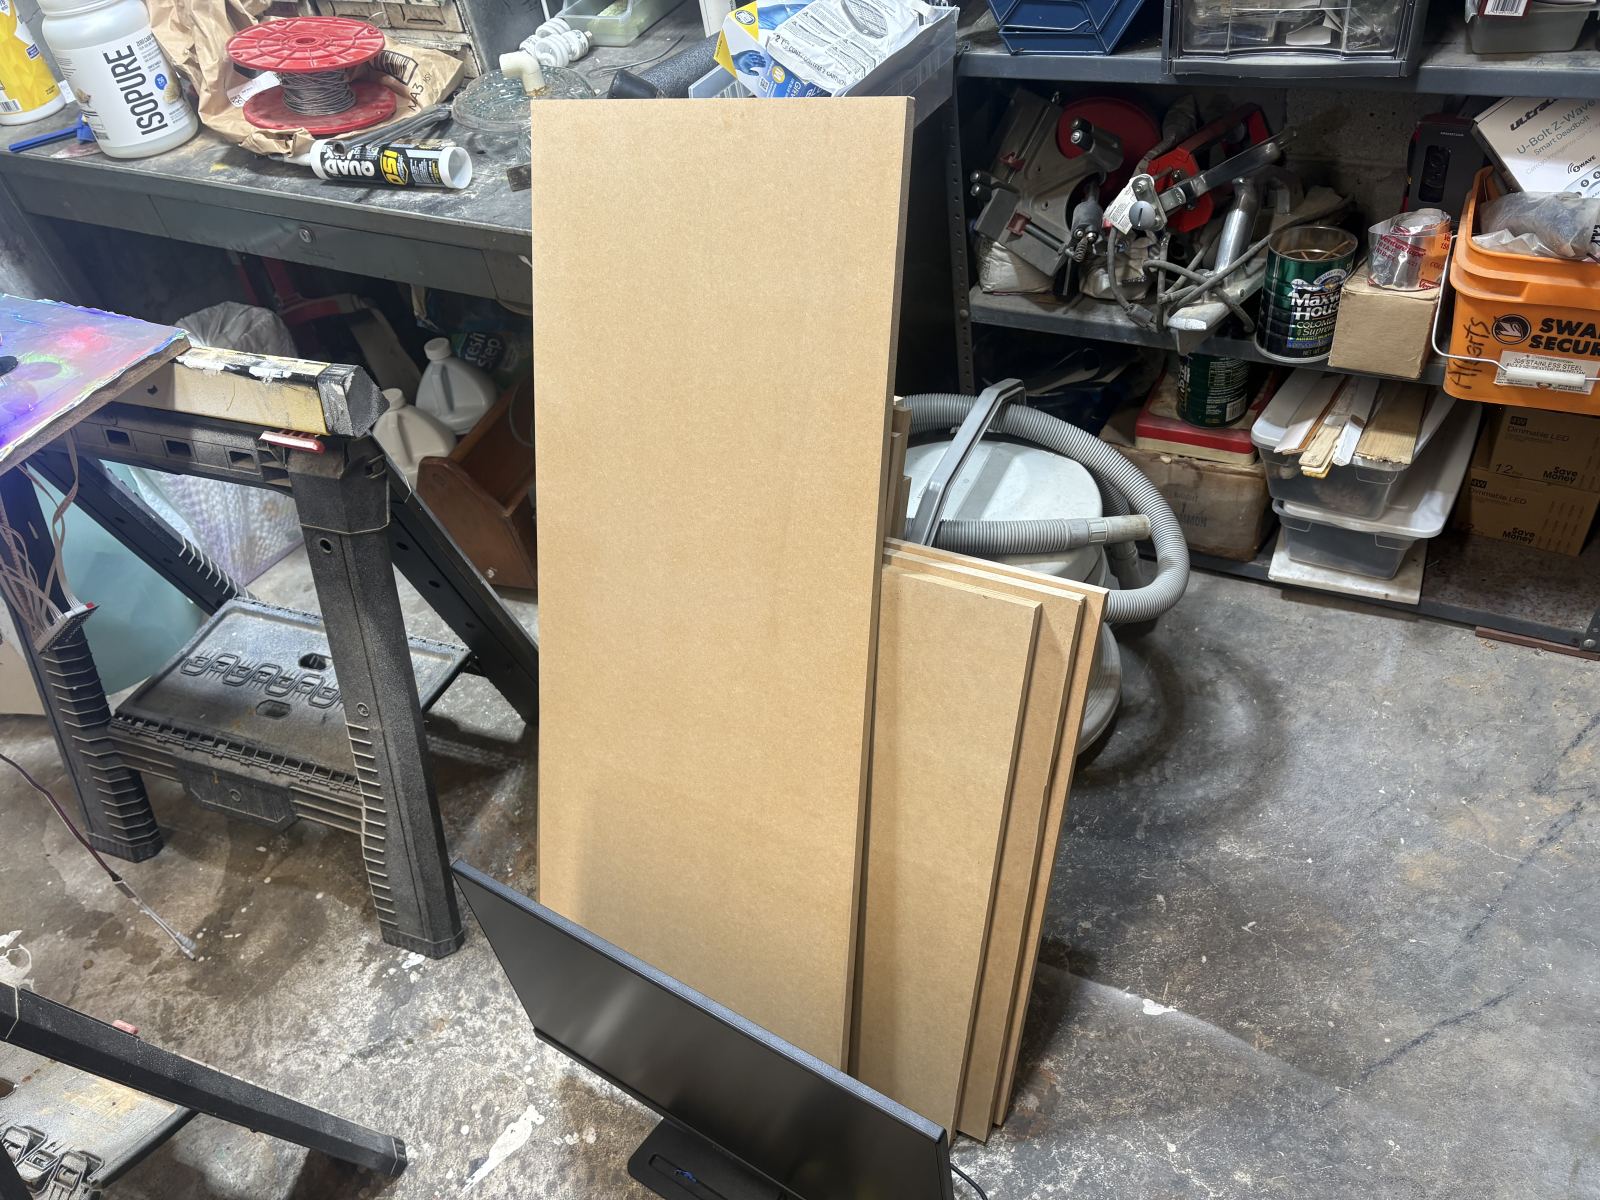
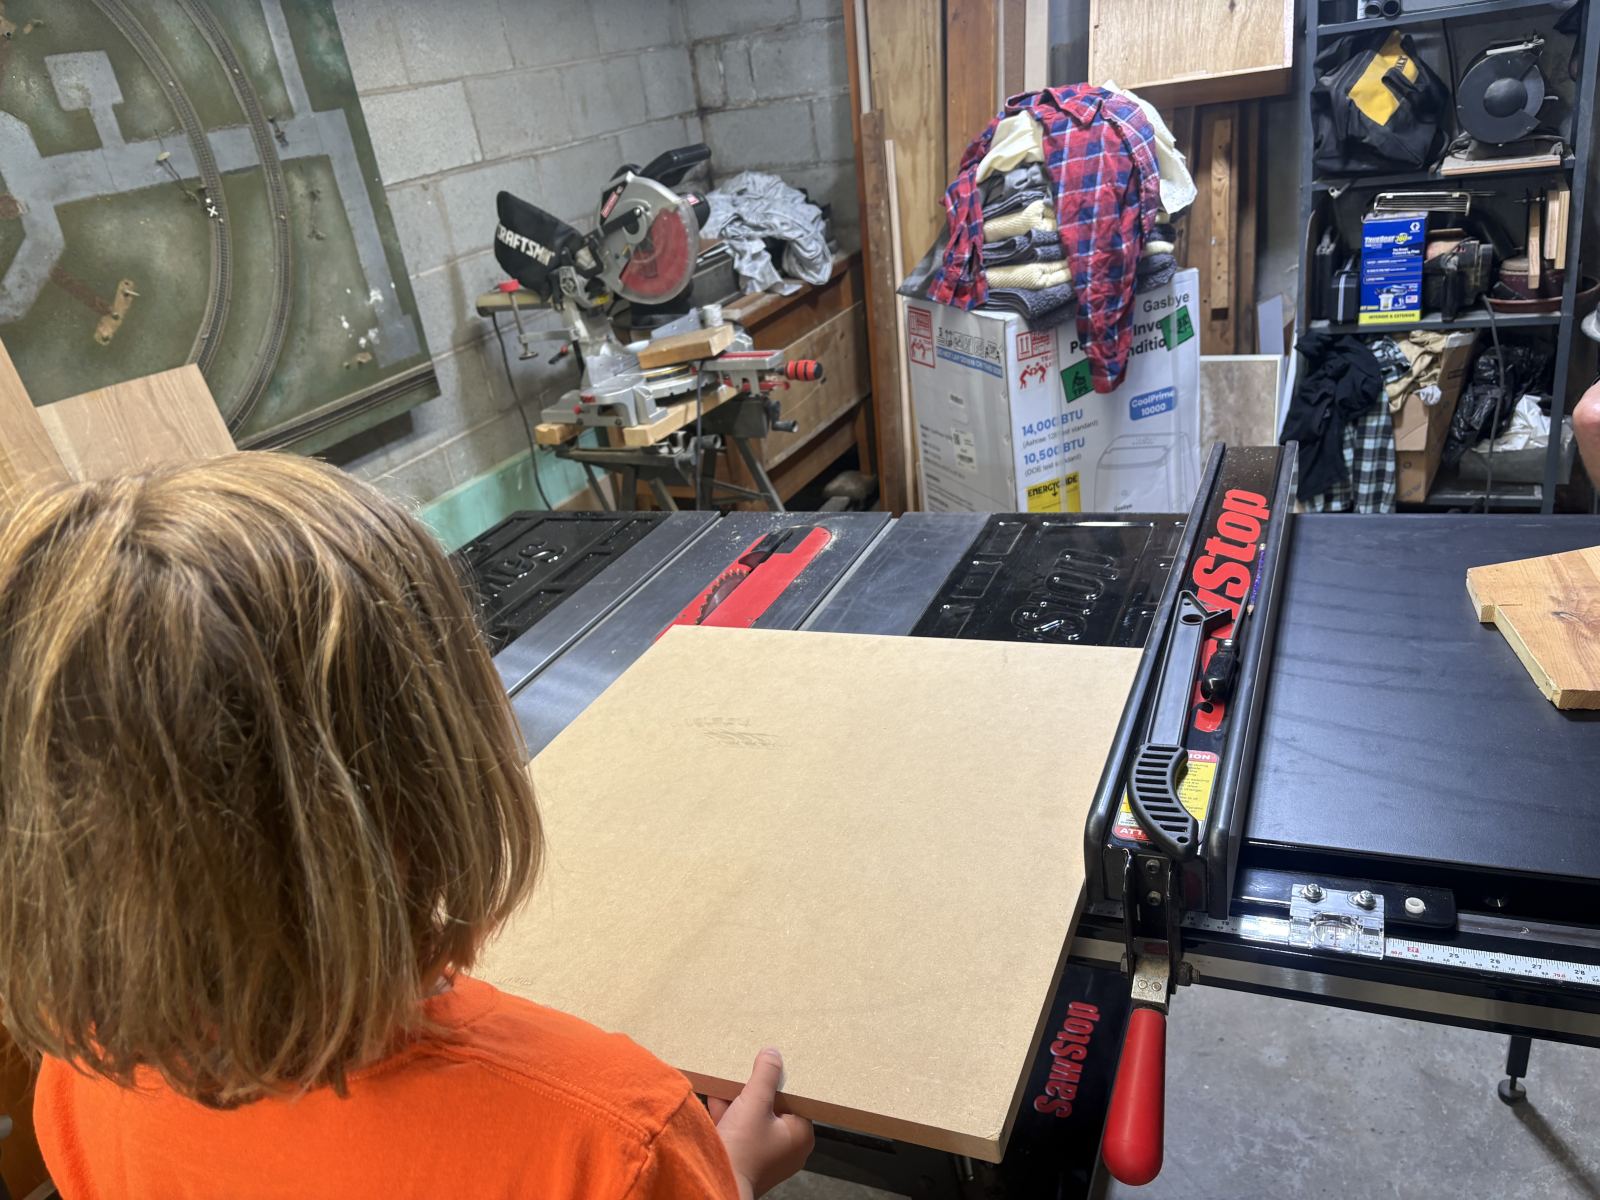
We got some help from DMI in Havertown in cutting the panels to the correct sizes but we still needed to make some extra cuts. We enlisted the help of the handiest person we knew to help us make the final cuts so we could put it all together.
August 16, 2026
Putting it all together... or so we thought
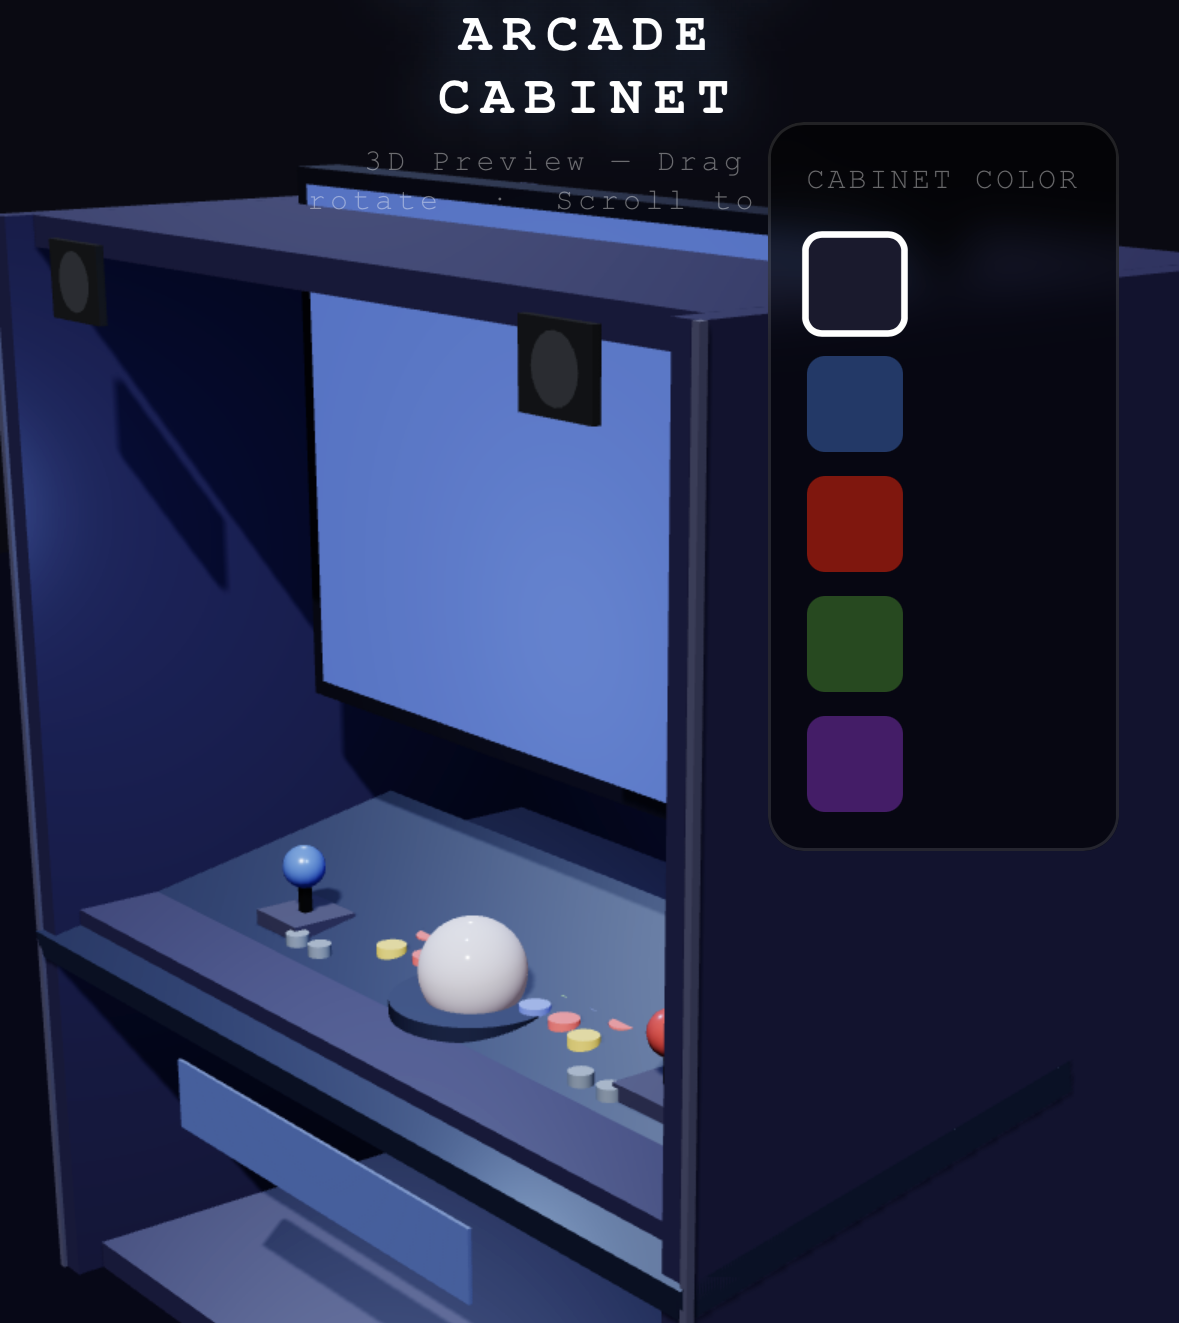
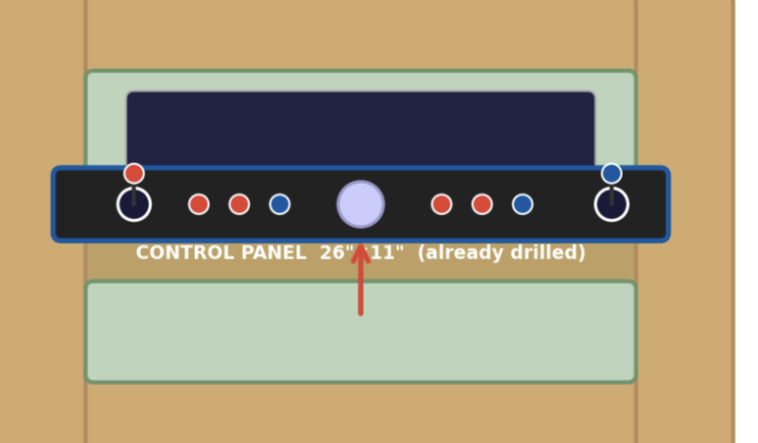
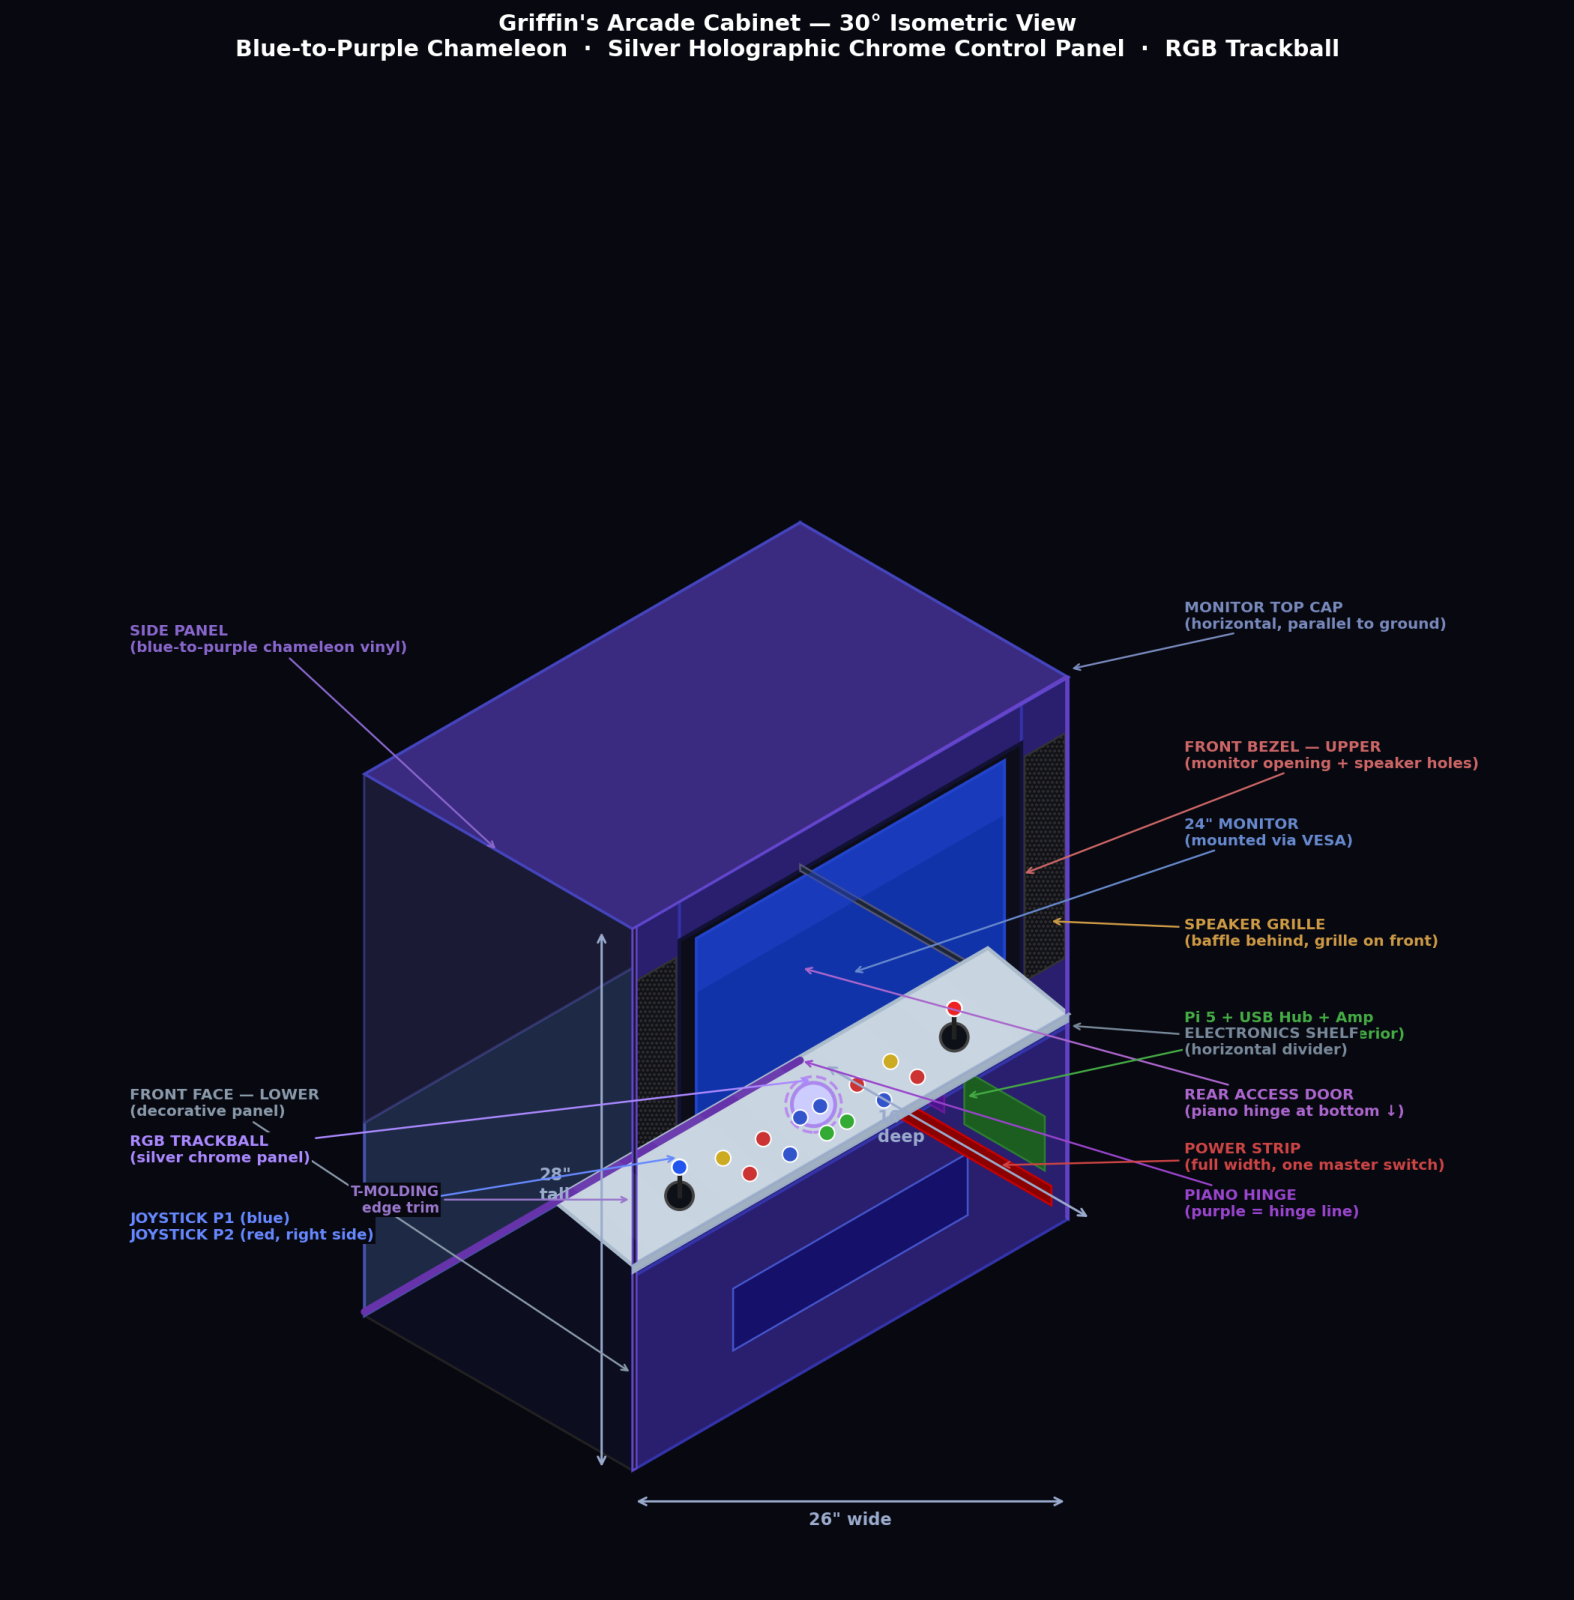
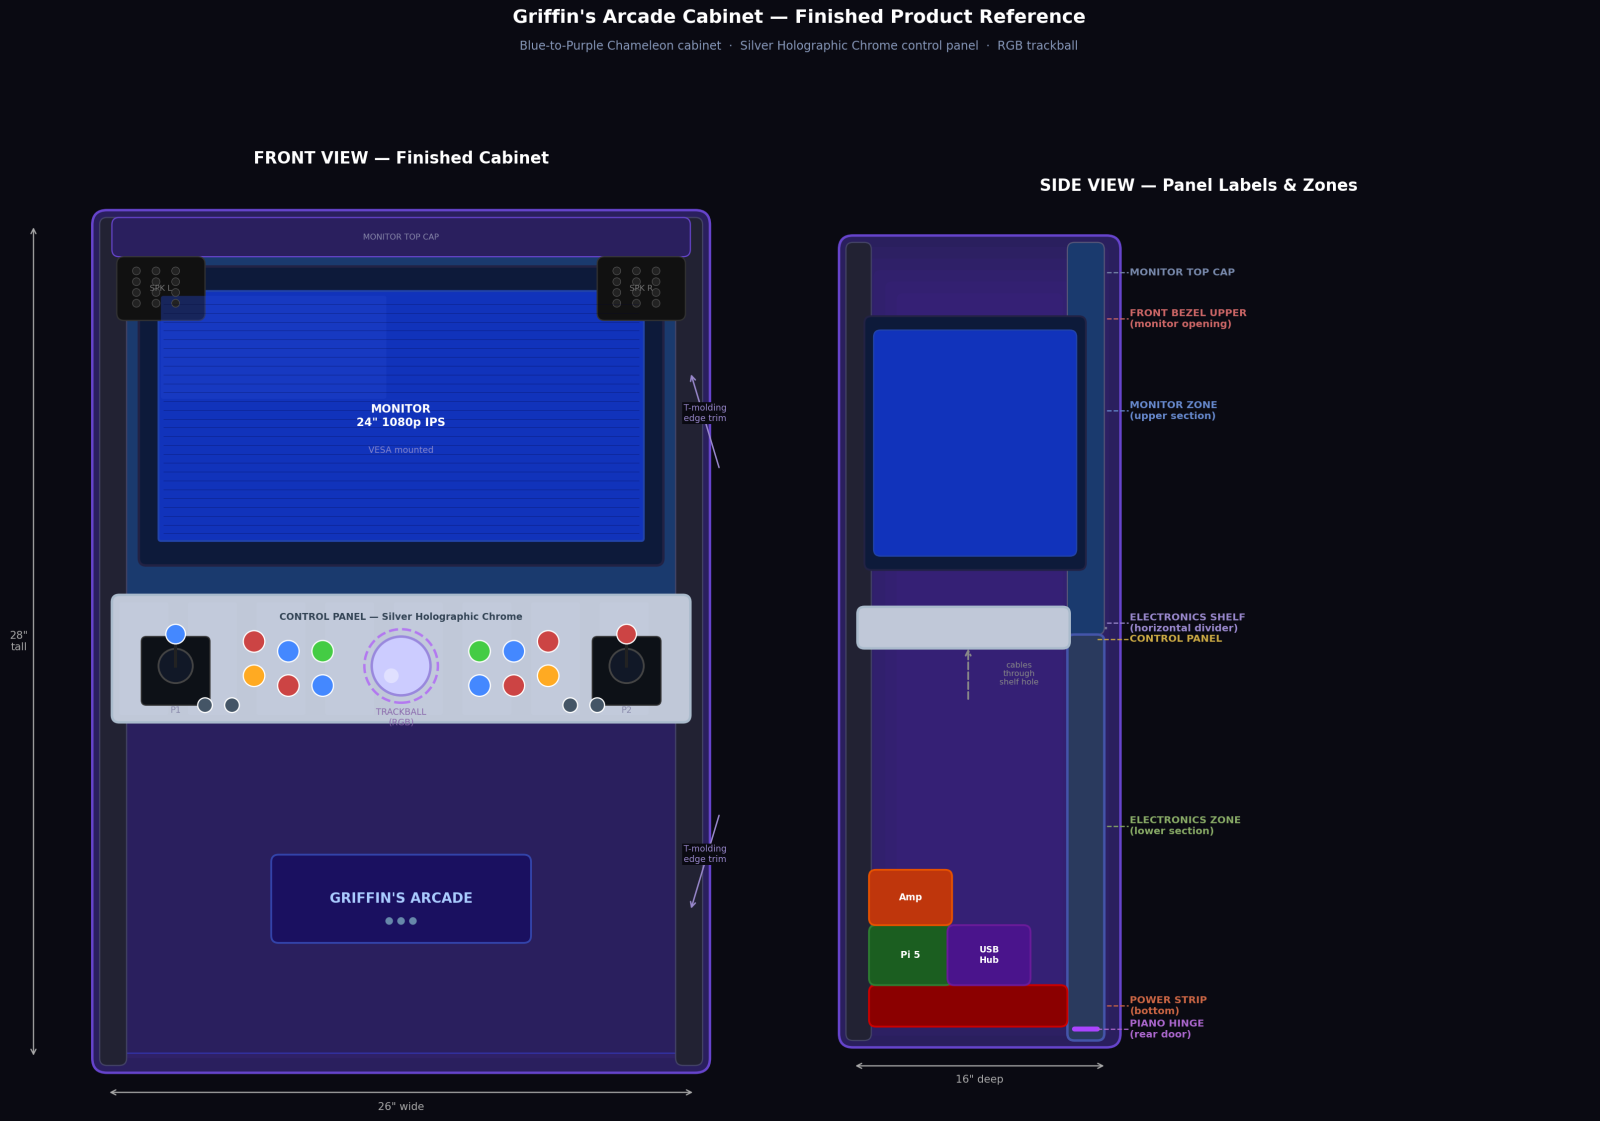
We returned to Scott's workshop for a day of (what we thought would be) connecting all the pieces, putting the vinyl and trim around the edges, and making the final touches. We had been using Claude to help guide us through this project when we realized we hit a snag. Claude had messed up all the dimensions! It had placed the buttons above the monitor and the speakers floating in the air. We were doomed!
Scott helped us come up with a new plan using most of the same cuts we had already made, and helped us save a horrible situation. We also decided that if we were re-imagining things, we would sand down the control panel and install the vinyl the right way.
August 22, 2026
Let's start wrapping it up
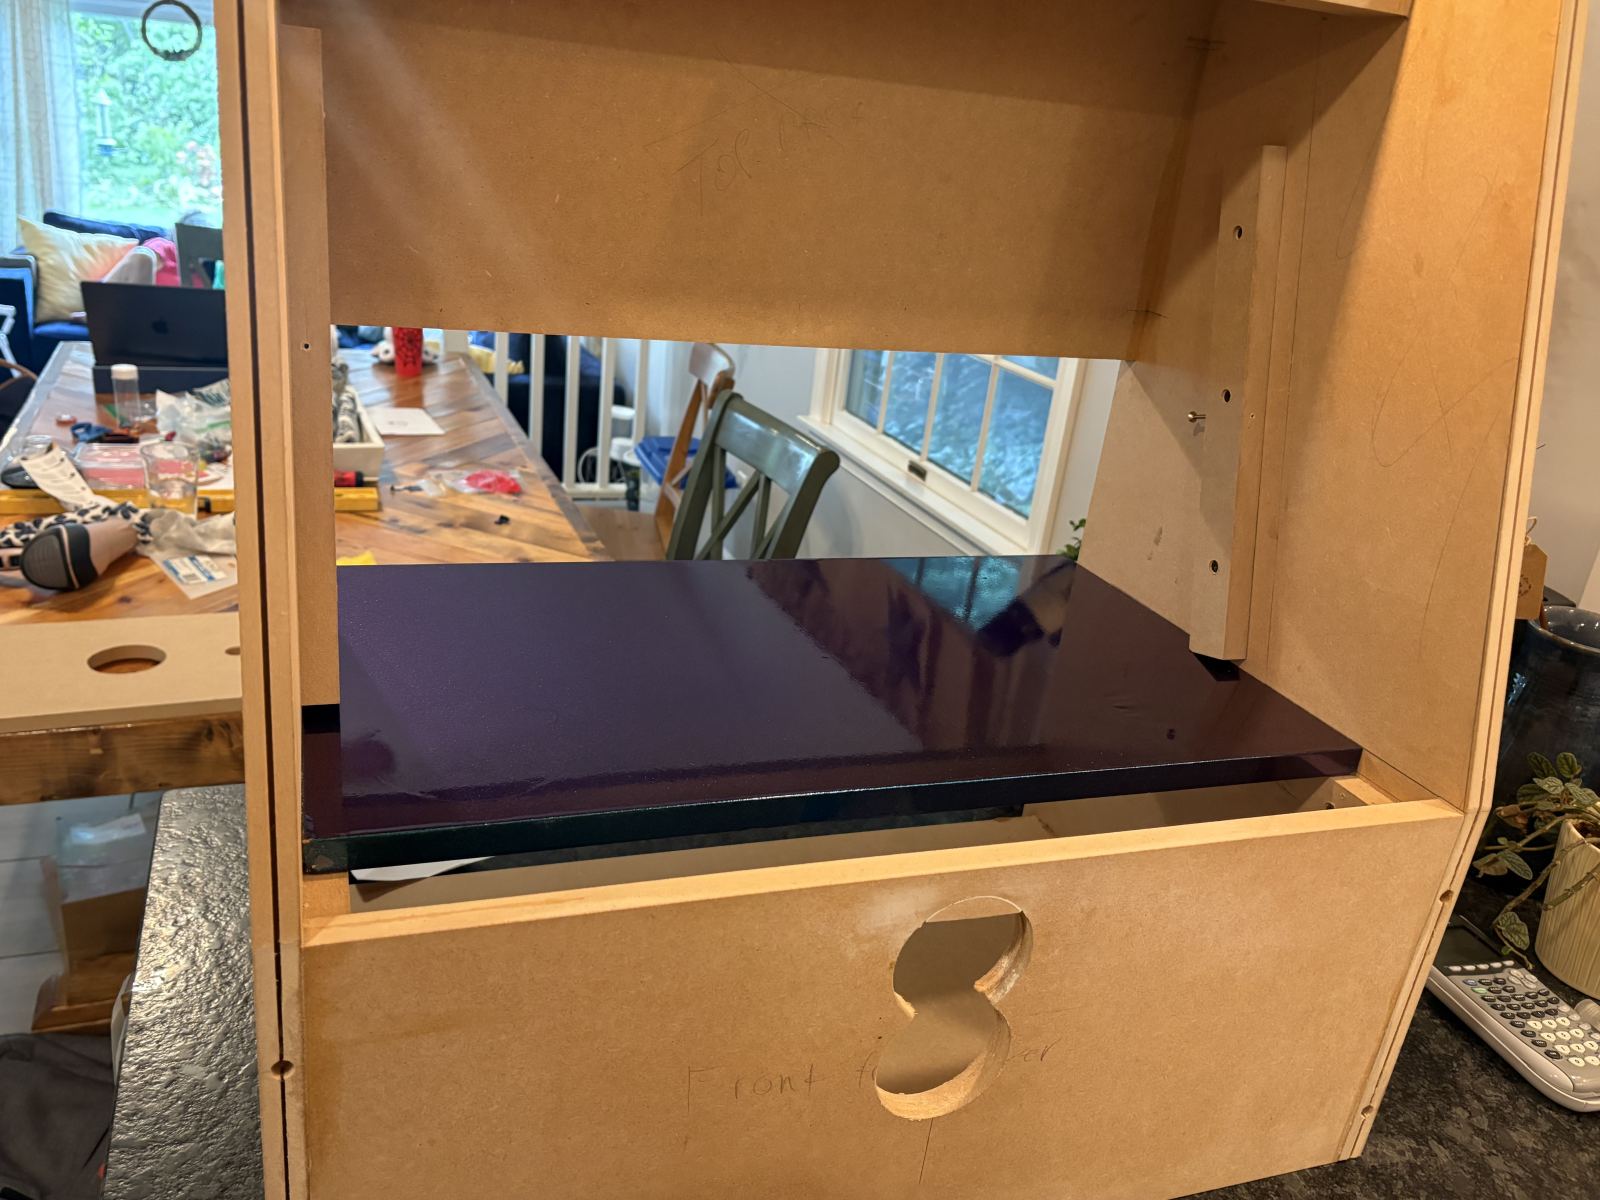
Scott came down with the modified construction and it was time to begin vinyl wrapping and connecting pieces. It has a lot of pieces so we couldn't do it all in one day but it was finally starting to look like an arcade game!
September 5, 2026
Final Vinyl
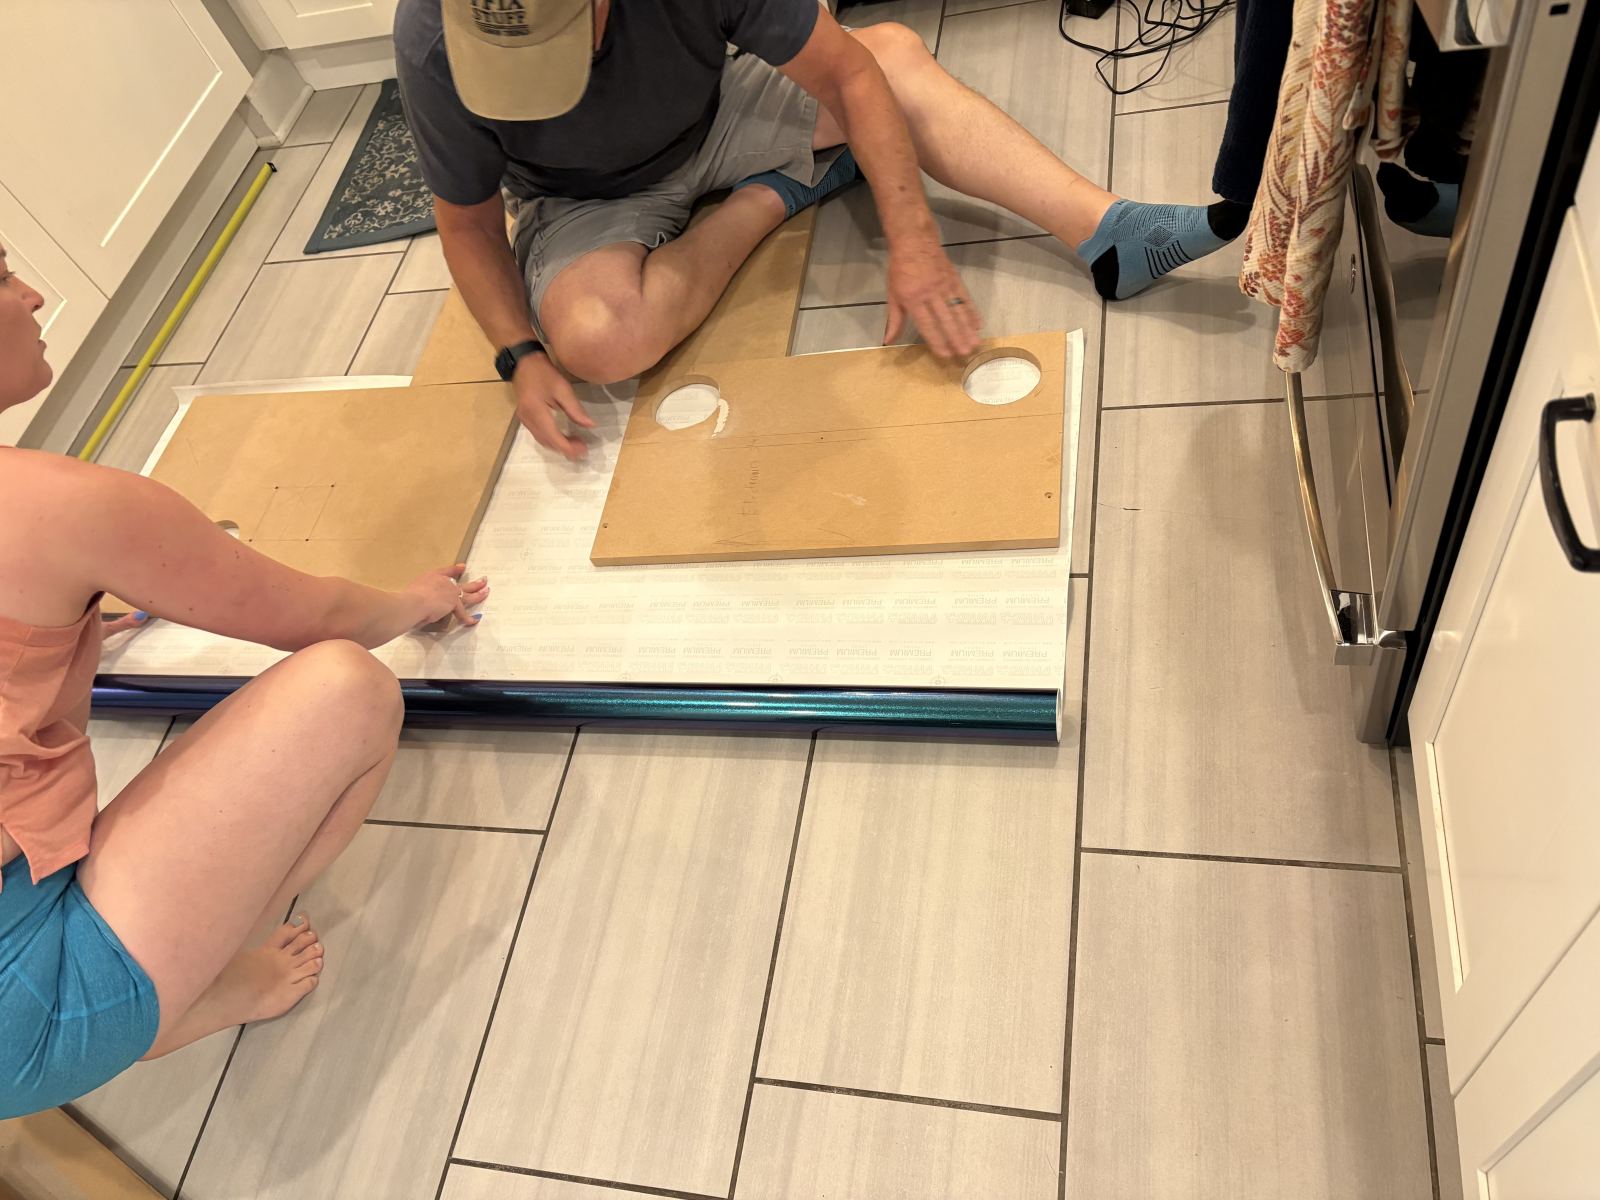
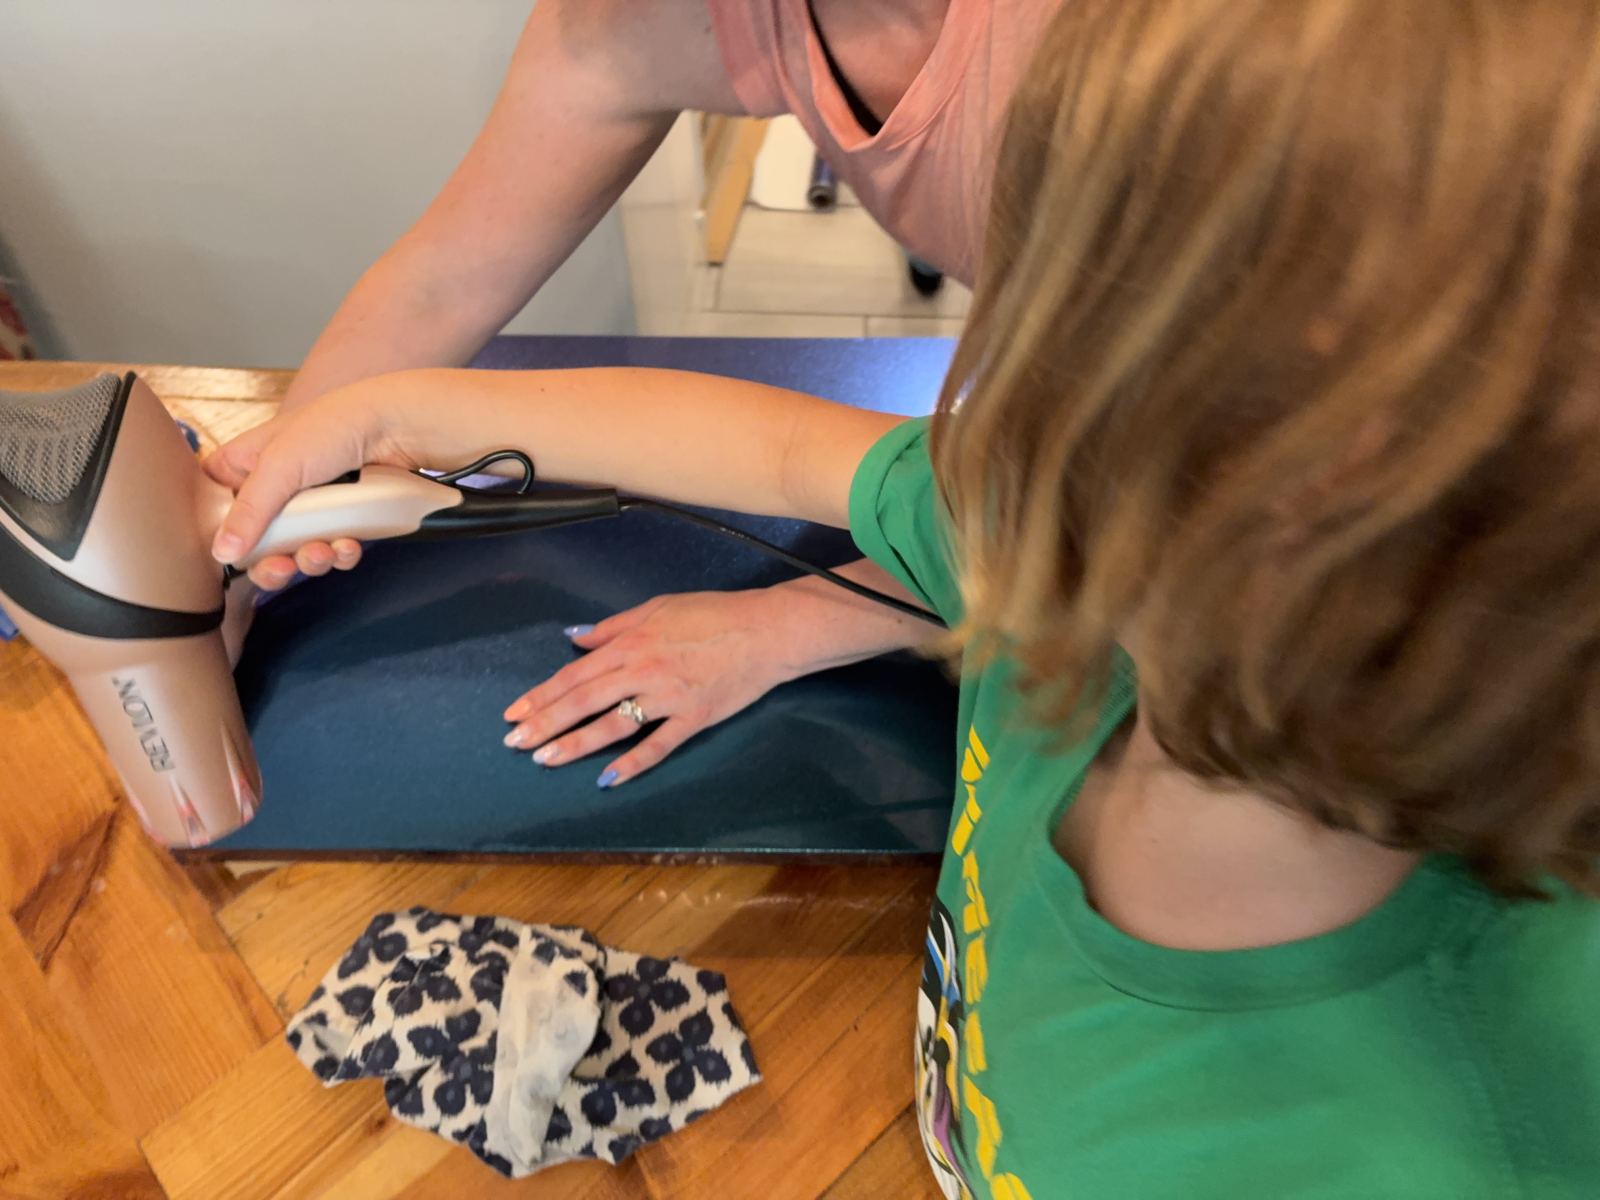
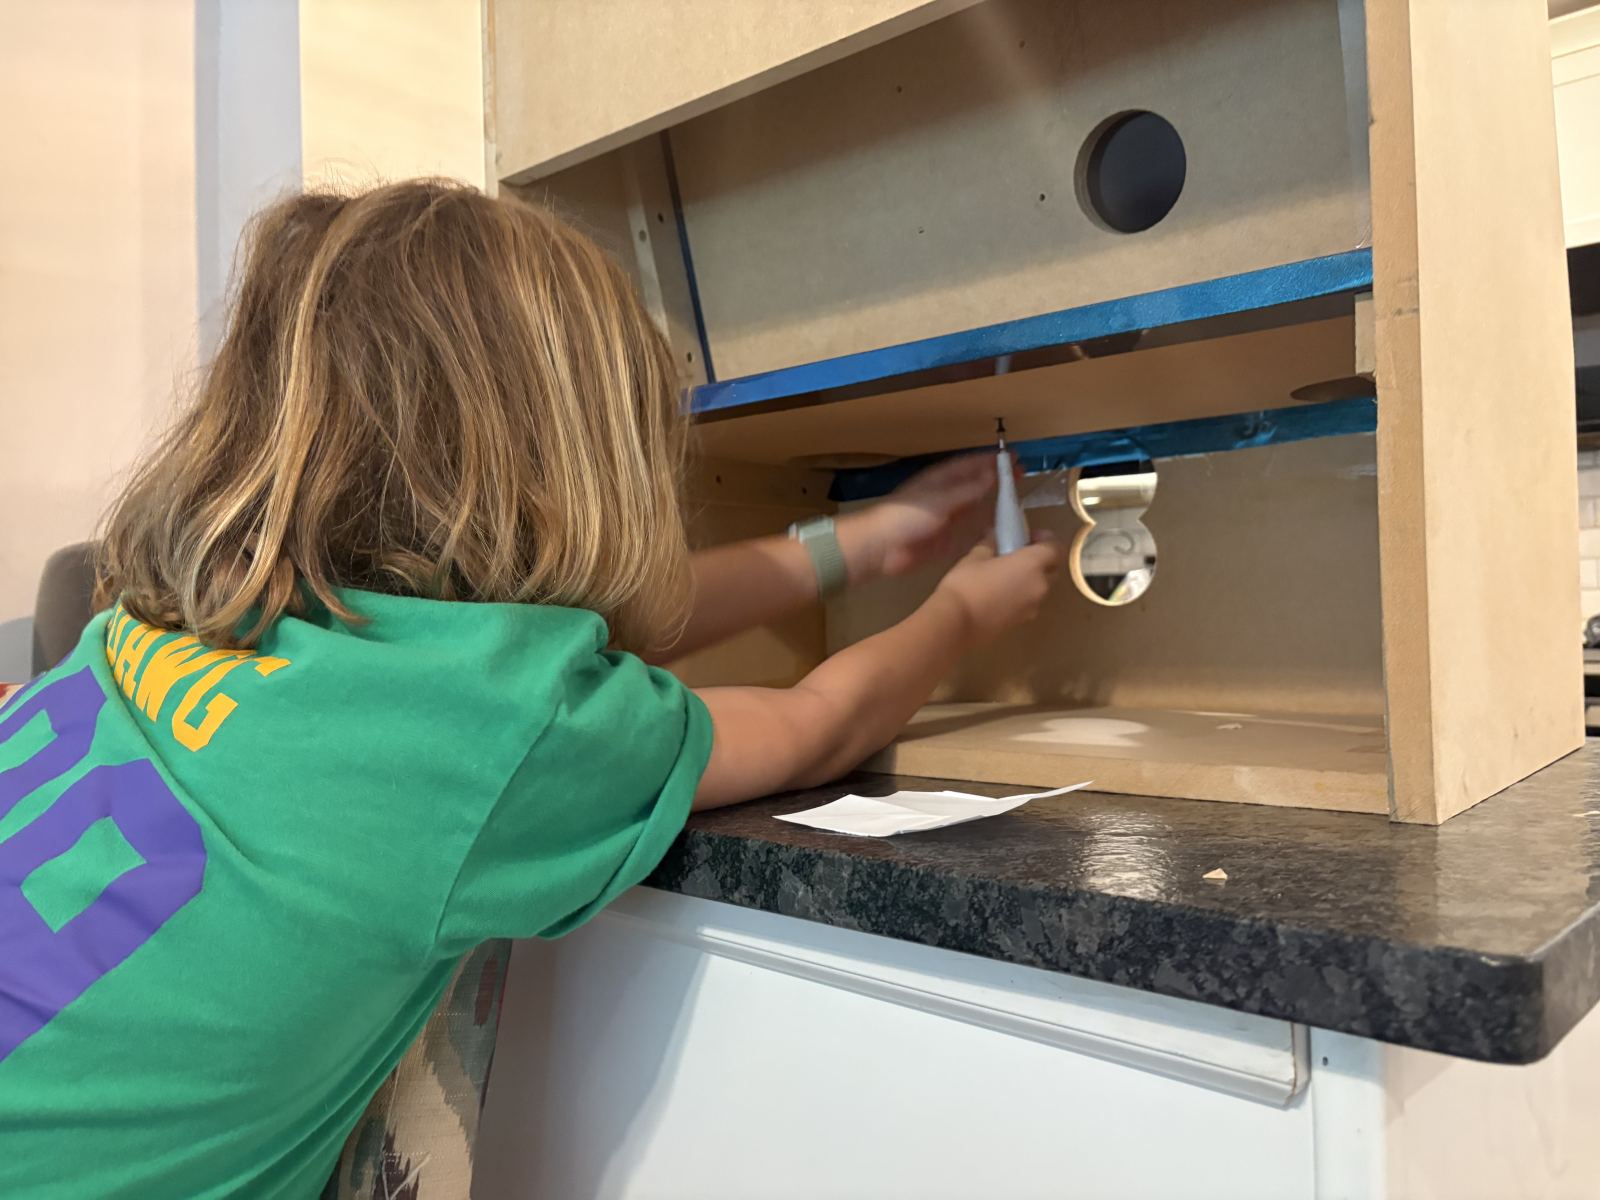
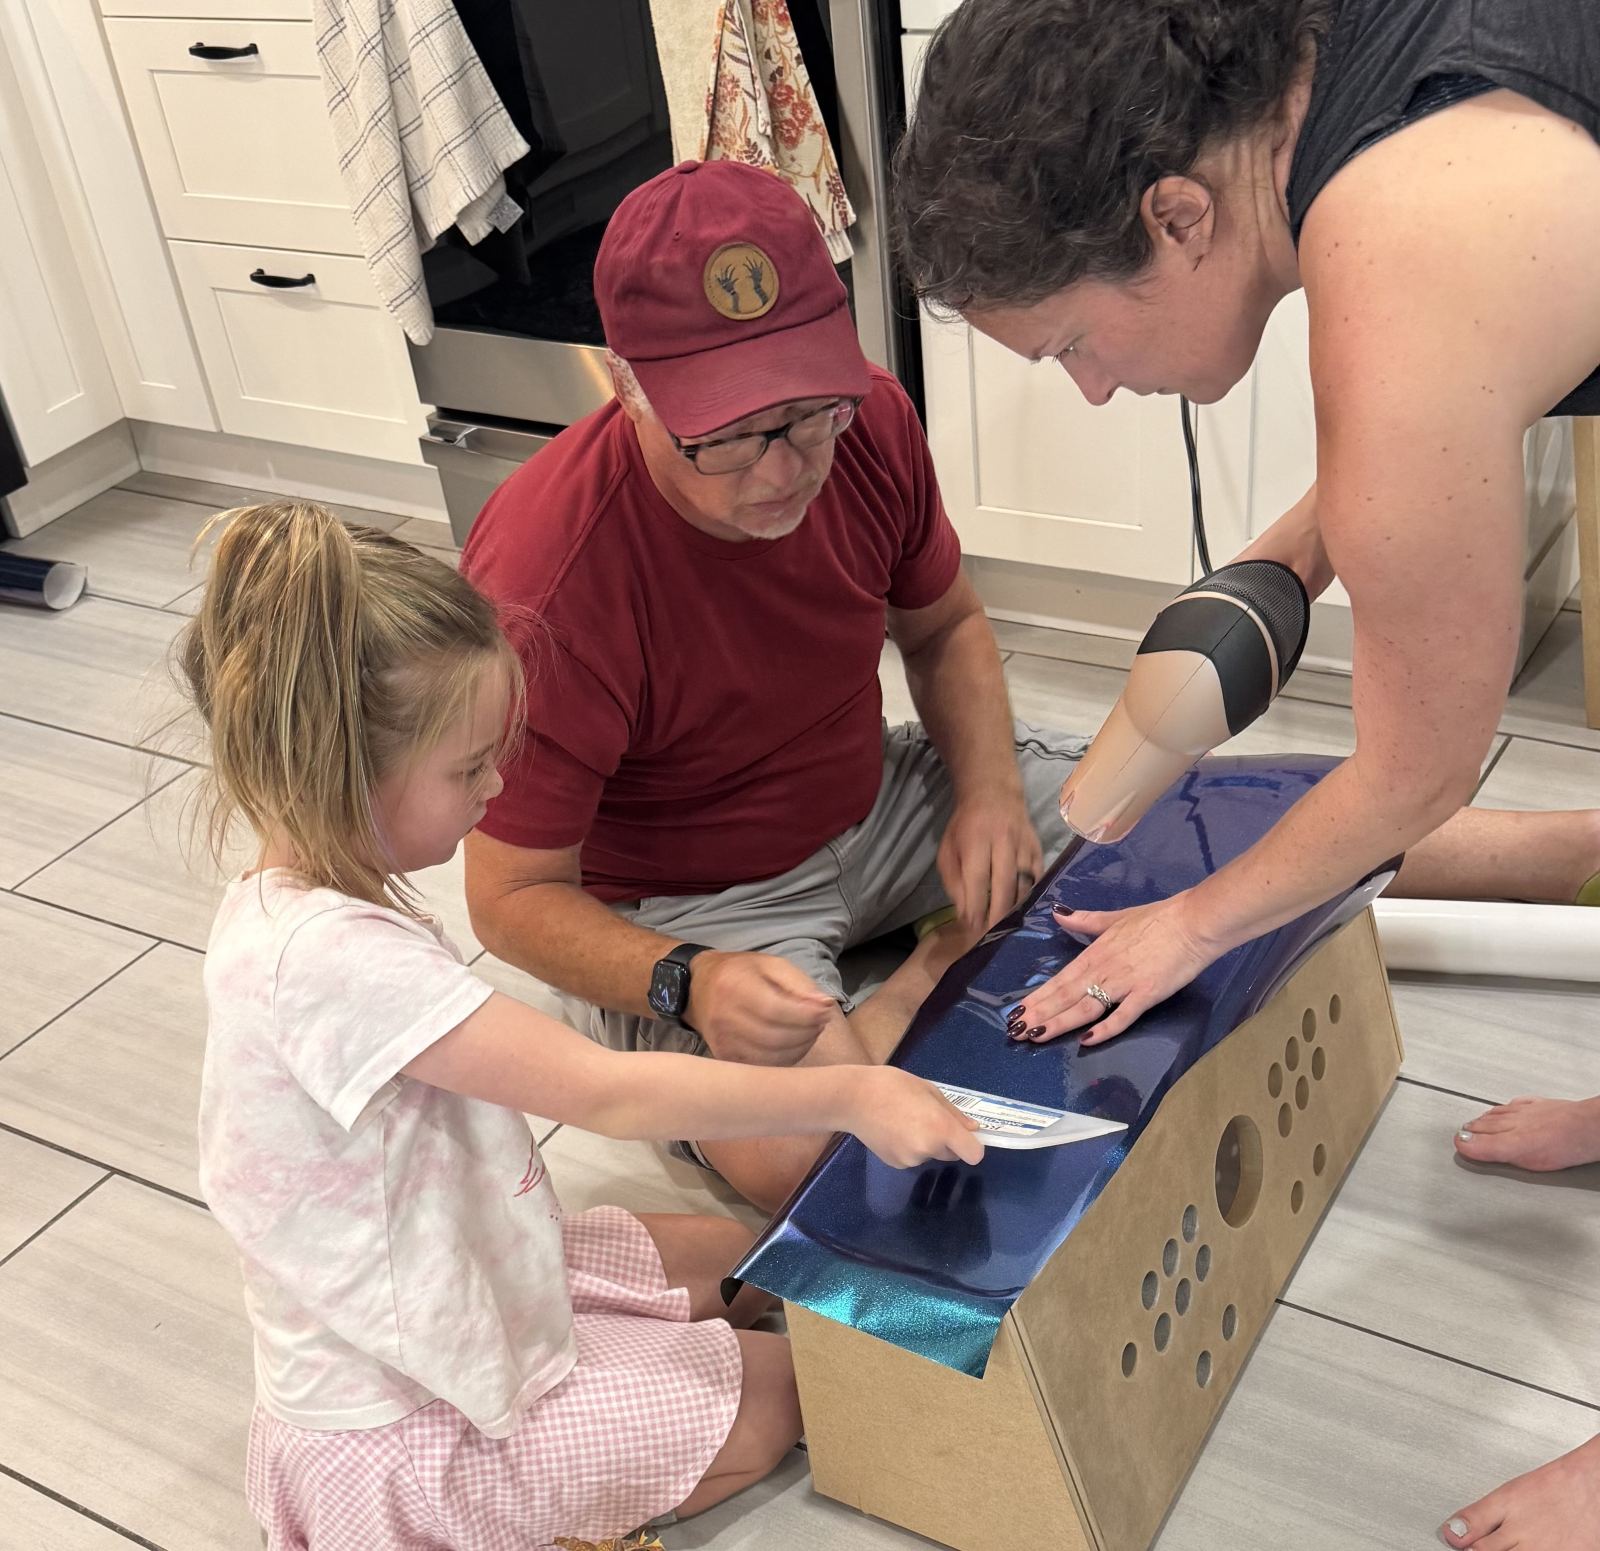
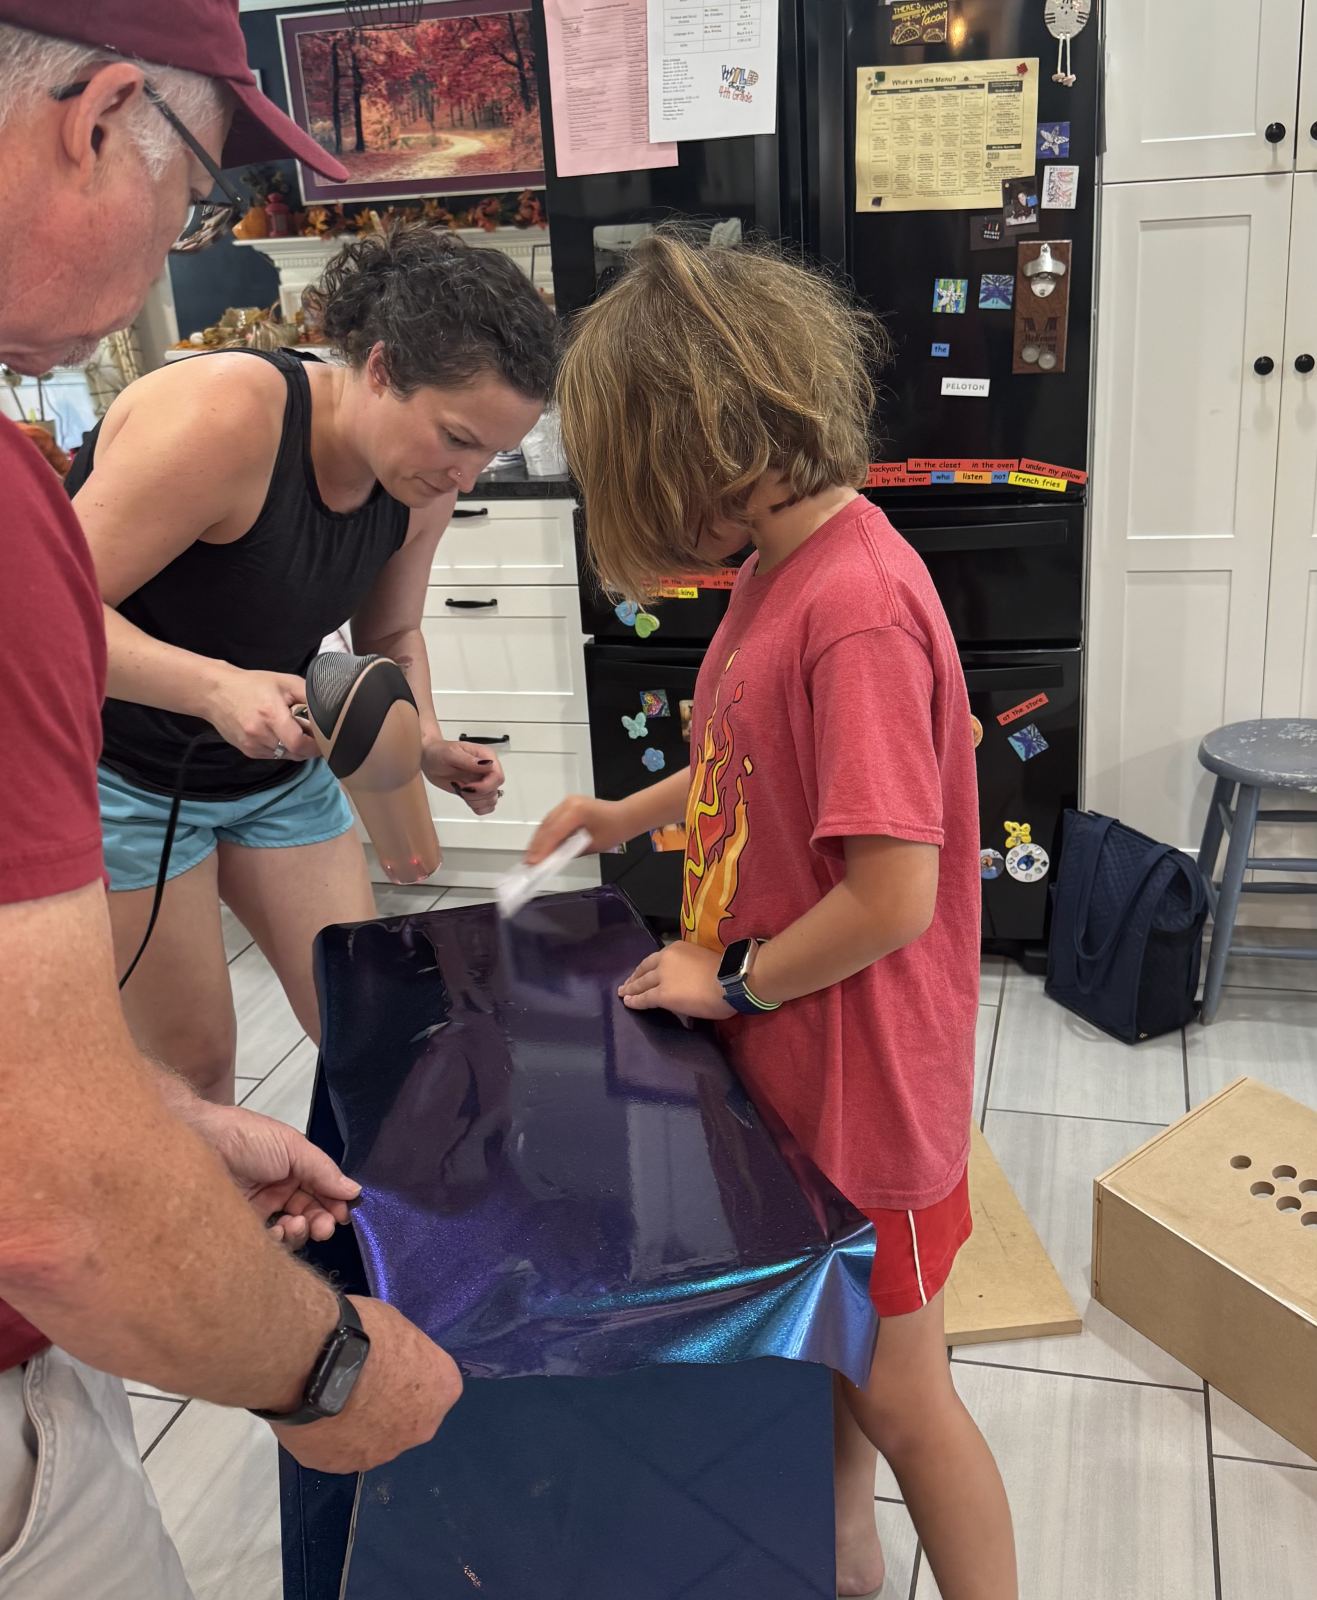
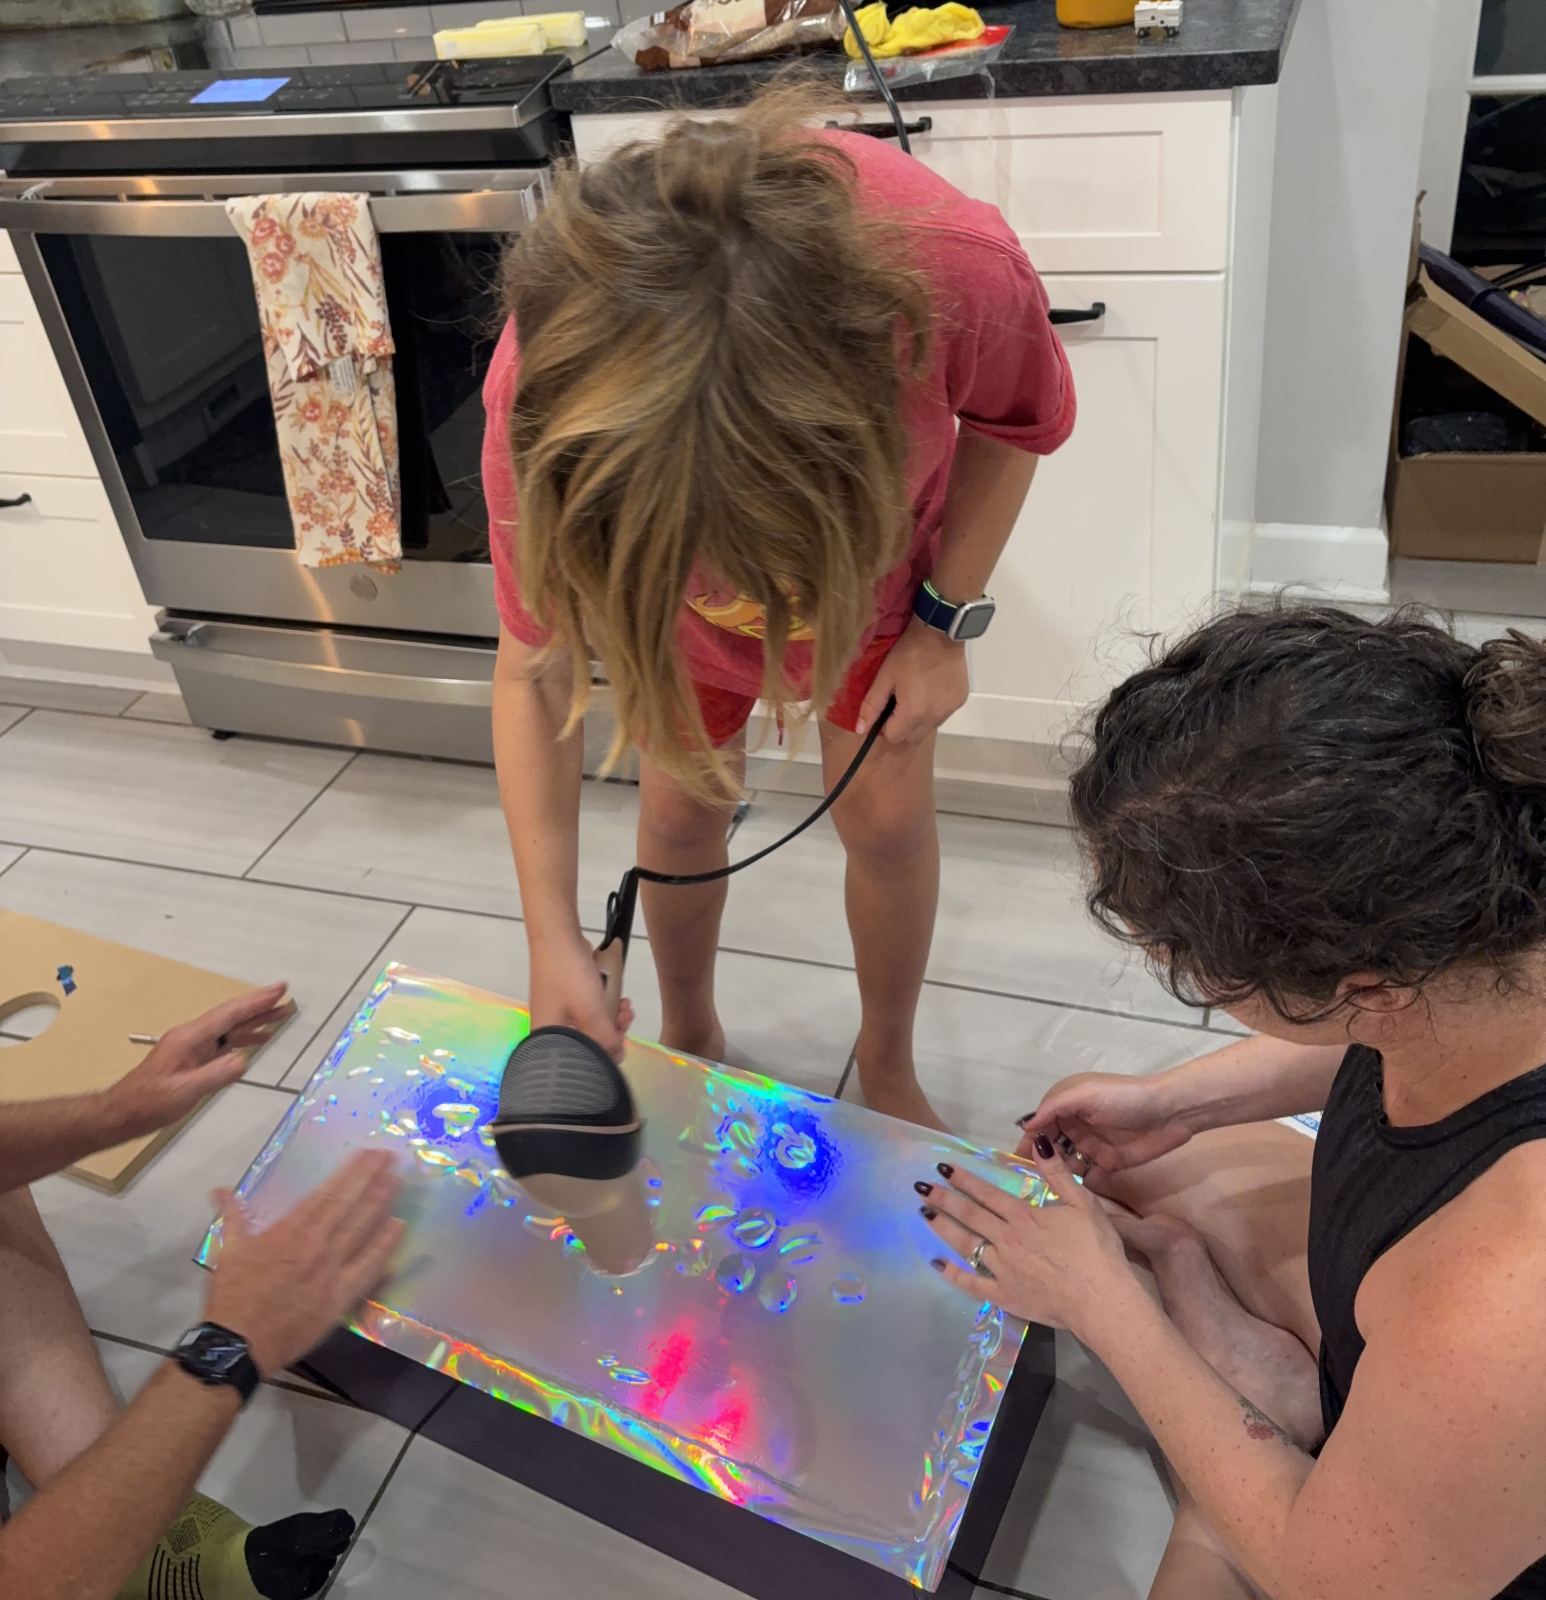
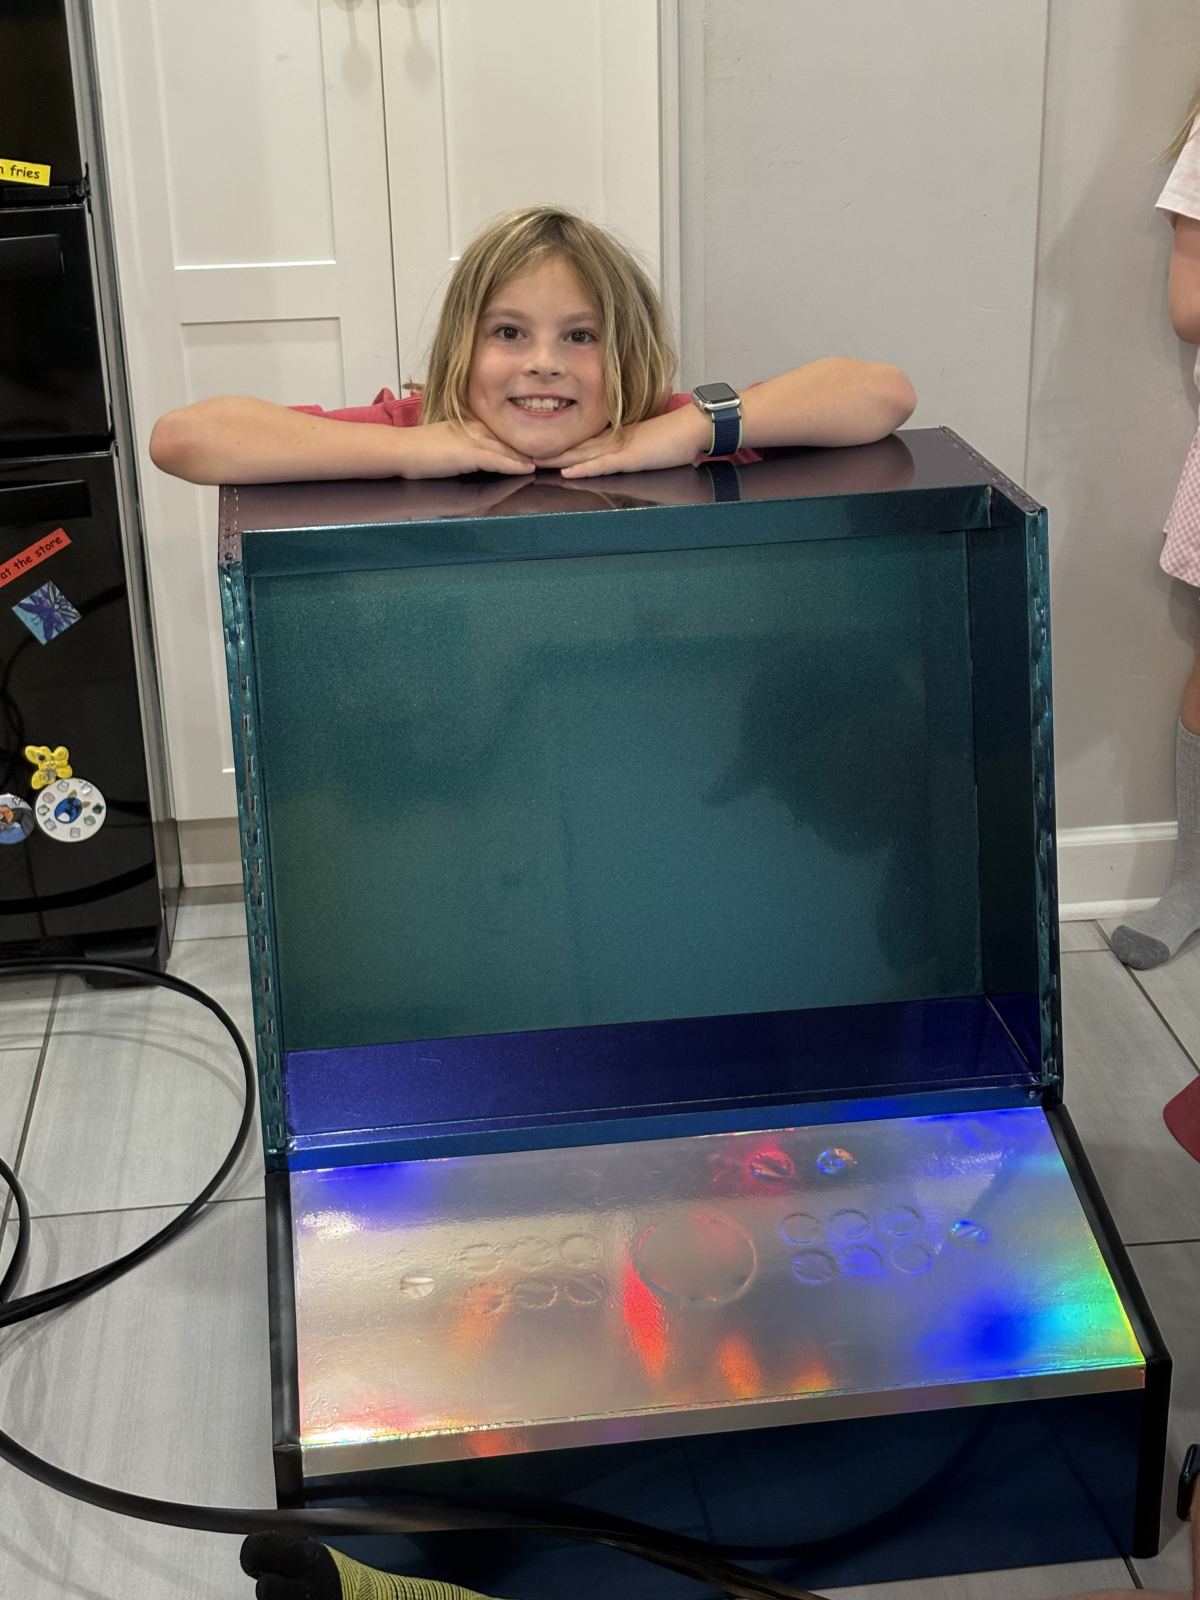
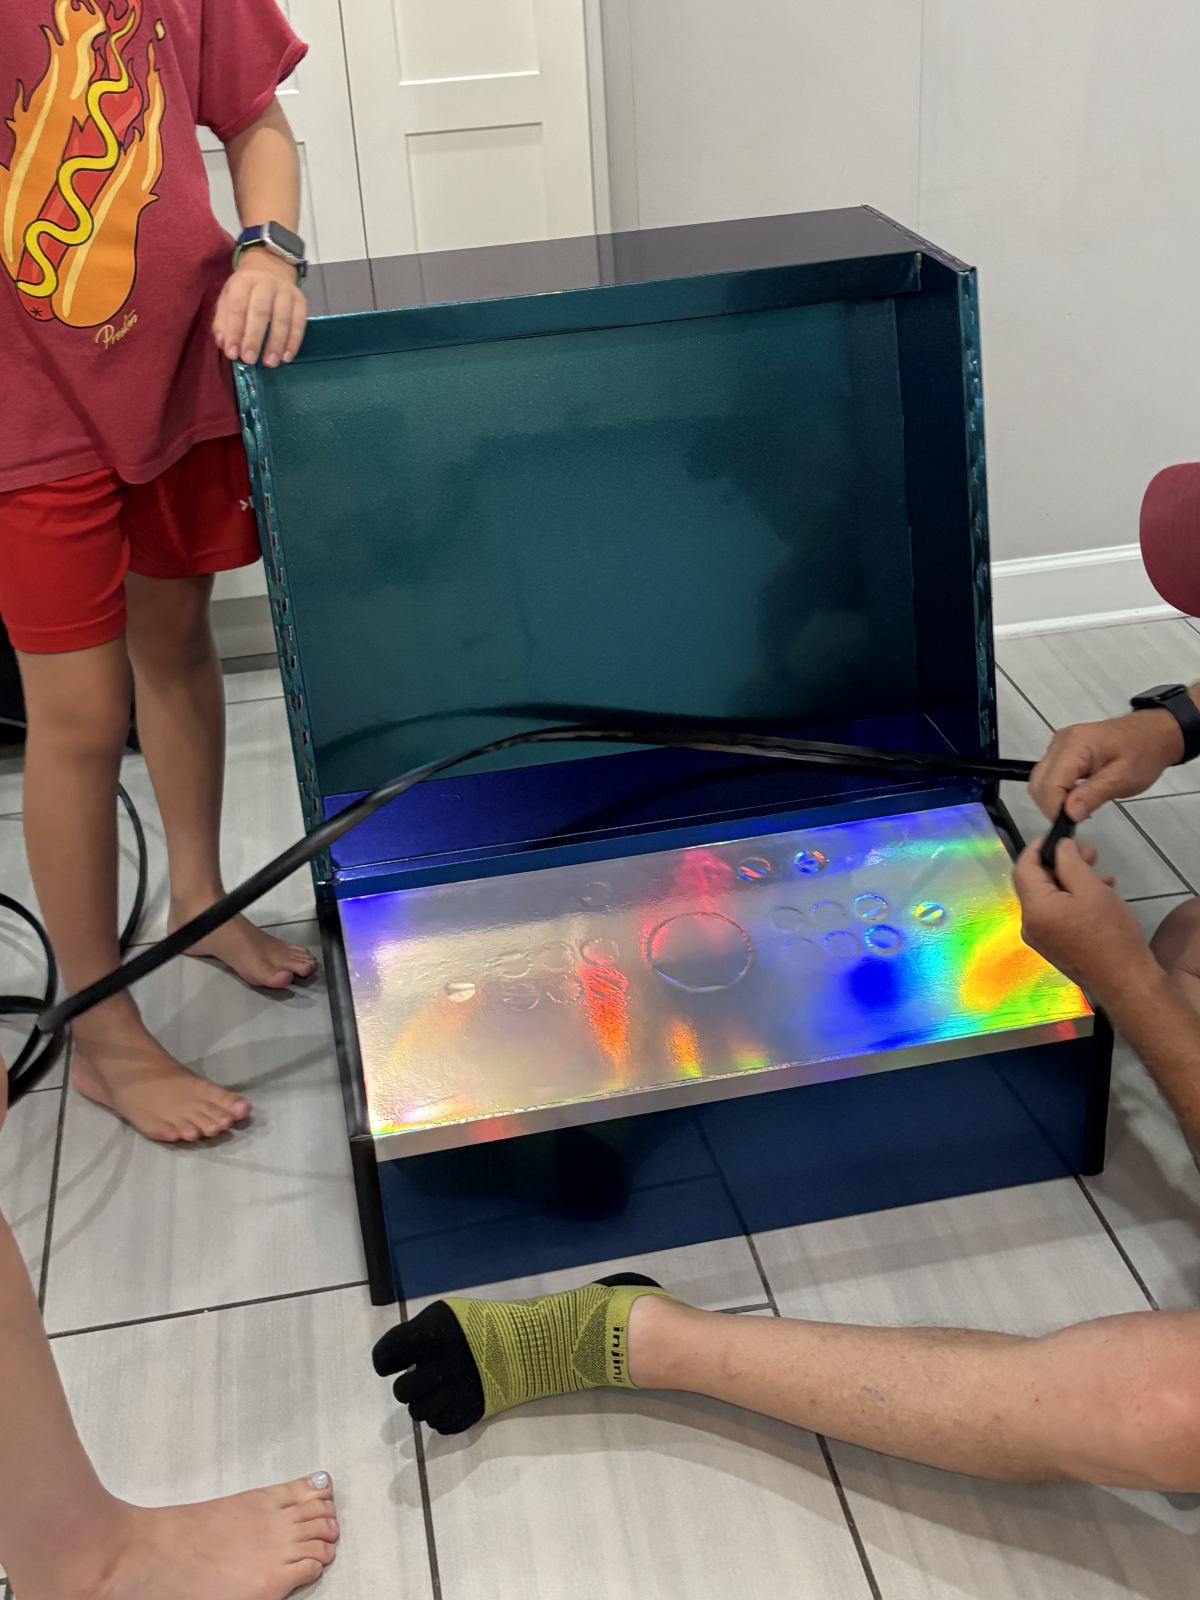
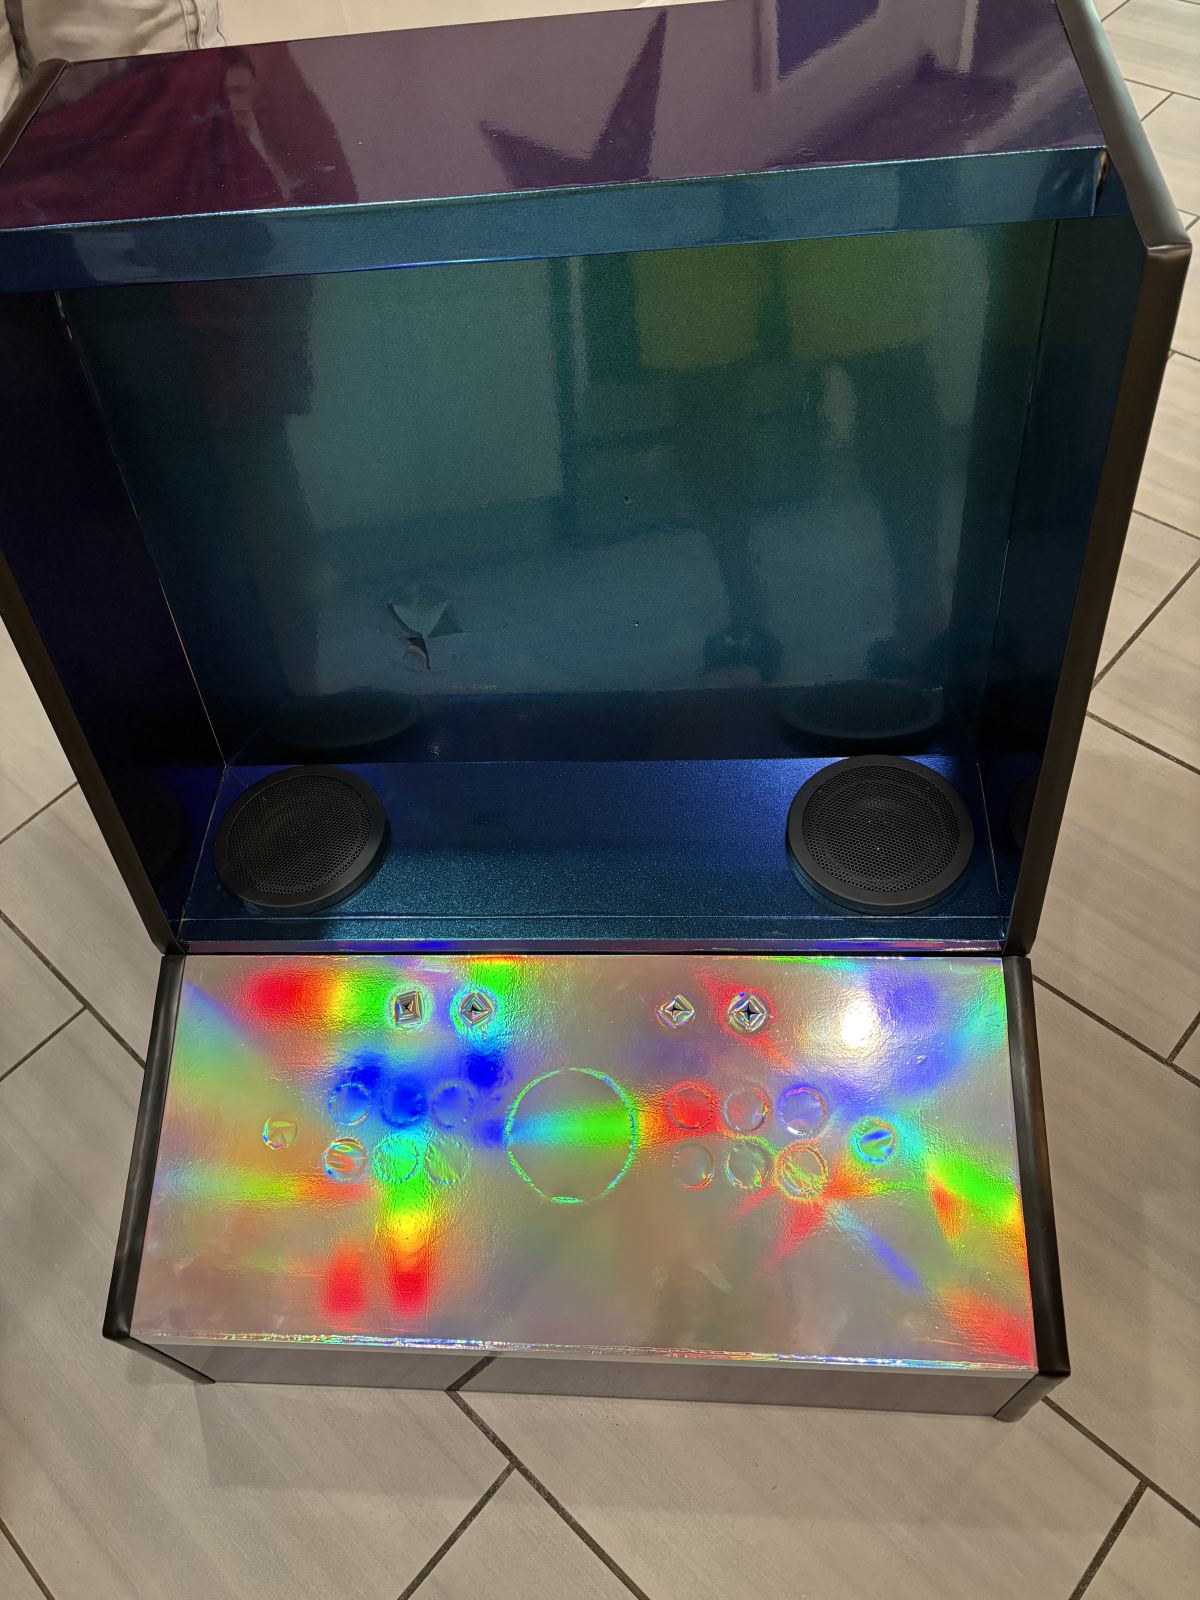
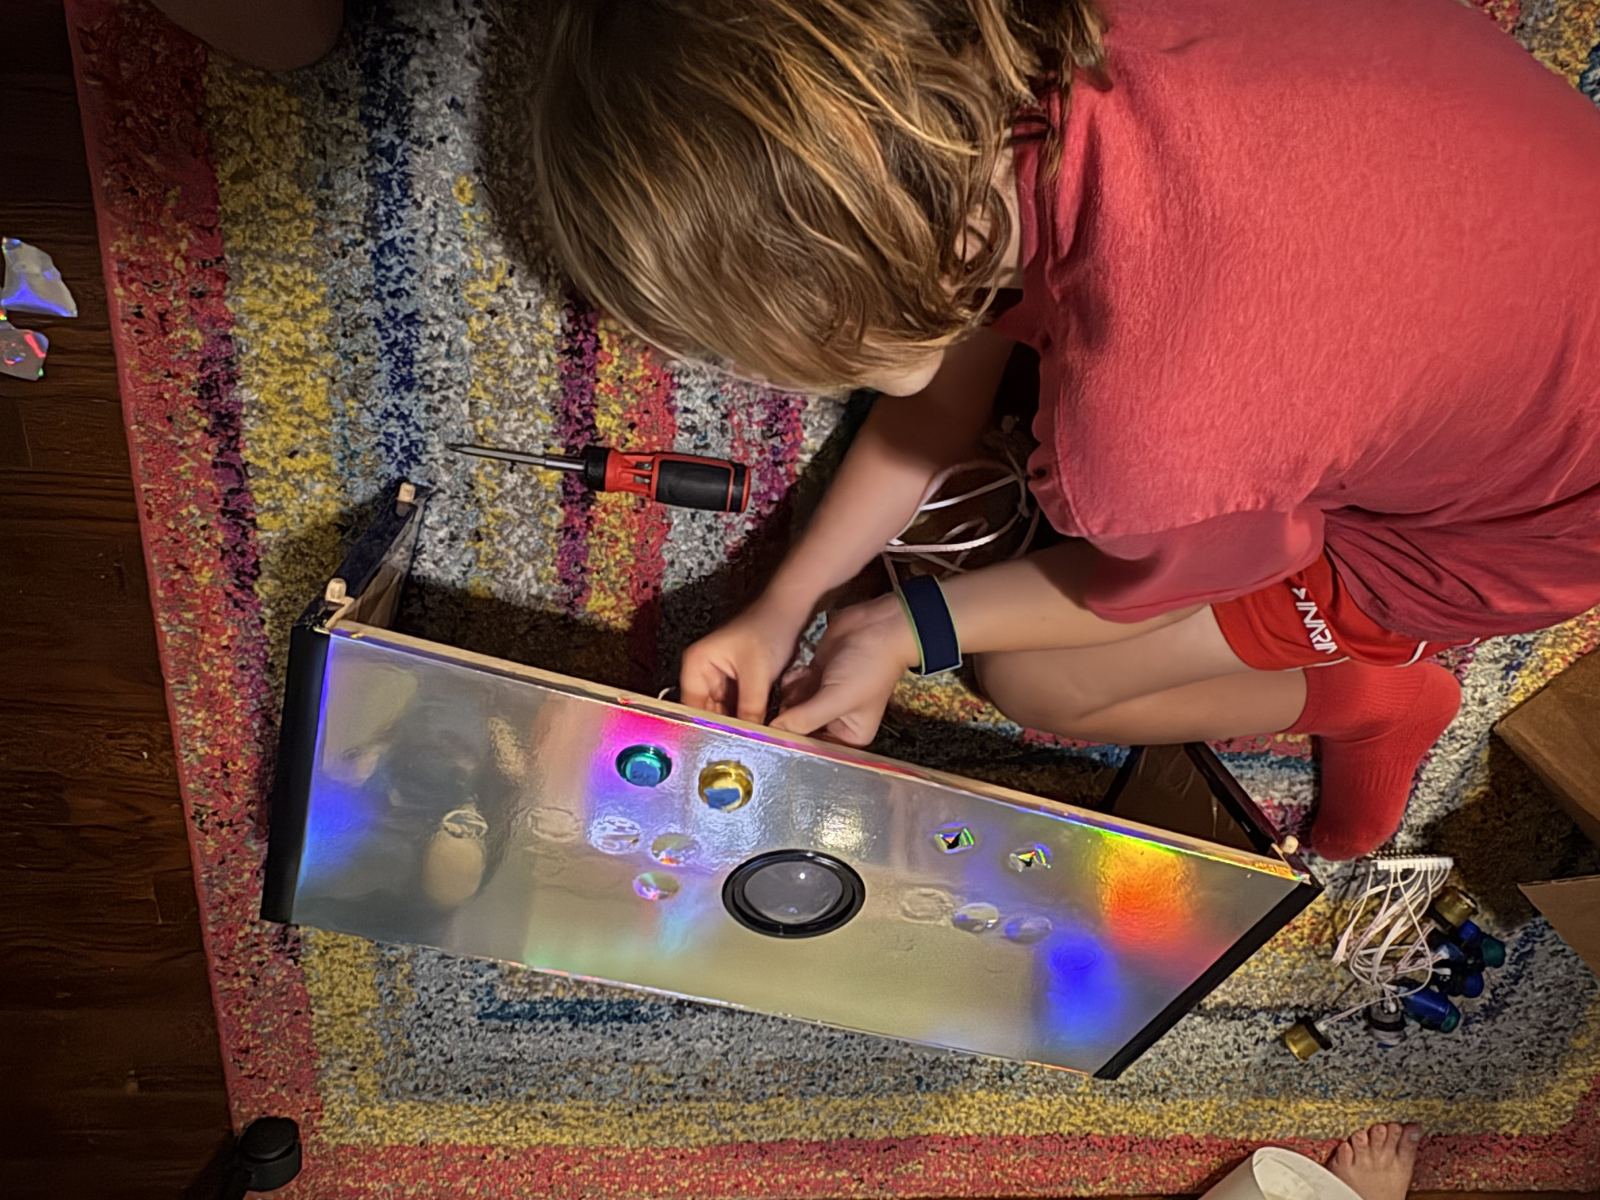
We enlisted the help of Scott and Griffin's mom and sister to cover the arcade in vinyl. It turned out awesome! After that, we started reinstalling the trackball and buttons.
September 6, 2026
Final day with some last minute snags!
With the buttons back in and the vinyl wrapped around it, it was time for the final touches. We needed to make sure everything was plugged in correctly and get the speakers up and running.
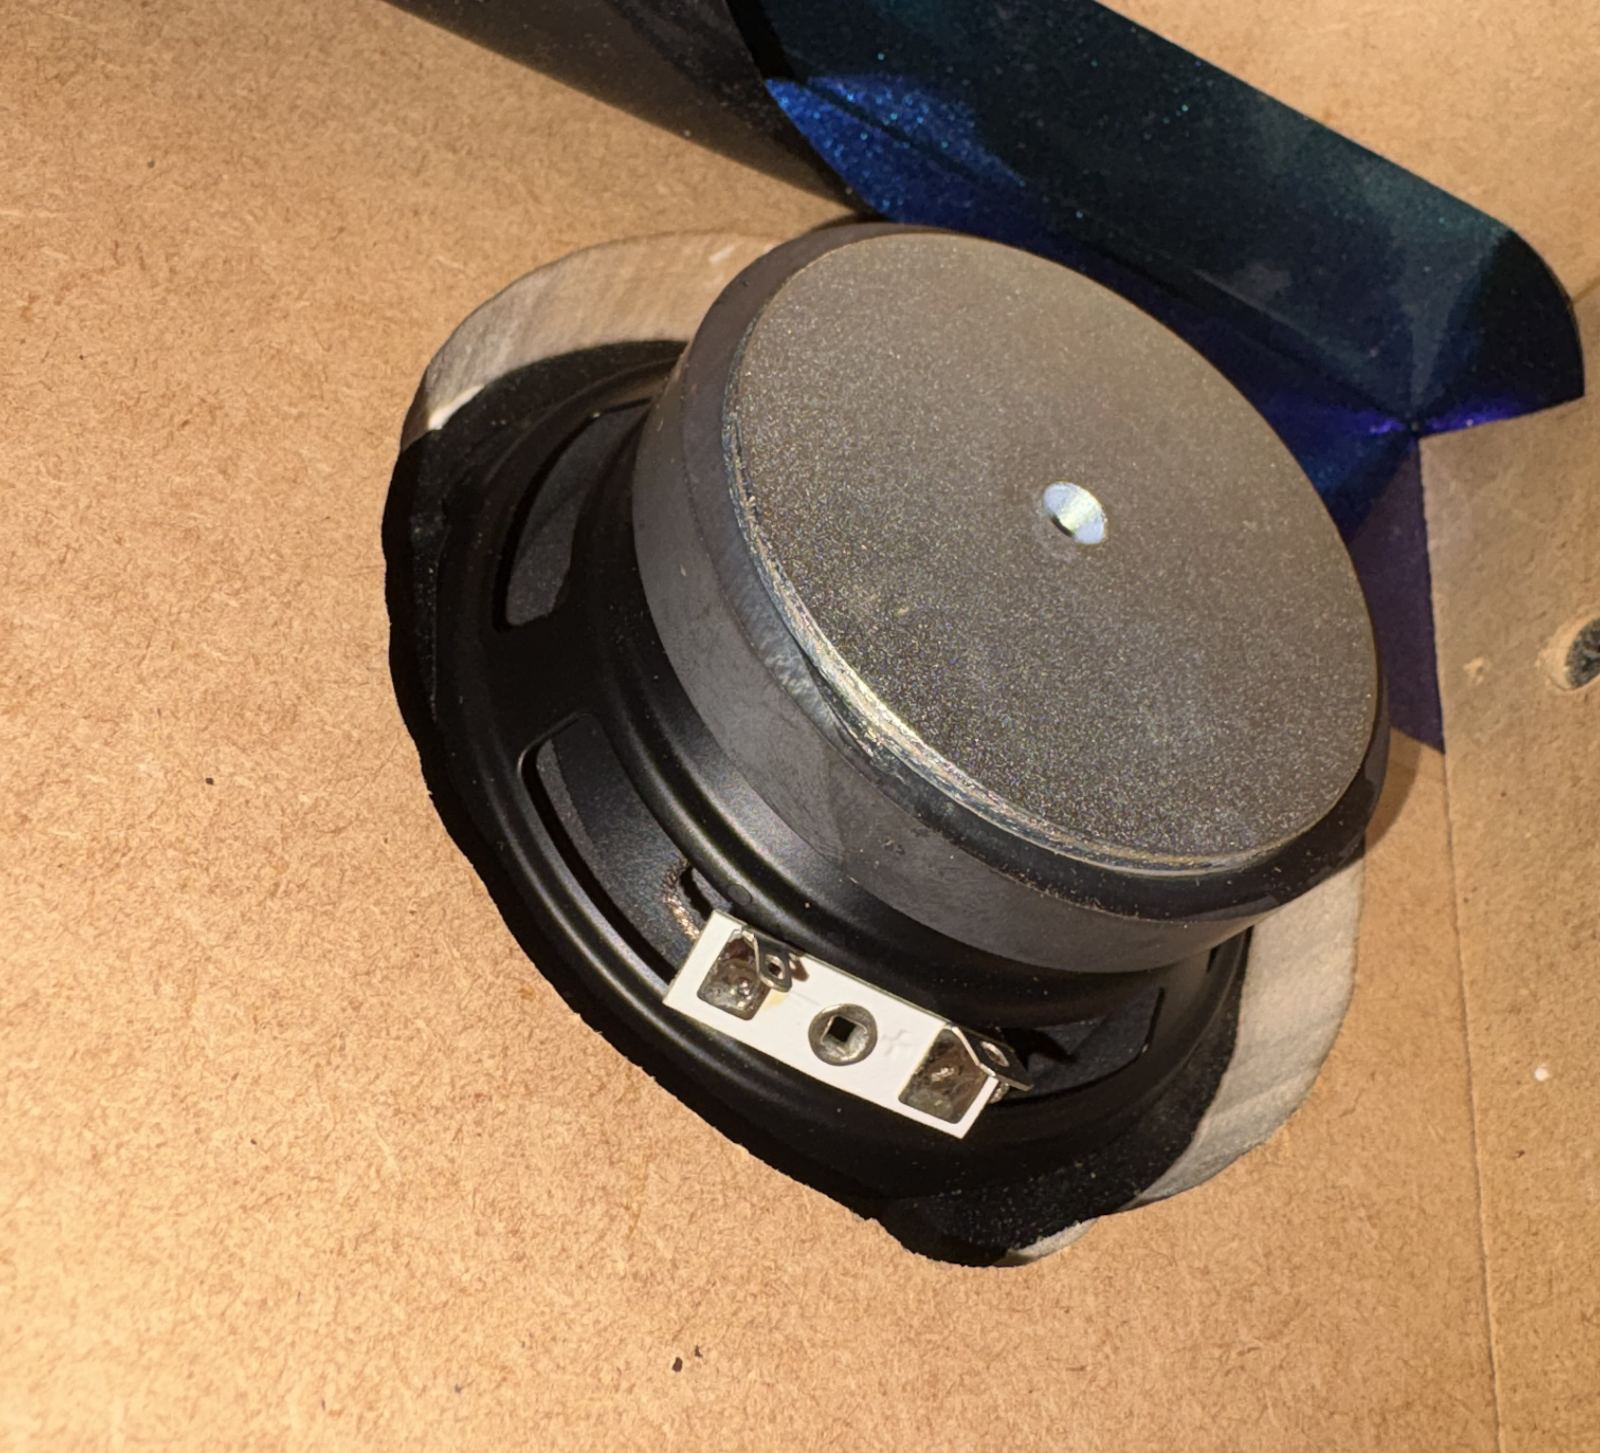
As has been the case for a lot of the project, we used Claude to help point us in the right direction but it wasn't always perfect (like when it thought we should hand the speakers in mid air somehow). We went to connect the Raspberry Pi to the speakers when it turned out that it didn't have an audio output after all (whoops!).
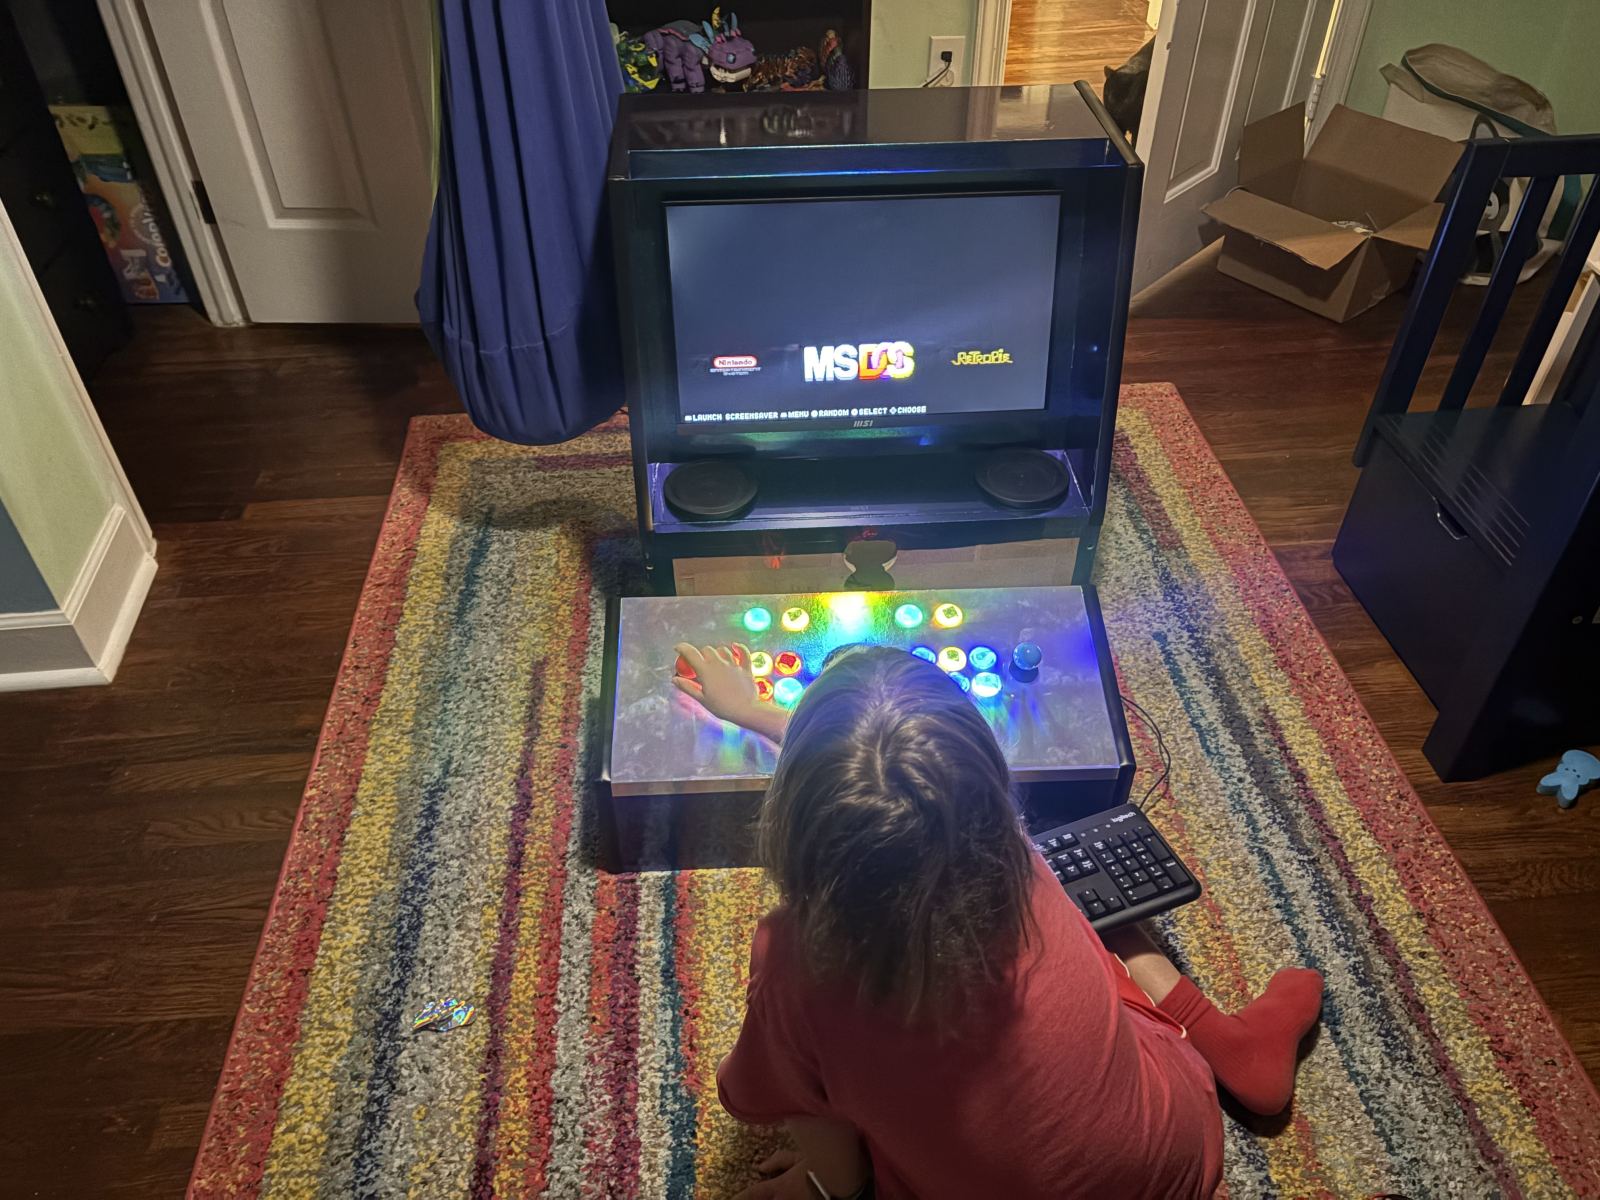
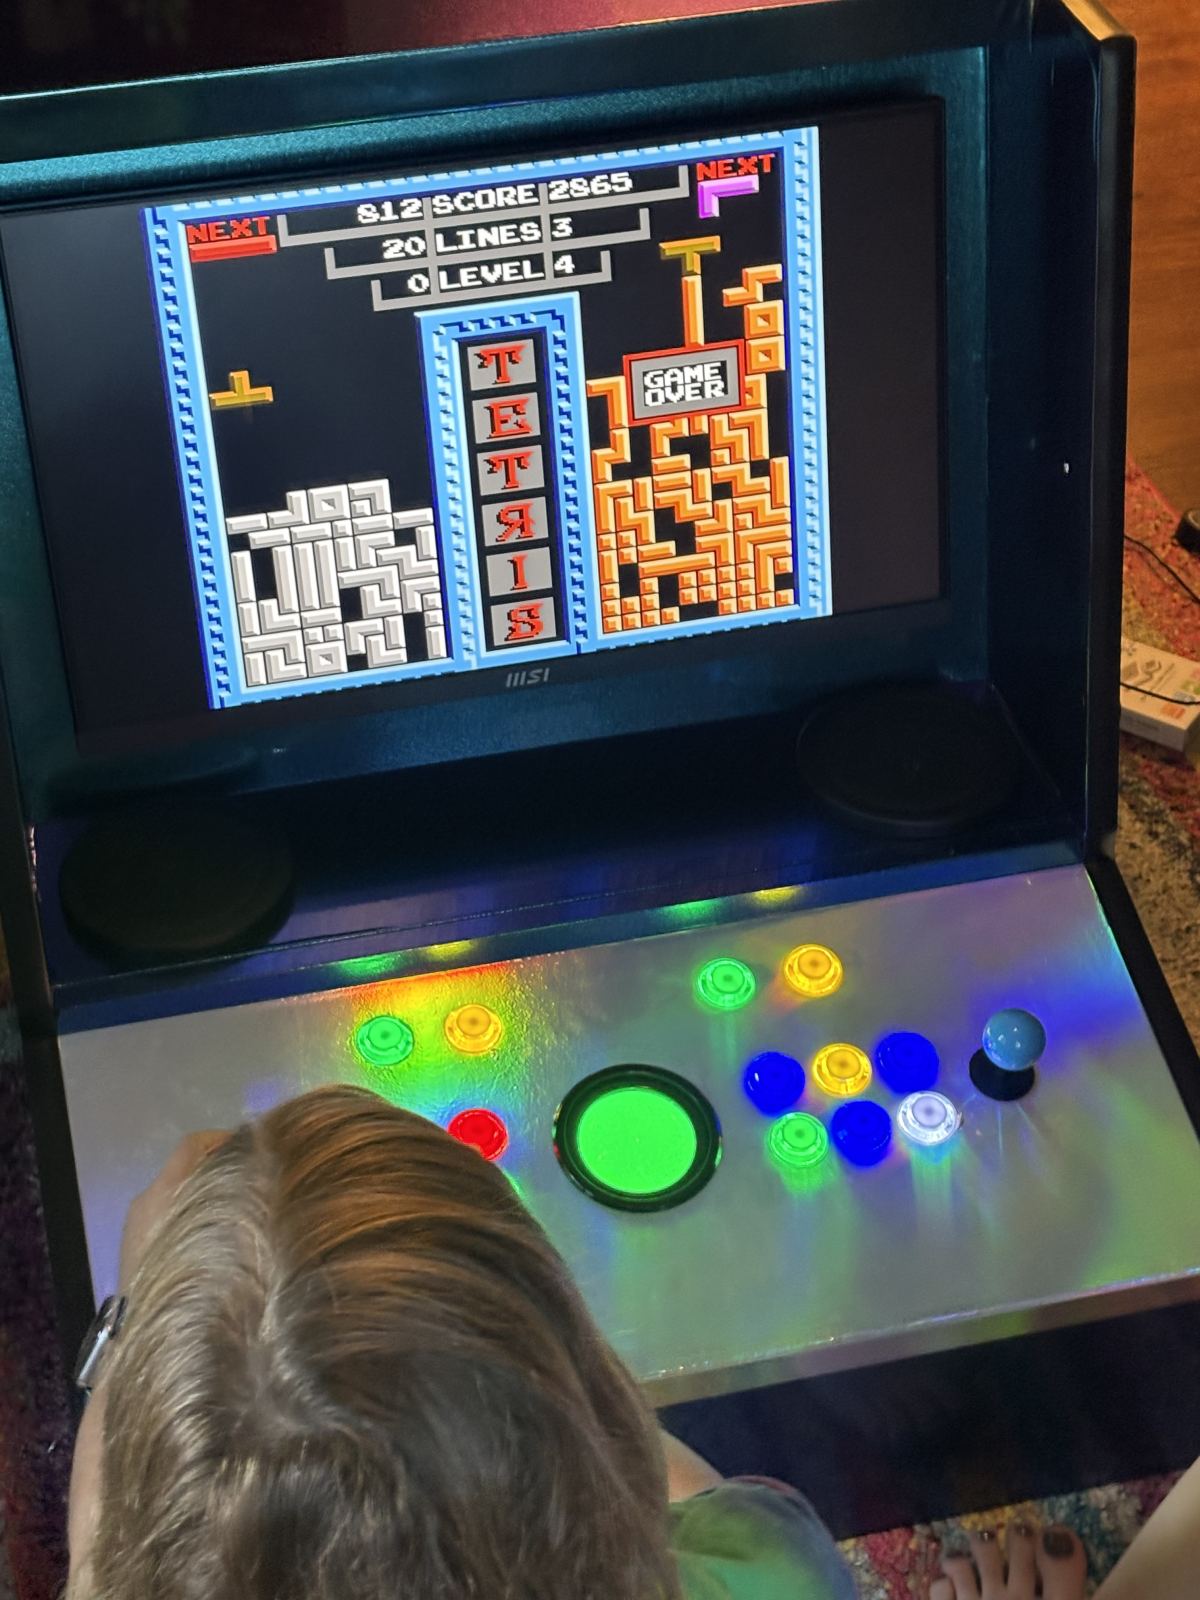
We made a quick run to MicroCenter, grabbed an adapter, connected some cables and we had sound! We put it all together and completed the project!
In just under 3 months (with some vacations in between), and with the help of some pretty cool family members, we were able to make an epic arcade game!
September 7, 2026
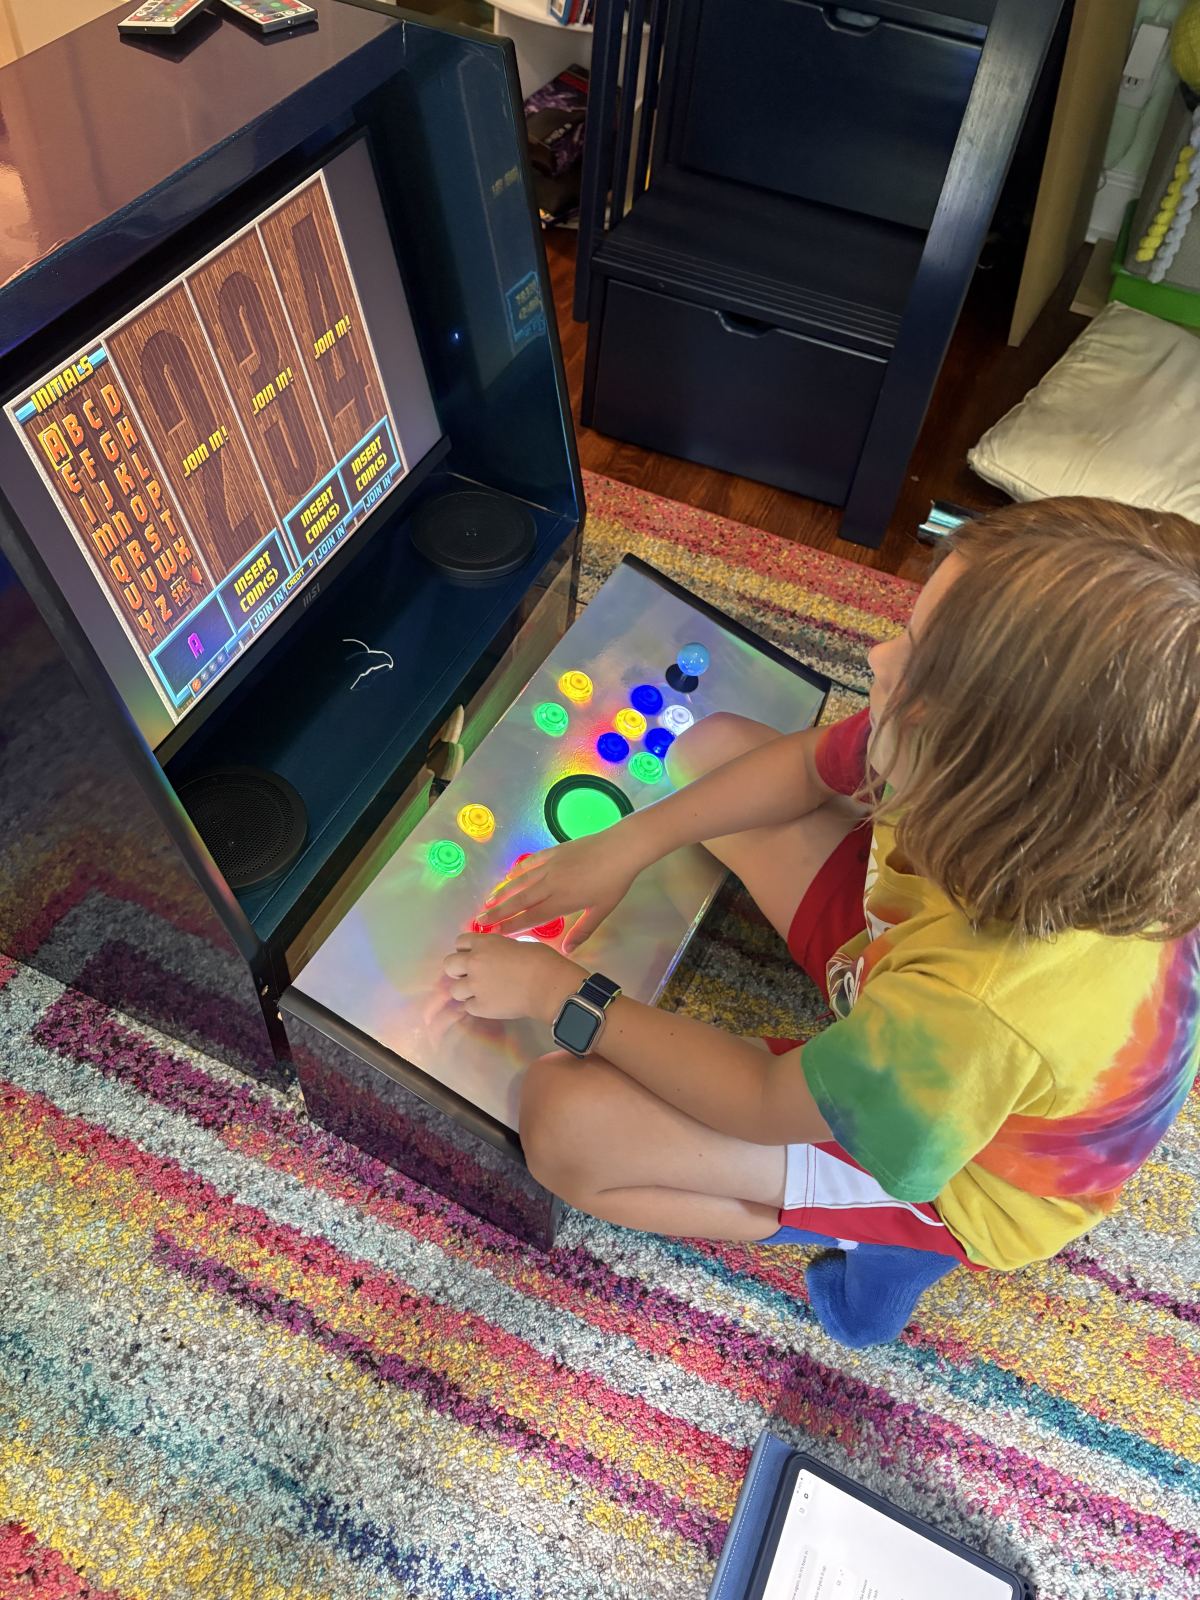
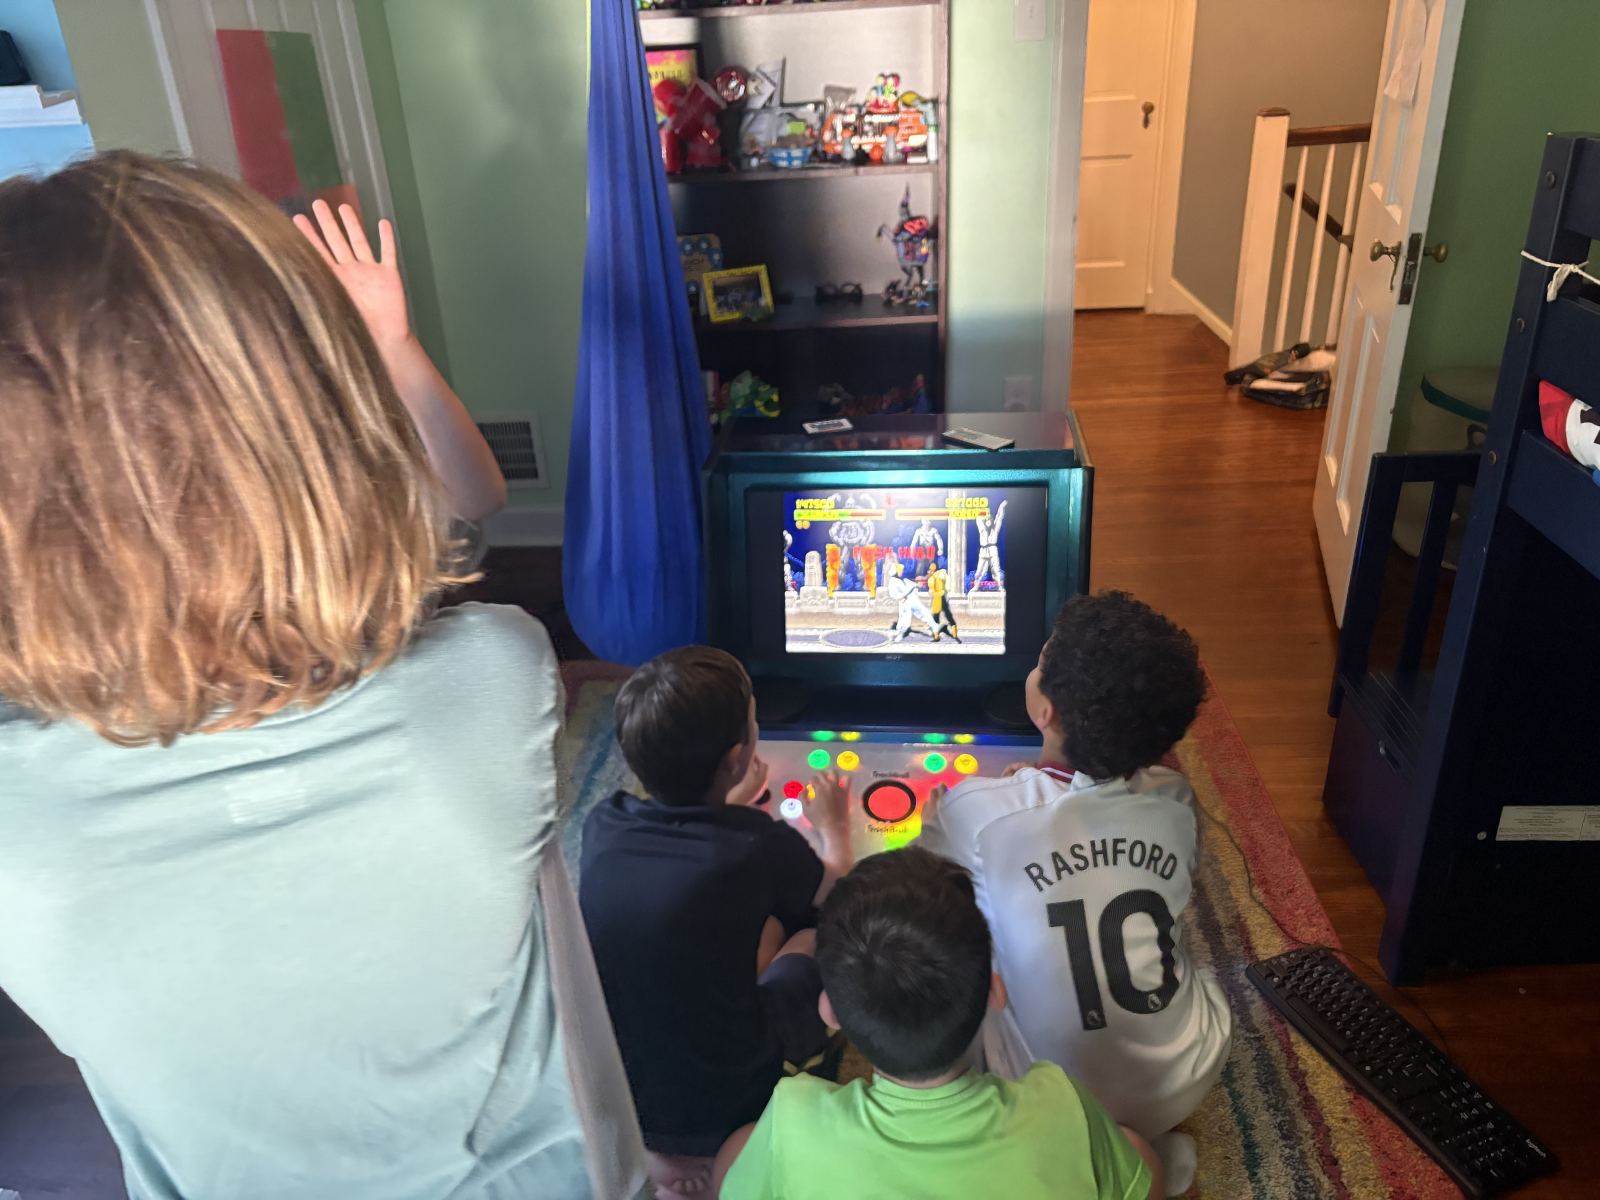
Release party!
Now that the project was finished, it was time to invite some friends over for a test run.